How-To
In need of some cloud-based backup? Cloudberry Lab has you covered
Here’s how to get Cloudberry Backup 4.9 working for you.

Just a heads up, if you buy something through our links, we may get a small share of the sale. It’s one of the ways we keep the lights on here. Click here for more.
Here’s how to get Cloudberry Backup 4.9 working for you.
Cloud-based services continue to emerge as the technology becomes cheaper (and easier) to use. Cloudberry works with many of the major, and minor, cloud services, including Amazon S3, Microsoft Azure, Google Cloud, Rackspace, and many others. They offer cloud-based backups and file management services for these programs. With military-grade encryption options, rest easy knowing your SMB’s (and its clients) information is safe from prying eyes.
With the recent release of Cloudberry Backup 4.9, let’s do a quick run through on how to set it up! The best part? If you’re simply curious or plan on using it for personal use, there’s a free option!
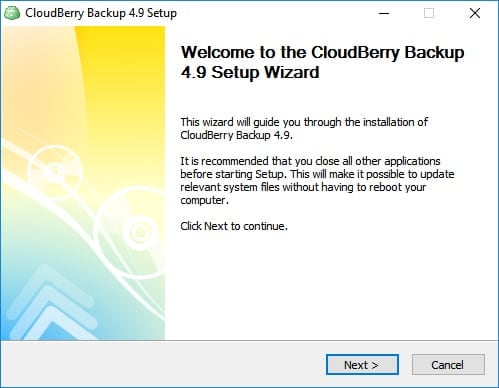
First things first, you’re going to want to download Cloudberry Backup here.
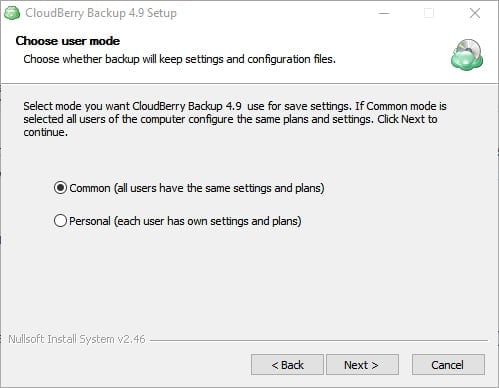
Once you’ve installed the appropriate version for your OS, you’re going to have the choice between two different user modes: common and personal. For this demo, we’ll be using Common. Personal is perfect if you’re team is technically sound and will require different things out of Cloudberry.
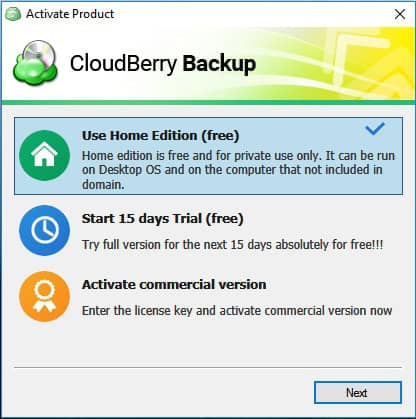
After going through some additional prompts you’ll be asked to activate the product. For the sake of the demo, we’ll be using the Home Edition. There is also a free trial available and the ability to hop right into the paid, full version.
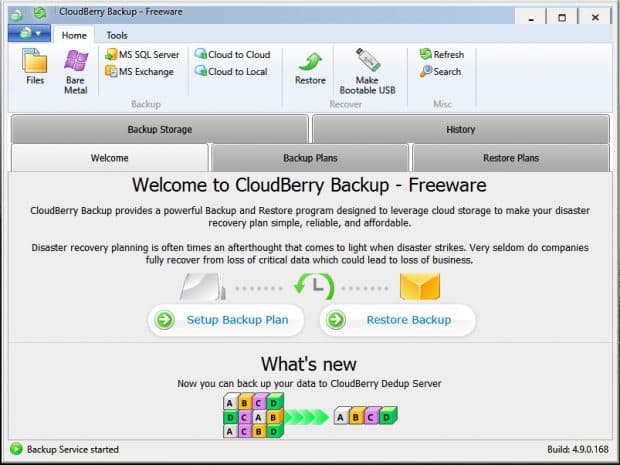
Now the fun starts! The Cloudberry interface is very familiar, feeling much like a folder or program straight from Windows. Most of your actions will be accomplished from the five tabs near the top. The one we’ll be looking at today is Backup Plans. There’s even a quick option for first time users to Setup Backup Plan. Let’s create a new backup plan!
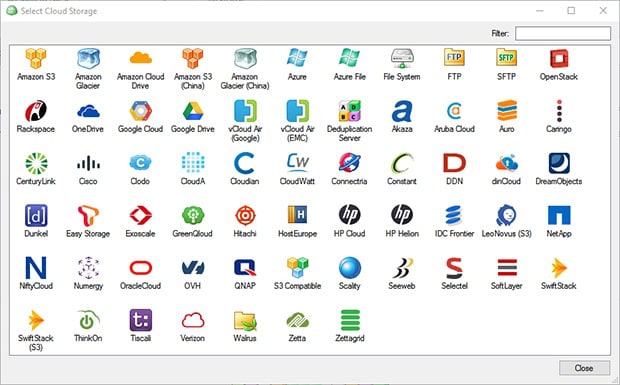
One of the best parts of Cloudberry is in this screen. Cloudberry works with quite a few cloud storage offerings. For this example, we’ll be using Google Drive.
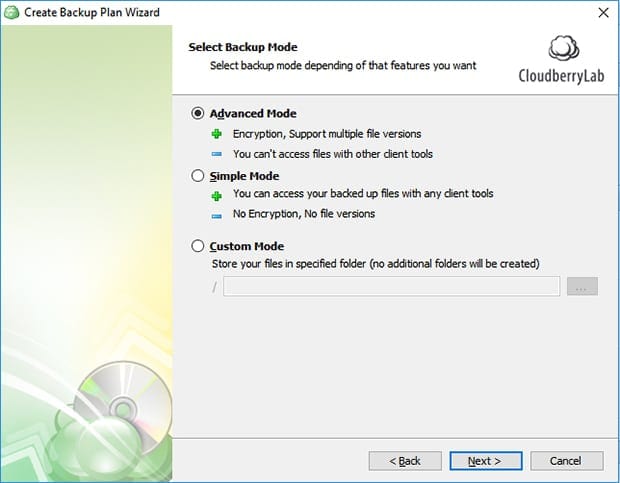
Once a cloud service is chosen, it’s time to dig into the options for creation. Advanced mode gives users encryption and supports multiple file versions. It’s the secure version. If your backups do not require protection, then Simple mode is for you.
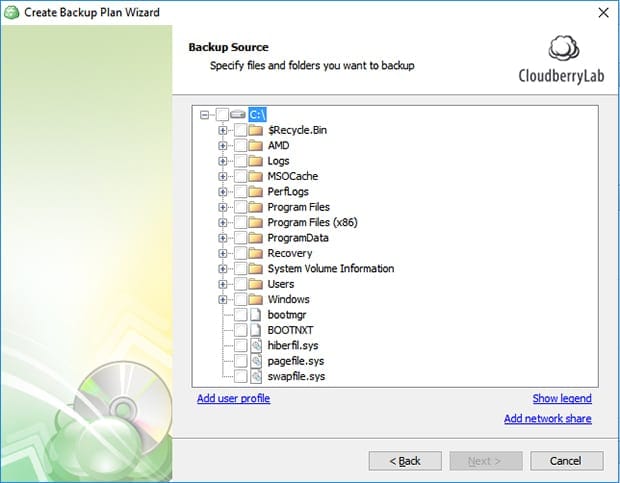
Now it’s time to pick exactly what you’re trying to backup. Simple to use drop downs means you’re only backing up what you want.
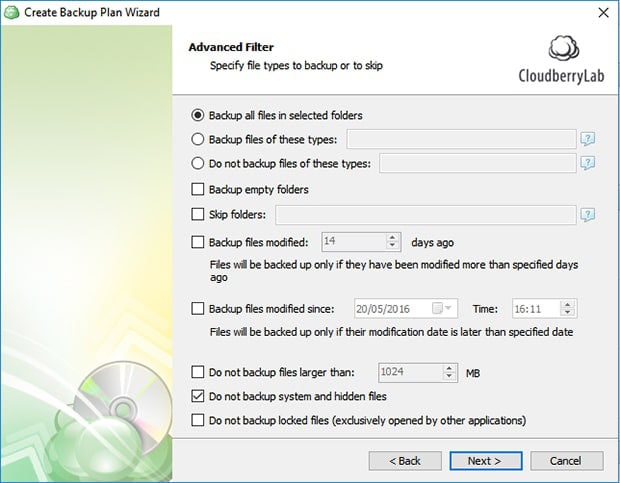
The next screen gives you even more options, allowing you to backup specific files in the folder. You can filter file types, skip folders, recently modified filers, and more.
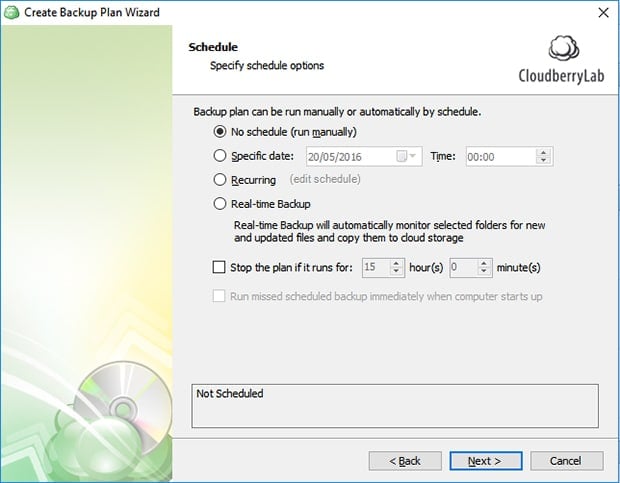
After a couple additional options, you’ll be asked to schedule your backups. This can be a one time thing, or you can set recurring backups.
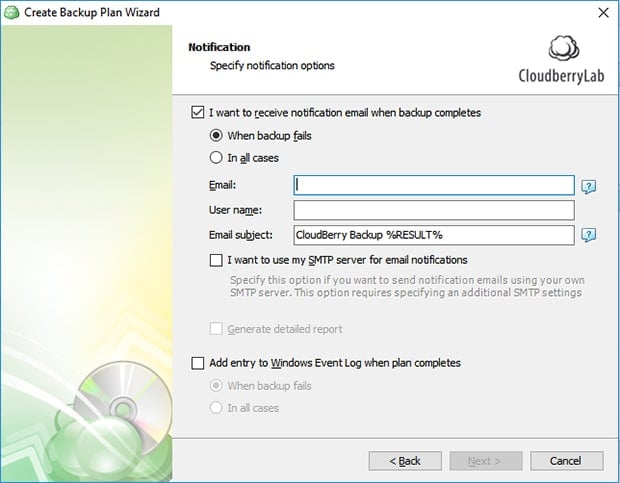
Your last step is to set up your notification options. You can opt out of notifications, have it set to only notify upon backup failure, or to have it email you every time a backup is completed.
And that’s it! You’re on your way to having backups for anything you deem necessary! With Cloudberry working with most cloud services, you don’t have to worry about compatibility. With the free version, it’s risk free. Try it out (personal use only) and if you choose to stick with it, the Pro version is available for $29.99 and gives users more control, including compression options.
Photos courtesy of TechnoFAQ.