How-To
How to use YouTube’s new blurring tool
If you’re uploading videos to YouTube and wan’t some parts to be blurred out, this handy guide will show you how to use YouTube’s new blurring tool.
Just a heads up, if you buy something through our links, we may get a small share of the sale. It’s one of the ways we keep the lights on here. Click here for more.
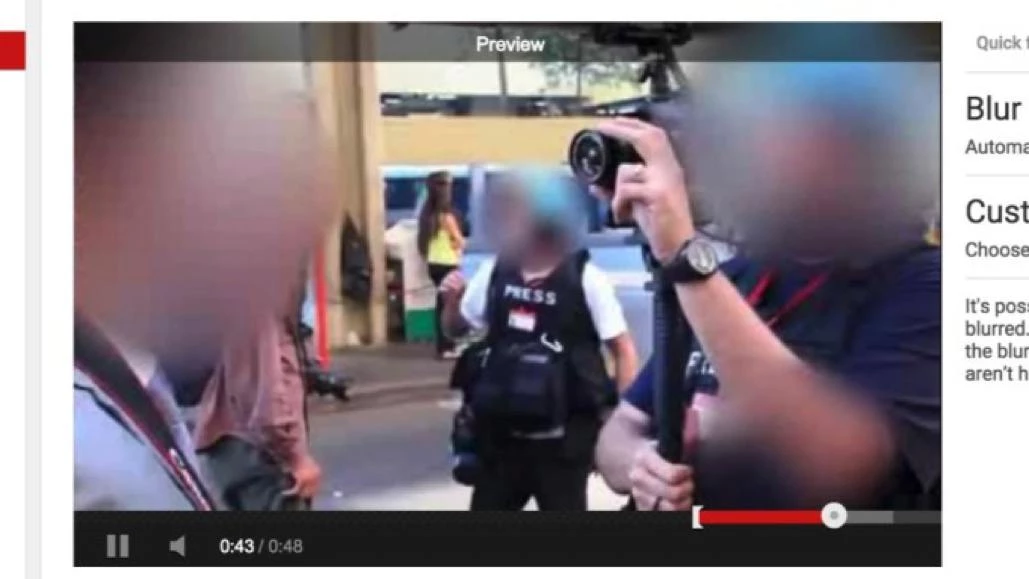
There is a basic video editor that was recently built into YouTube. One of the more interesting features of this particular editor is the presence of a blur tool. This means that you can use it to blur out information such as addresses, license plates, faces and anything else you want.
The intention of the blurring feature is to provide privacy so that you can share your movies around the world with no one finding out who you are or where you live at least in terms of what the video reveals.
The Custom Blurring Tool can be accessed through the interface on the desktop and offers an enhancement option so that you can blur all the faces in a clip if you so desire. What you’ll need to do is access the Enhancements which is identified by the magic want on the editing system.
- Blurring Effects
- Custom Blurring
- Edit
At this point, a dialog box will appear. Now, go through your video and find the places that you want to blur out. Once you have found the place, all you need to do is draw a red rectangle around it. If you have difficulty seeing the outline, you can use the zoom controls located on the lower right to get in closer to the timeline itself.
Once you have placed the blur on the timeline, you can now set the anchor points at the beginning and end. This will cause YouTube to track the area inside the rectangle so that it stays blurred even if you moved the camera or if the subject of the blur has moved. You can click Lock which will stop it from happening and then hit Done and your new blur will appear on the timeline.
This is a great tool if you want to blur out a face, license plate, or anything that you want to keep private.


