How-To
How to get the best possible shot from your camera
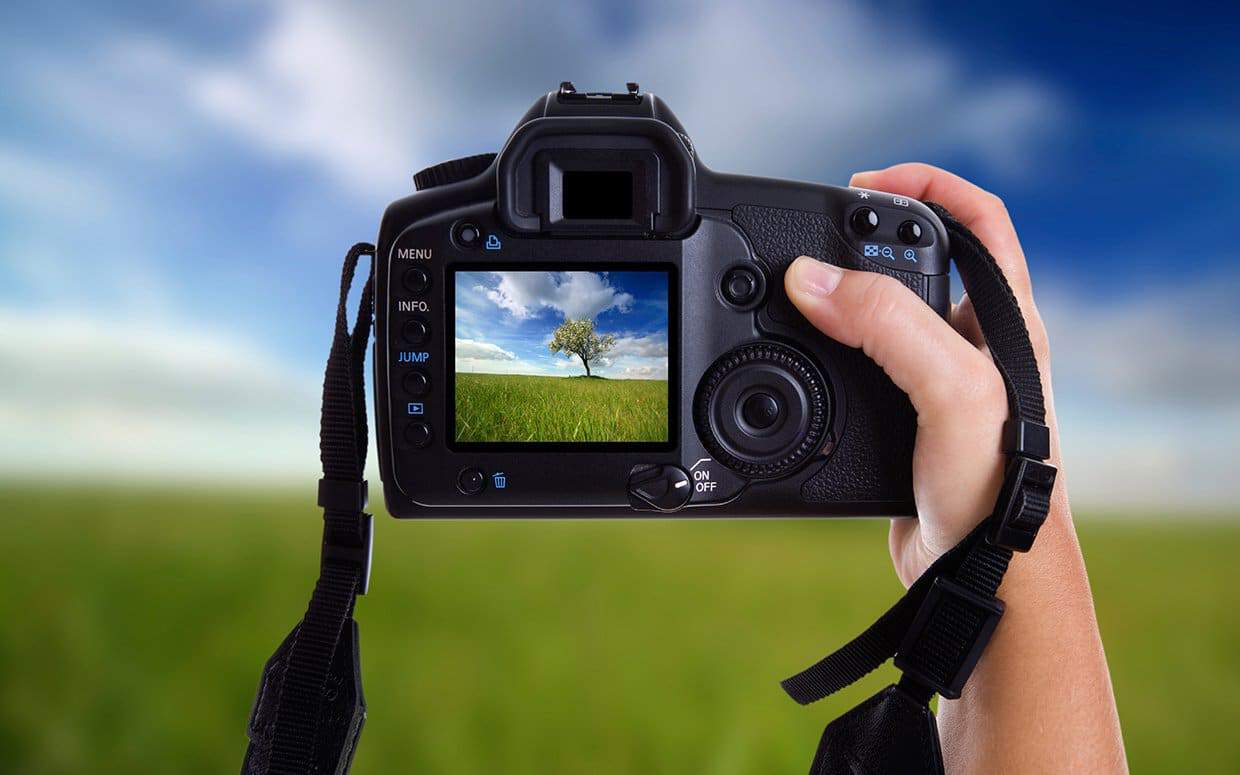
Looking to up your photography skills? Here’s some tips on getting the best shot from your camera.

Just a heads up, if you buy something through our links, we may get a small share of the sale. It’s one of the ways we keep the lights on here. Click here for more.
It doesn’t matter if you got a cheap and simple point-and-shoot or you’re enjoying the latest model high-end DSLRs can offer, there is a simple underlying question anyone who’s ever held a camera has asked, and that is “How can I take better photos?”
Fortunately, even the camera on your phone is not a limiting factor, because it takes more than just a fancy camera for you to be able to take breathtaking photographs. Here are some factors you should take into consideration in order to your personal photography style better.
Learn everything there is about your camera

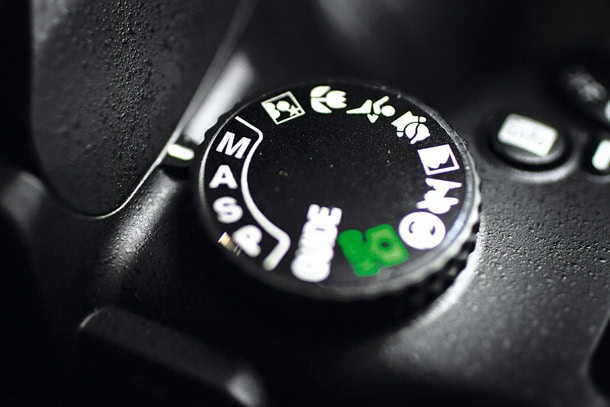
Most people skip this step, but going through the manual can oftentimes tell you things about your camera you probably didn’t know. Study the presets and get to know them by heart. If you already have some basic knowledge about cameras then you should consider using the manual mode. It lets you control a vast number of different settings when taking a picture, including the aperture, focus, and the camera’s shooting speed. If your camera doesn’t have a manual mode, don’t worry about it. Focus on using filters instead and try incorporating them into your work. You can also opt for a rehoused Super Baltar Rental to experiment for new ideas on how to make your photos more surreal.
Make the most out of any situation

Bringing your camera when you know you can get some great shots is understandable, however, some of the best are literally taken in the most ordinary of situations.
READ MORE: The PhotoStick Omni may look hideous, but it’s insanely practical
Try to have your camera with you most of the time and try focusing on your surroundings. That same path you take every day to school or work can actually be filled with great photo opportunities you might not be aware of. Experiment with different modes such as night mode, portrait, and landscape until you’re confident enough to play around with the manual mode.
Frame positioning is crucial!
People often don’t realize this, but simply placing your subject in the middle of the frame doesn’t always lead to a very exciting and interesting picture. Framing the picture is half of the work, as it draws the viewer’s attention and focuses on just the right places. For example, cutting the frame around the waist produces a more formal, business-like picture, while close-ups are always done with the frame extending to the shoulders at most. Sometimes the background can really accentuate the subject, so try incorporating at least some part of it or entire background when possible.
Make sure the focus is on point
Social networks are literally flooded with blurry and out-of-focus photographs. This is because people rarely bother to focus the subject before taking the picture. You should avoid doing this at all times and always take the time to focus on the subject or subjects you’re photographing.
Almost all point-and-shoots have some basic focusing modes such as center spot, face detection, and continuous focus. If you’re still unsure whether your subject is in focus, look for a little green square when you’re focusing. It indicates that your camera achieved proper focus and that’s when you know you can take the picture.
Be careful when zooming

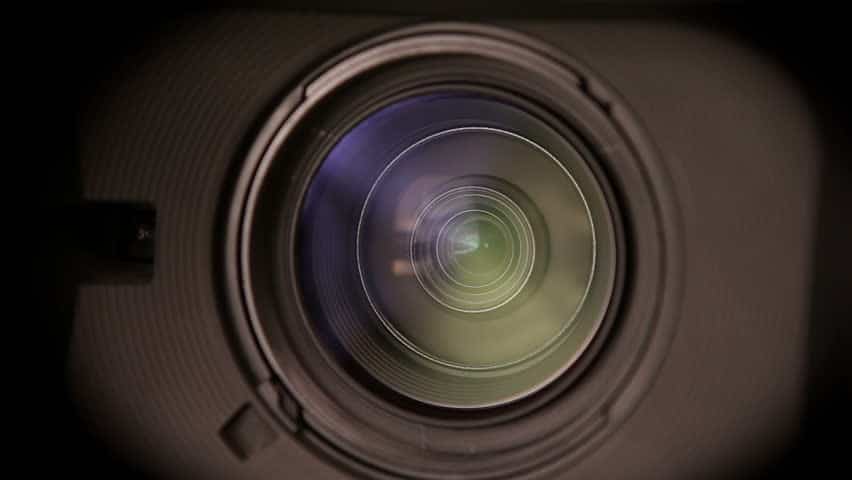
You might not have known this, but your will get darker the more you zoom into a subject. This means that you have to take special measures to compensate for that darkness by allowing more light to get into the camera lens. Try to get close to your subject instead of zooming from a distance. Also, there’s a big difference between optical and digital zoom. Optical zoom uses an array of lenses to zoom into the subject, while digital simple stretches the picture, leading to a grainy and pixelated effect. If you’re unsure on whether your camera supports a certain lens, you can always check for both lenses and digital cameras online, as well as at your local camera shop.
Also, make sure to position the flash properly. If the flash is too close to the camera lens, then it’s best you avoid using it. You can always dim the flash by using a semi-clear screen over it, or in a case of photographic emergency, even a thin and small piece of tissue. You know that old saying “practice makes perfect”? It’s especially true when it comes to becoming a master of photography, so whatever you do and however you end up using your camera, don’t stop making pictures.


