Just a heads up, if you buy something through our links, we may get a small share of the sale. It’s one of the ways we keep the lights on here. Click here for more.
Instagram is a popular video and photo sharing social network service used by people all across the globe. The service has lots of personal information about the users, especially the pictures and videos someone is posting, and the ones they are liking from other users. Did you know that you can actually obtain all of the Instagram data for yourself?
Some of the biggest issues in the world right now are data protection and privacy. Social networking service like Instagram need to take serious care of user data they are collecting and storing.
Whether you would like to move from one service to other or you want to keep a copy of all your Instagram data as a backup, there is a way to accomplish this. This comes from the Data Protection Bill which forces companies to provide users full control over their data.
How to Download Instagram Data
Users can easily download Instagram data using the web version. Follow the steps below to grab a copy of your data:
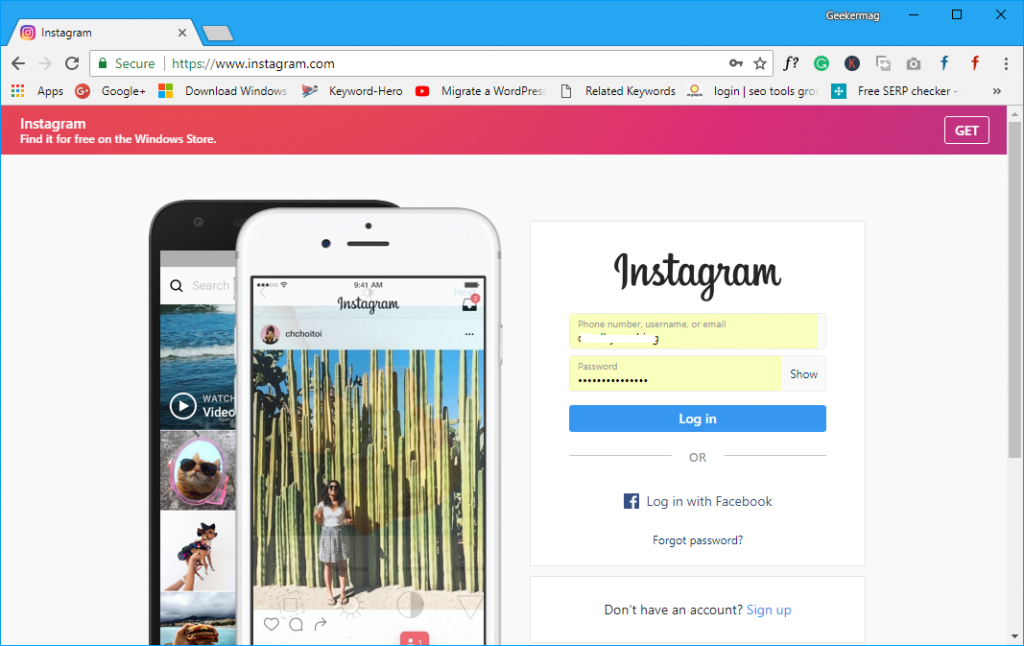
1. Visit Instagram.com and login to your account.
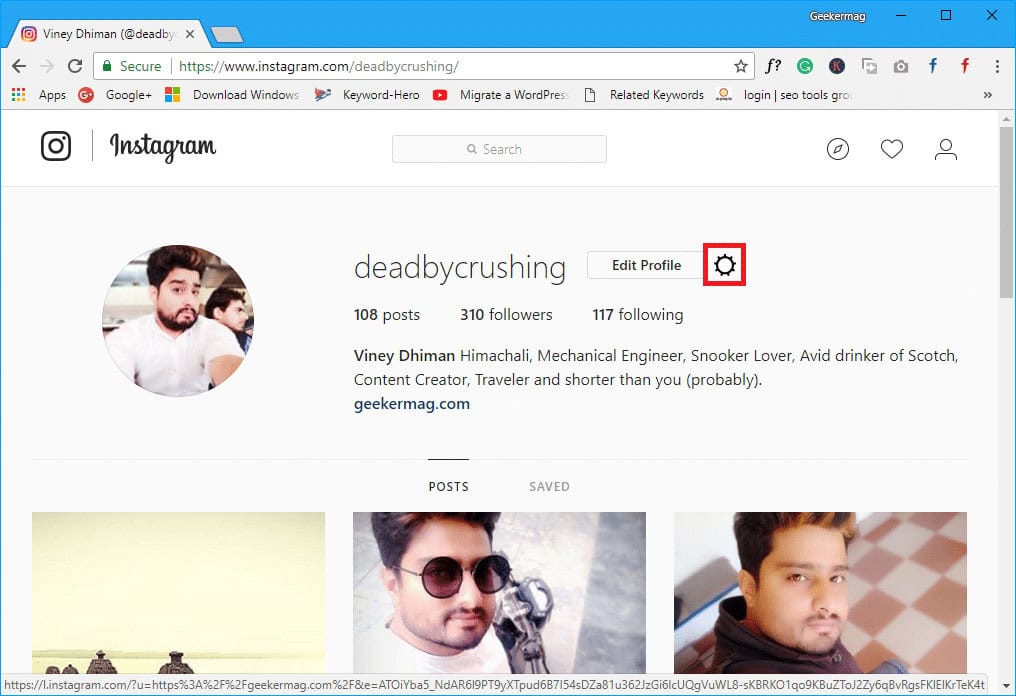
2. Click on the Profile icon available on the top right side of the screen.
![]()
3. On the Profile page, you need to click on the Gear icon.
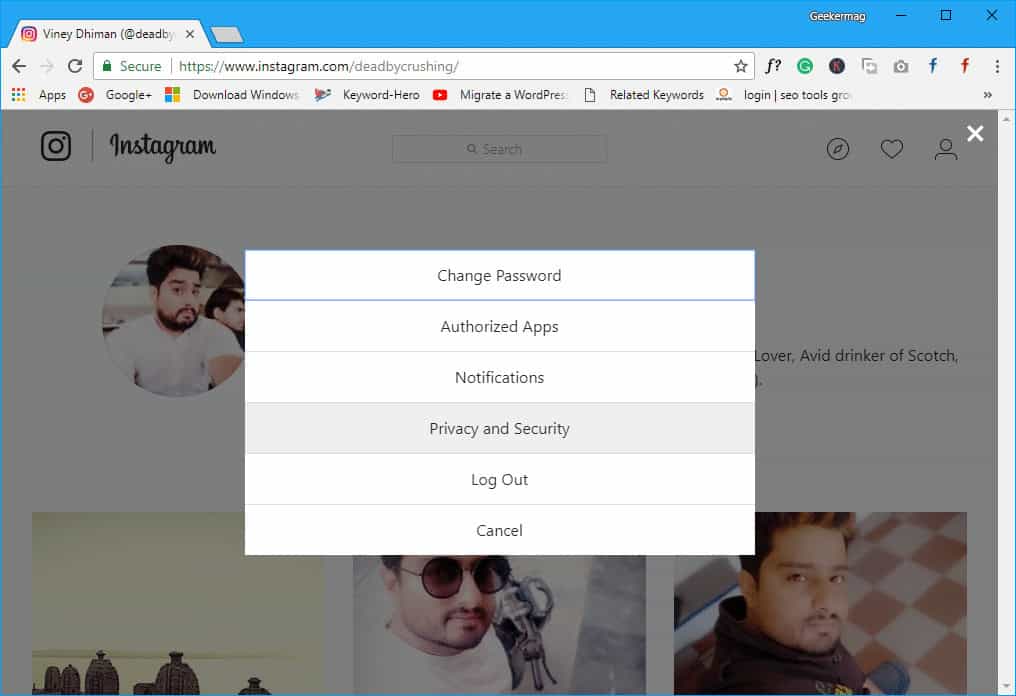
4. From the dialogue box, you need to select Privacy and Security.
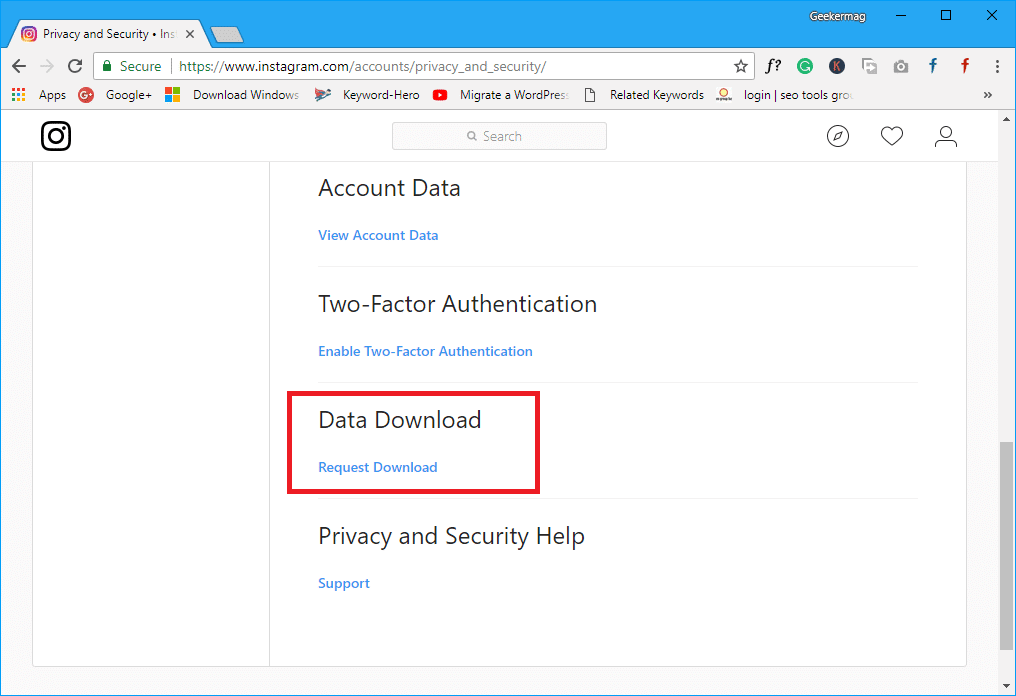
5. In the Privacy and Security section, you need to scroll down to the Data Download section. Here, click on the Request download link.
6. On the next screen, you will need to enter the email id you used when setting up the account in the space provided. Then, click the Next button.

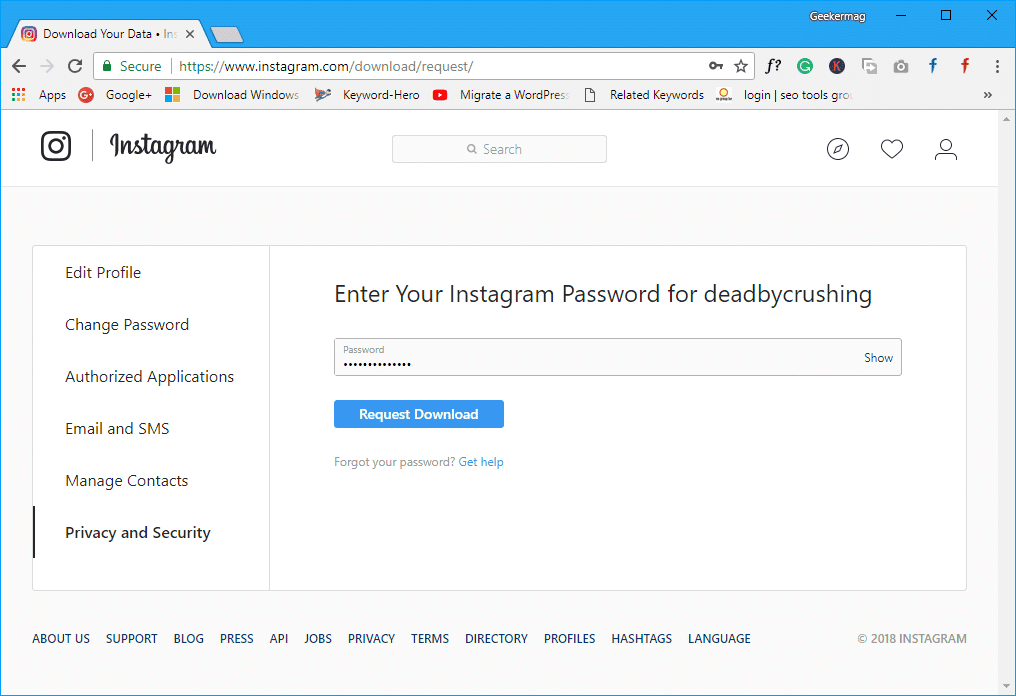
7. After that, you need to enter the password which you use to login to your Instagram account and then click on the Request download button.
8. Finally, your download request page will come up with a message stating the download has started. It is possible the file will be quite large, it can take up to 48 hours to complete the request.
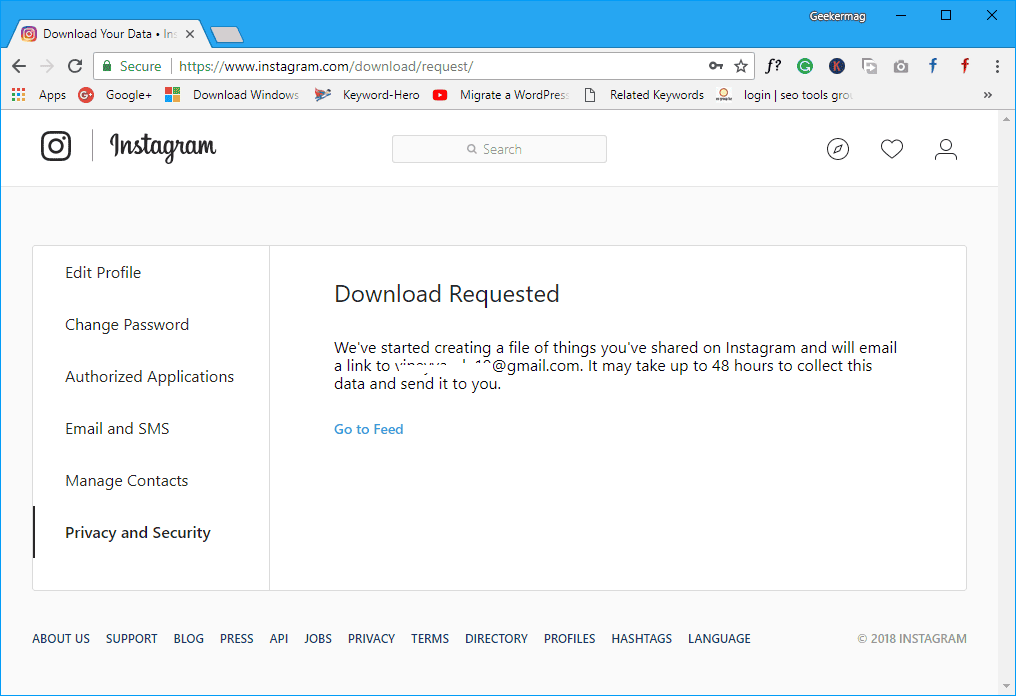
If you aren’t a heavy Instagram user, however, your download will most likely complete much more quickly.
9. Once Instagram requested data is available for download, you will receive an email to your account – click on the Download Data button.

You will be redirected to the Instagram login page, where you will again be required to input your account credentials.
10. Once done, click on the Download data button. This will start downloading the Instagram-requested data file. The requested file is a zip file.
11. You can use any archiving tool to extract the Instagram data folder. Inside the folder, you will find different folders and file as shown in the following screenshot.

You can check each folder one by one to find out what personal information Instagram is keeping.
What is included:
- Photos – The photos which you have uploaded to your account.
- Videos – The video which you have uploaded to your account.
- Comments – The comments which you have made on your friend’s photos and videos.
- Profile information – All the profile information which you have updated which includes Name, Email address, website link, and the bio.
As soon as the same feature is available for Android and iOS apps, we will update the information in this article.
What you do with this Instagram data is totally up to you, but it is nice the option is available. Share your thoughts in the comments.