Entertainment
7 things you immediately need to do to improve the picture on your new TV
Want to get the most out of your new TV? Do this first.

Just a heads up, if you buy something through our links, we may get a small share of the sale. It’s one of the ways we keep the lights on here. Click here for more.
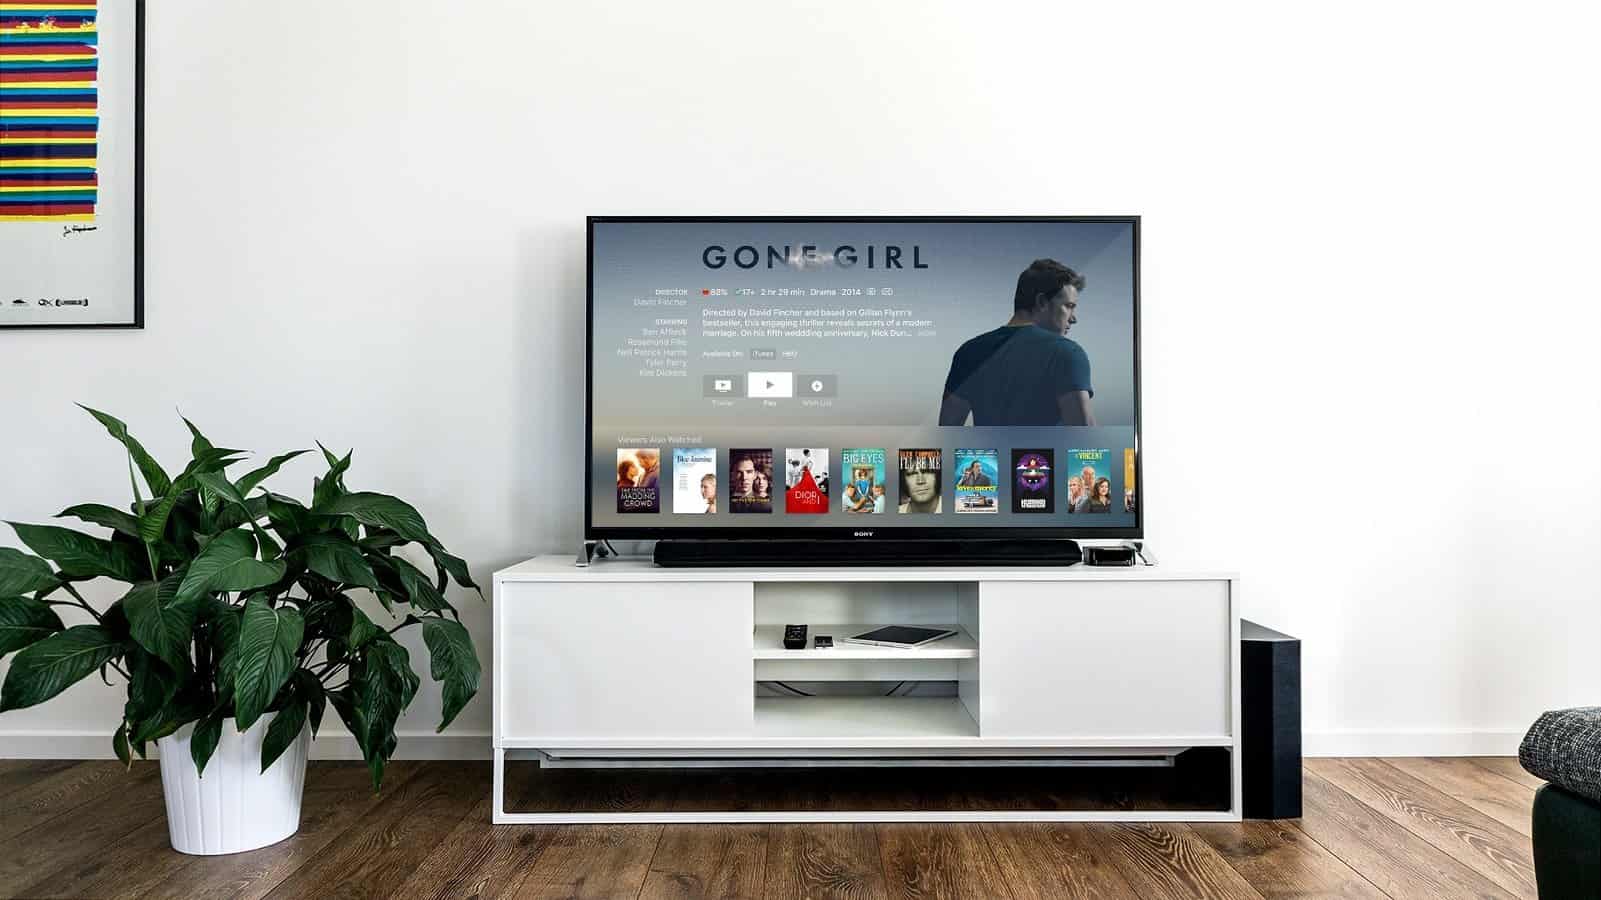
New models of smart TVs seem to constantly be popping up. That also means that last year’s models will get some pretty hefty discounts, as retailers try to clear out warehouse space. Maybe you want to make the jump to 4K from your aging HDTV, or fancy one of those new OLED models from Samsung or LG.
Whatever your reasons for a new TV, there are a few things you can do to substantially improve the picture quality out of the box. It might make all the difference between your TV looking oversaturated like the big box store display models instead of a pleasantly balanced color space.
Before we start, grab the manual for your TV. Unfortunately, all the manufacturers tend to call the same functionality by different names. We’ll try to mention the common names, but you might need to dig in that manual that you probably never read normally. You could also check out rtings.com or AVSForum for help.
You’ll also want to turn off all the lights in the room, and it’s easier to calibrate at nighttime so there aren’t any external light sources falling on the screen. We’ll mention how to tweak things for a lighted room later on.
Tips for the best performance of your TV
Change it from the default picture mode
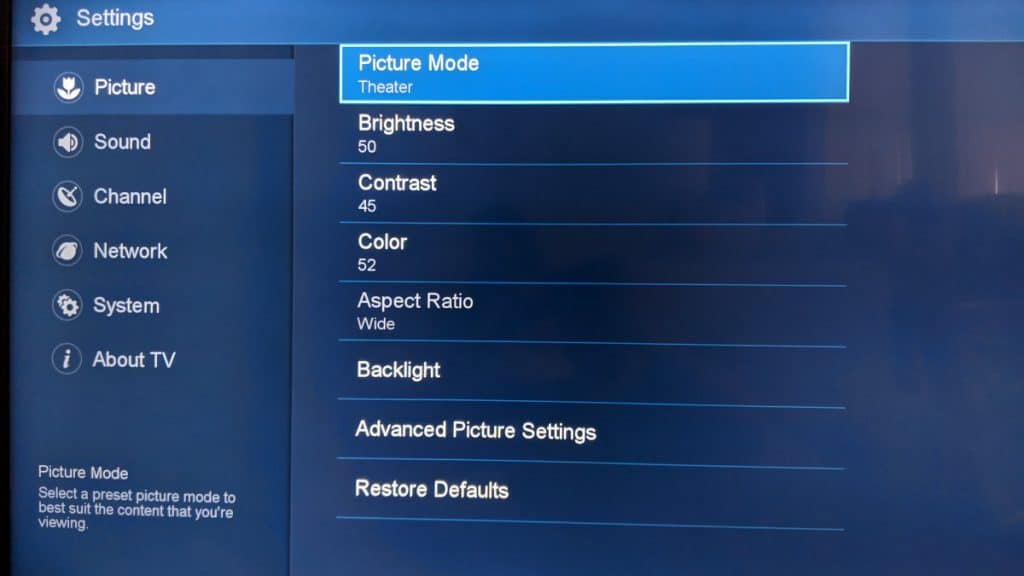
Before you do anything else, you’ll want to check which Picture Mode your TV is set to from the factory, and change it if it came on the default, which could be labeled anything from Standard, to Vivid, Dynamic, Bright, or some other adjective that sounds flashy. This is the least accurate mode, which really is designed to make the TV look eye-catching when they’re in a well-lit store with multiple other TVs in view.
Find the section of your TV’s settings that talks about Picture Mode, and change it to Cinema, Movie, Calibrated, or possibly Filmmaker. This could also be called something else, so check your TV’s manual. This mode will dial down things like saturation and sharpness, so you’ll see more fine detail. It’s also usually the mode that lets you change the most other options, which is just what we want.
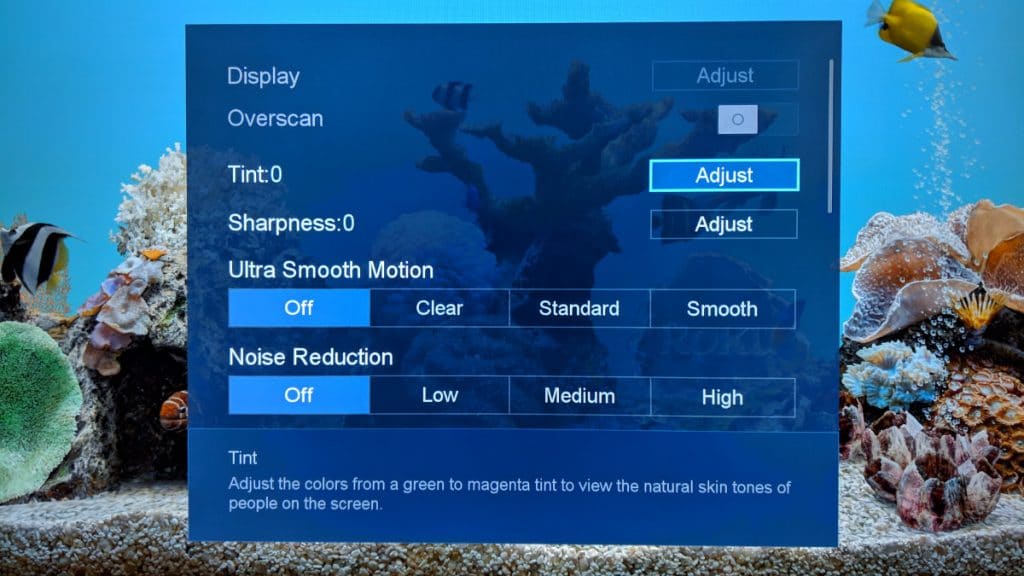
Turn off sharpness
You really don’t want this to be set to anything other than ‘zero’ or ‘off.’ Sharpness on TV’s doesn’t really control sharpness, merely its apparent sharpness. At best, it will reduce fine detail, and at the worst, it will introduce noise to your picture and you might think something is wrong with your TV. Turn it off, and see how you like the resulting picture. Some TV’s look better with sharpness set to 0-to-10 (out of 100), so experiment to find the right setting for your TV.
Turn off Energy Saving features: Look, I’m all for saving the environment, just not at the expense of not Saving Private Ryan. Or being Saved By The Bell… or.. well, you get the picture. The point is, the first thing you want to turn off when you get a new TV is the energy saving setting.
This setting lowers the brightness of the TV to save energy. Thing is, while the brightness is low you might be ruining any HDR capabilities that the TV has. You’ll probably need to dive into the manual to find this setting, as it could be buried in the menus. Sometimes it’s called “Energy Saving,” sometimes “Eco Saving”. Some TVs store it in the General Settings menu, some in the Picture Menu, some in the System menu.
Turn off the “Soap Opera effect”:
Good ol’ Tom Cruise. When he’s not pretending to save the world, he’s trying to save you from bad TV settings.
I’m taking a quick break from filming to tell you the best way to watch Mission: Impossible Fallout (or any movie you love) at home. pic.twitter.com/oW2eTm1IUA
— Tom Cruise (@TomCruise) December 4, 2018
The “Soap Opera effect” is just another name for “motion smoothing.” If you’re a gamer, you know that 60fps is the minimum for smooth gaming. The same thing goes for TVs, except the video will be either 29.97fps or 24fps from the source. Your TV creates extra frames between these to bump it up to 60fps (or more) but this makes everything look like people are moving faster. It got the nickname because daytime soap operas were one of the first shows to film in 60fps.

Most TVs come from the factory with this setting enabled, but you’ll want to turn it off asap. Unless you’re one of the few that prefer the hyper-real, speeded up motion, it’ll just ruin your enjoyment of anything you watch. It might be called “motion control,” “Motion Smoothing,” “TruMotion,” or something else with “motion” in the label.
Adjust the Backlight, Brightness and Contrast settings: Okay, before you dive into changing any of these, go search for your TV on rtings.com. If it’s a popular set, chances are they’ve reviewed it, rated it, and more importantly – calibrated it. While every panel is slightly different, their settings for your model will give you a better stepping-off point than if you had to start from scratch. That said, you can do it the manual, long-winded way if you really want to learn, hate yourself or just plain want the best picture you can squeeze out. You’ll need the two test pattern videos below:
White:
Black:
These are standard test patterns to show the darkest and lightest shades that are most in danger of “clipping,” which just means the point at which the squares you are supposed to see disappear due to an incorrectly calibrated panel (or potentially a bad panel).
First, go turn off anything that mentions “improve blacks” or “dynamic contrast” or automatically changes the backlight. All of these settings have their place, but you don’t want them on while trying to calibrate the screen.
Then get your TV displaying the white pattern video above, and make it as big as possible (fullscreen is best but any increase in size will work). Then open your TVs settings, and look for the white level setting to adjust. Now it gets tricky here as manufacturers still can’t decide on a standardized naming convention. Most will call it Brightness but sometimes it’ll be called Backlight and Brightness will be the actual light levels of your TVs backlight.
If your set has both of these settings, you’ll have to test to see which one actually changes the white levels. Changing the values while the test pattern is running, you’ll see the boxes labeled 251d through 255d disappear and reappear as you tweak things. Your end goal here? Box 254d should be barely noticeable as a box; ideally, it will blend into the surrounding area. If you can’t see it, decrease the Brightness/Backlight settings until you can.

Now it’s the dark tones turn. Usually, this is done by changing the Contrast setting, but if your TV manufacturer decided to be a dick, it could be the Brightness or Backlight setting instead.
One word of warning – if you’re using a PC to get the black levels test pattern YouTube video to your TV, everything below 16d will be visible. This will throw off the calibration, as non-PC sources use a limited colorspace, so use the inbuilt YouTube app/browser if you have a smart TV, a set-top box if you have that, or a console to display the video. That should mean you’ll just see uniform darkness before where 16d is, and you should only just be able to make out that 17d exists.
Once you’ve tweaked the black levels so 17d is the first square you can see, go back to the white test pattern to make sure that you didn’t ruin the whites. If everything still looks like you can just about see 254d, awesome. If not, you’ll have to flip back and forth between the two test patterns to tweak settings so both are close to the recommended settings.
All of those settings that enhance blacks, contrast or local dimming? Turn them back on now: Now that your white and black levels are calibrated, you can go back and turn on all those settings we told you to turn off in the last step. This will help LED TV sets to reduce the halo effect around bright objects with a dark background, plus you probably need them turned on for any HDR capabilities (if your TV supports it).
Turn on game mode (if you’re using it for a console)
Your TV’s Game Mode does a number of important things when turned on, which will make your game playing more enjoyable. For a start, it turns off most post-processing, which might make you think the picture isn’t as good, but it does drastically reduce input lag so your aiming will feel more like how you intended. That could make all the difference between winning and losing in online multiplayer games, or even in platformers where split-second timing counts.
Just remember to turn it off once you stop playing games, if your TV isn’t one that automatically changes it for you when it detects a console being used.
Tweak your gamma settings: When TVs get designed, the manufacturer usually thinks you’ll be watching them from a dark pit, with the TV as the only light source. That’s the only explanation that makes sense to me for why, once calibrated, your TV still looks terrible when it’s daylight or you have the lamps turned on.
The last step is to change the Gamma setting of the TV to suit your room. Gamma will usually be calibrated to 2.2 from the factory. Dropping it below 2.0 might blow out highlights and wash out shadow detail, so be careful while you adjust it. Anything over 2.4 will likely turn your dark areas into impenetrable blackness while making light areas super detailed. Play with this setting to your personal preferences, testing it throughout the day as the setting you find acceptable will change with the changing lighting conditions.
Hopefully, if you’ve followed these steps your TV will look a world apart from the oversaturated mess you picked up from the store. If you want to go further, you can get a calibration tool and DIY it, or pay for a professional TV calibrator to come and do it for you, which will cost about $500.
What do you think? Did you try these settings? Did you notice a difference with your picture? Let us know down below in the comments or carry the discussion over to our Twitter or Facebook.
Editors’ Recommendations:
- How to cancel your paid YouTube and Twitch subscriptions
- Here’s how to easily save and download videos from Vimeo
- How to connect Alexa to your new smart TV
- Hate your smart TV spying on you? You’ll have to pay more for a normal one


