Apple
How to reinstall iOS 13 if you’re having issues with the iOS 14 beta
Luckily, the process is extremely straightforward.

Just a heads up, if you buy something through our links, we may get a small share of the sale. It’s one of the ways we keep the lights on here. Click here for more.
The public betas of iOS 14 and iPadOS 14 are here, with anyone without a developer account now able to check out the next iteration of Apple’s mobile operating system before its full release in the fall. While the temptation of those new features is strong, just remember that all pre-release software often has unintended bugs and issues that could be more of a hindrance to you.
Have you taken the plunge already? Is iOS 14 not living up to your expectations? Have you experienced random reboots, apps breaking, or other glitches? Regretting your impulsive nature to upgrade everything once available?
That’s fine, really. Apple makes it fairly simple to roll back to the prior version of iOS, although if you didn’t back up your device before upgrading to iOS 14 beta, you’ll start with a fresh, empty iPhone afterward.
Here’s how to reinstall iOS 13 on your iPhone or iPad
Before we start, just know that this process starts with wiping your device, then restoring it from iTunes. You’ll be losing any data or files you created since you installed the iOS 14 beta, so make sure you back your device up to iCloud before starting.
You’ll need iTunes installed if you’re using a Windows computer, or your Mac’s software fully updated if using a Mac. Double-check this by clicking on the Apple logo at the top-left, then going to System Preferences > Software Update.
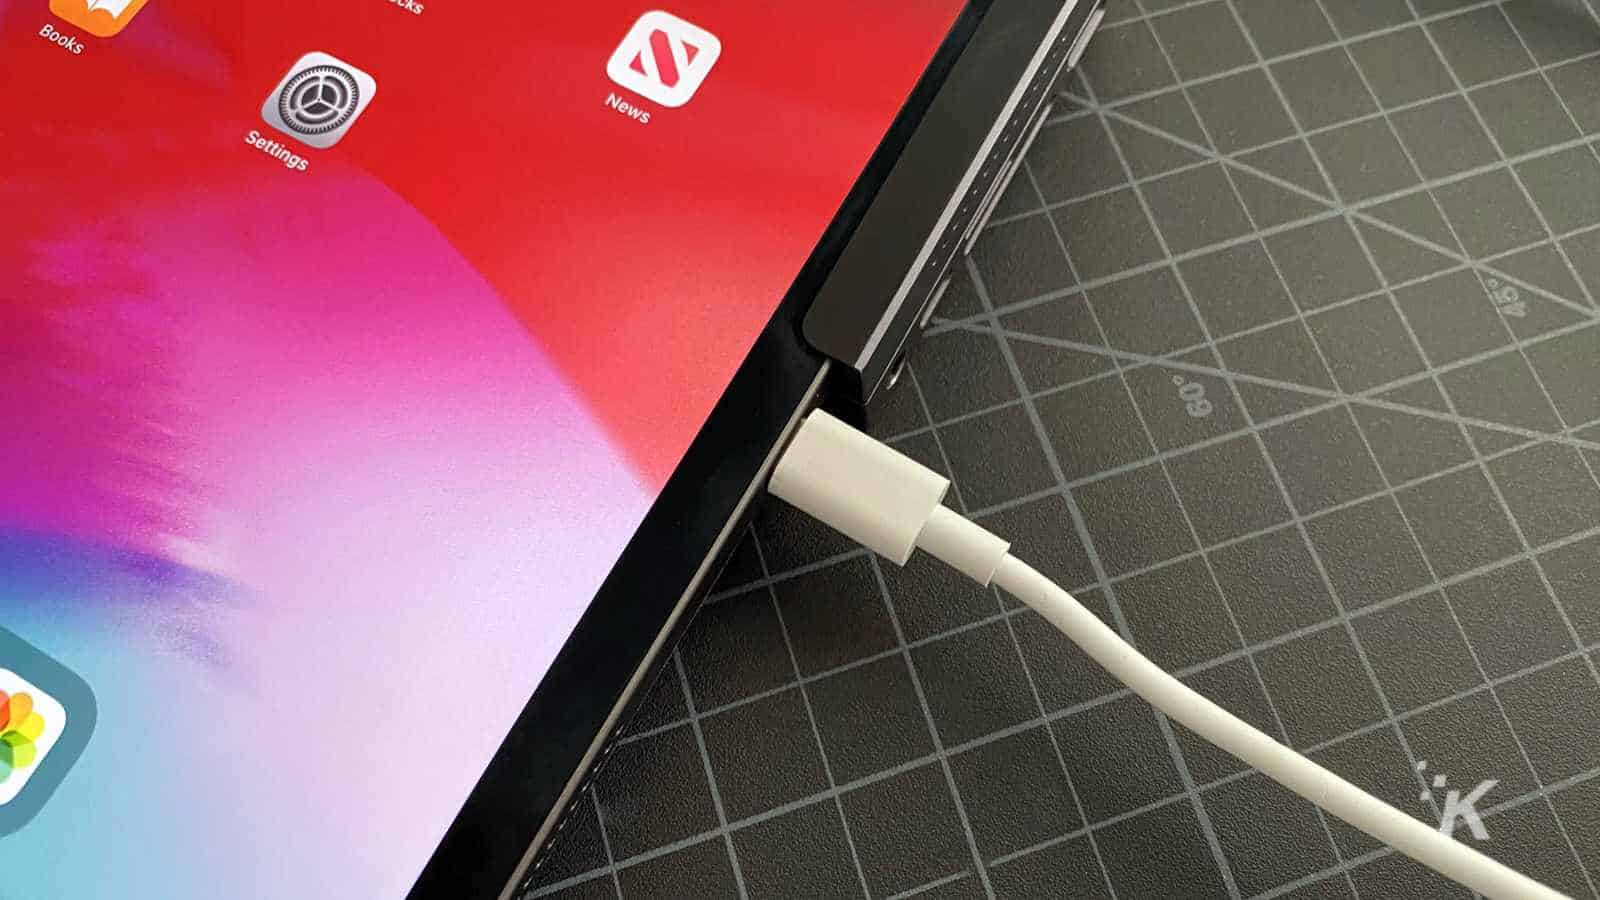
- Connect your iPhone or iPad to your computer using either a Lightning or USB-C cable

Image: Joe Rice-Jones/KnowTechie
- Put your iPhone or iPad into recovery mode by doing the following depending on your device
- iPhone 6S or older, iPad with home button, or iPod Touch 6th gen or older: Hold in the Sleep/Wake button and the Home button at the same time until you see the recovery mode screen
- iPhone 7, 7 Plus, or iPod Touch 7th gen: Hold in the Sleep/Wake button and the Volume-Up button at the same time until you see the recovery button
- iPhone 8 or later: Quickly press the Volume-Up followed by Volume-Down buttons, then hold in the Side button until you see the recovery screen
- iPad Pro: Quickly press the Volume-Up followed by Volume-Down buttons, then hold in the Top button until you see the recovery screen
- Your computer should give you a prompt letting you know that a device in recovery mode is plugged in. It’ll then ask if you want to Restore or Update your device, so click on Restore. Your computer will then automatically download the latest version of iOS 13, and reinstall it on your device
- If that prompt doesn’t turn up, or if you accidentally clicked cancel, you can either open Finder (on a Mac) or iTunes (on a PC), select your device, then select Restore
- If you created a backup of your device before you installed iOS 14 beta, you’ll then get asked if you want to restore your device from that backup. If you didn’t do that, you’ll have to set your device up from a fresh install
Now you are back on iOS 13, with all of your apps working again. Maybe they’ll get all the bugs worked out by the time the public release comes in the fall.
What do you think? Regretting downloading the iOS 14 beta? Let us know down below in the comments or carry the discussion over to our Twitter or Facebook.
Editors’ Recommendations:
- Here’s everything to expect from iOS 14 when it releases this fall
- iPhone users will finally have access to widgets with iOS 14
- Your fancy, expensive 2020 iPhone might not come with a power adapter or earbuds
- “Hey Siri, I’m getting pulled over” – how to have your iPhone automatically record the police


