AI
How to use Auto-GPT
Uncover the magic behind this AI tool that elevates your internet searches, goal achievements, and task automation, and much more.
Just a heads up, if you buy something through our links, we may get a small share of the sale. It’s one of the ways we keep the lights on here. Click here for more.
Auto-GPT is an open-source Python application that leverages OpenAI’s GPT-4, a large language model (LLM), to automate complex, multi-step projects and tasks.
Auto GPT is a powerful tool that helps users generate high-quality written content at the press of the enter key. Unlike ChatGPT, Auto-GPT can search the internet for information, gather data, and complete tasks.
Consider it your very own personal assistant, taking care of tasks you don’t want to do or don’t have the time to tackle. Yea, we could all use one of these days to make our lives a bit easier and more efficient.
In this article, we’ll show you what you’ll need to get one of these AI agents up and running and the skills required.
Things to know before using Auto-GPT
- First, you should understand what Auto-GPT is and how it works. I wrote an introductory article here.
- Following this Auto-GPT tutorial requires some basic programming experience and a laptop, as it requires a Python installation and other necessary dependencies.
- To use Auto-GPT, you will also need an OpenAI account to generate your API key. The API allows Auto-GPT to communicate with OpenAI’s GPT-4 and ChatGPT. Lastly, you’ll need access to GPT-4. There’s a waitlist here, and the wait times aren’t typically long.
Once you have all the things you’ll need, go ahead and create an OpenAI account here. You will come back to this later.
How to Install Auto-GPT on your PC
Now we have everything we need to get started with Auto-GPT, now we are ready to run it. However, if you don’t already have Python installed, we’ll need to set it up first. Here’s how.
Step 1: Install Python
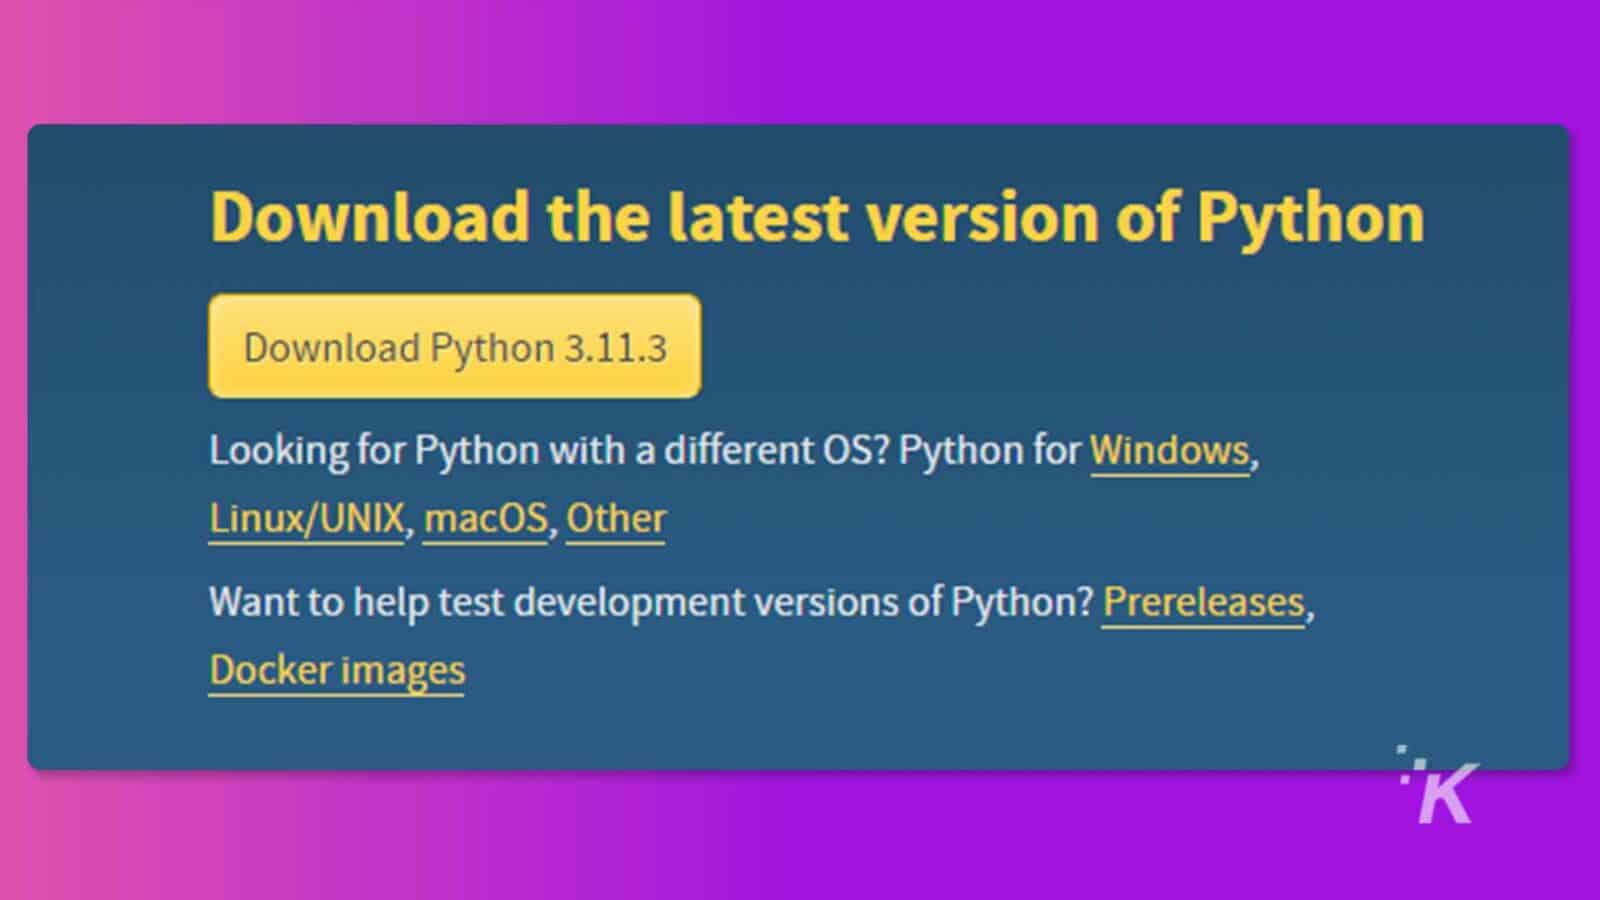
- Download Python from the official website and follow the steps to install it. For Windows users, make sure you tick the “Add python.exe to PATH” option during installation.
- Test your Python installation to be sure everything is good to go. Open your command prompt or terminal and run “python –version” and “pip –version” to get the version number.
Linux and MacOS users should use “python3” and “pip3” commands instead.
Step 2: Get Auto-GPT Source Code and OpenAI API Key
Now that we have Python out of the way, we need to tie in OpenAi to our environment. Here’s how to do it.
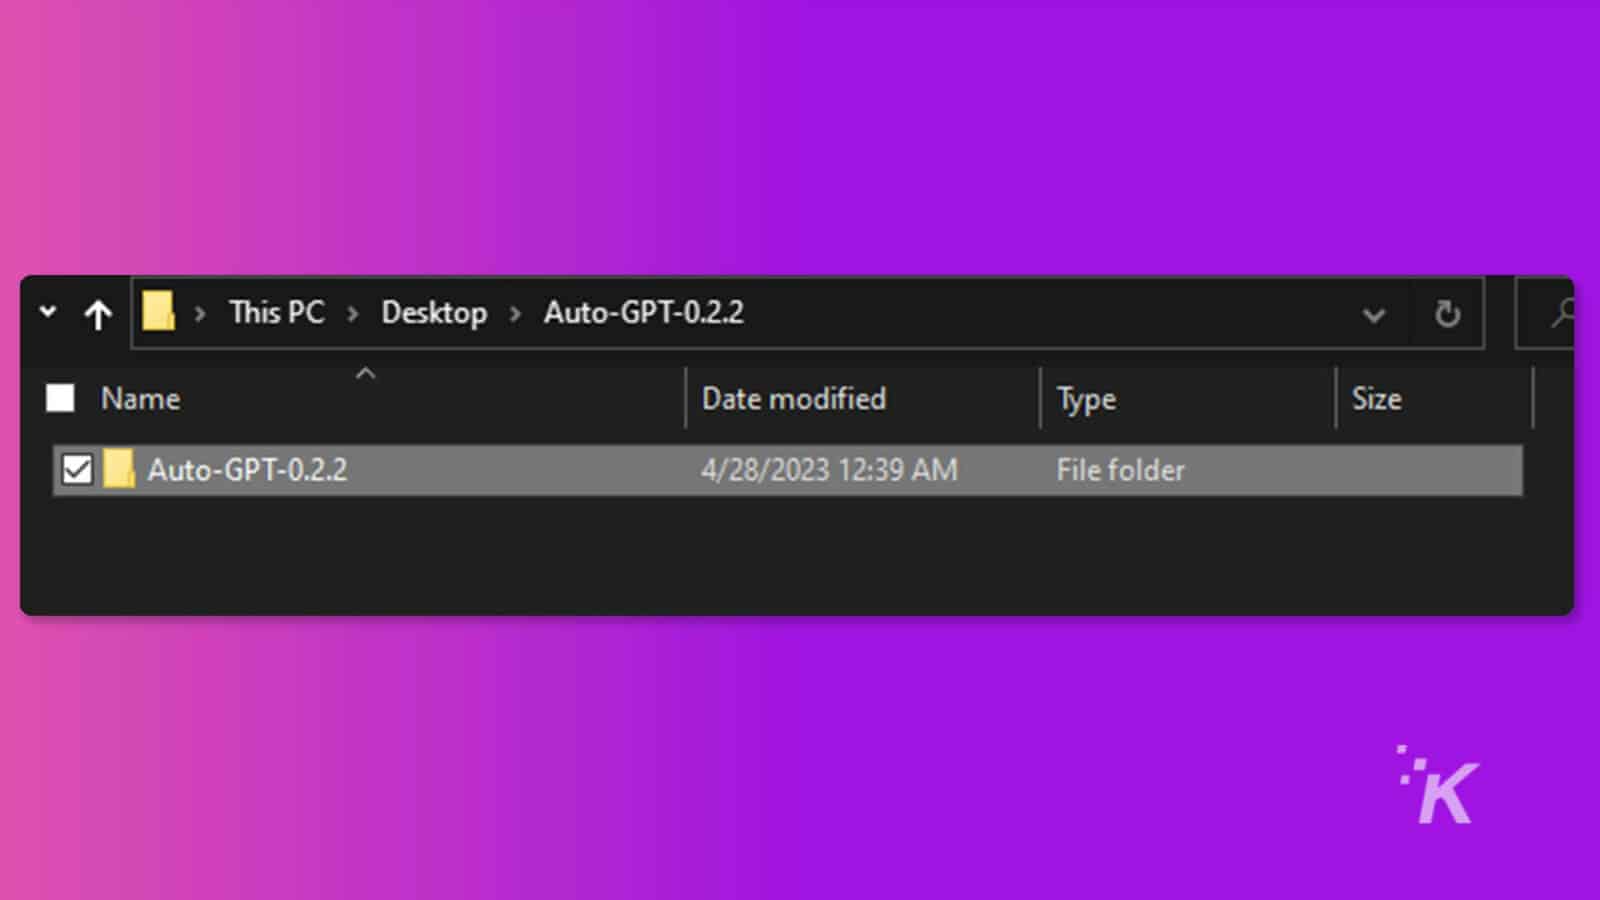
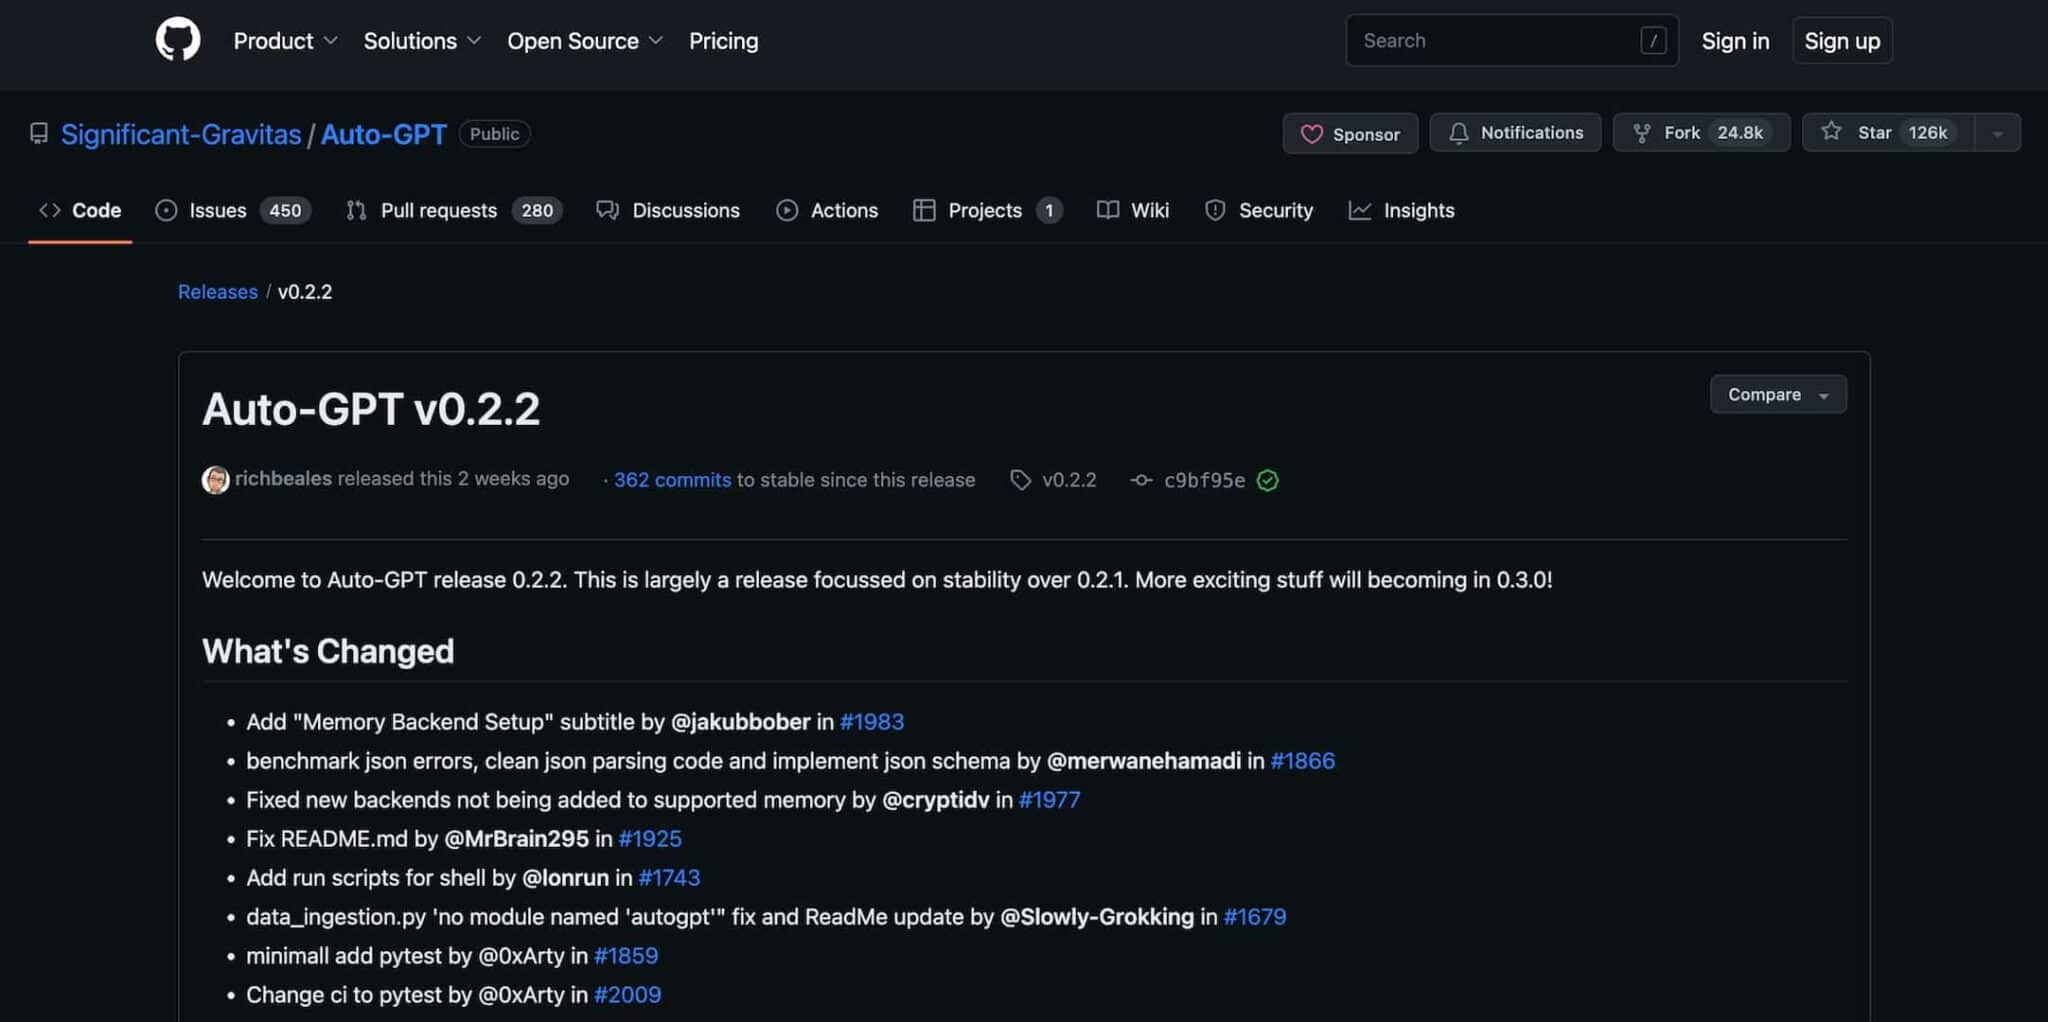
- Next, visit Auto-GPT’s GitHub repository here to download the source code for the latest release. The other versions might be buggy, so it’s best to go for the latest one as it’s the most stable.
- After downloading, double-click to extract the file to your local machine and save it in your preferred location.
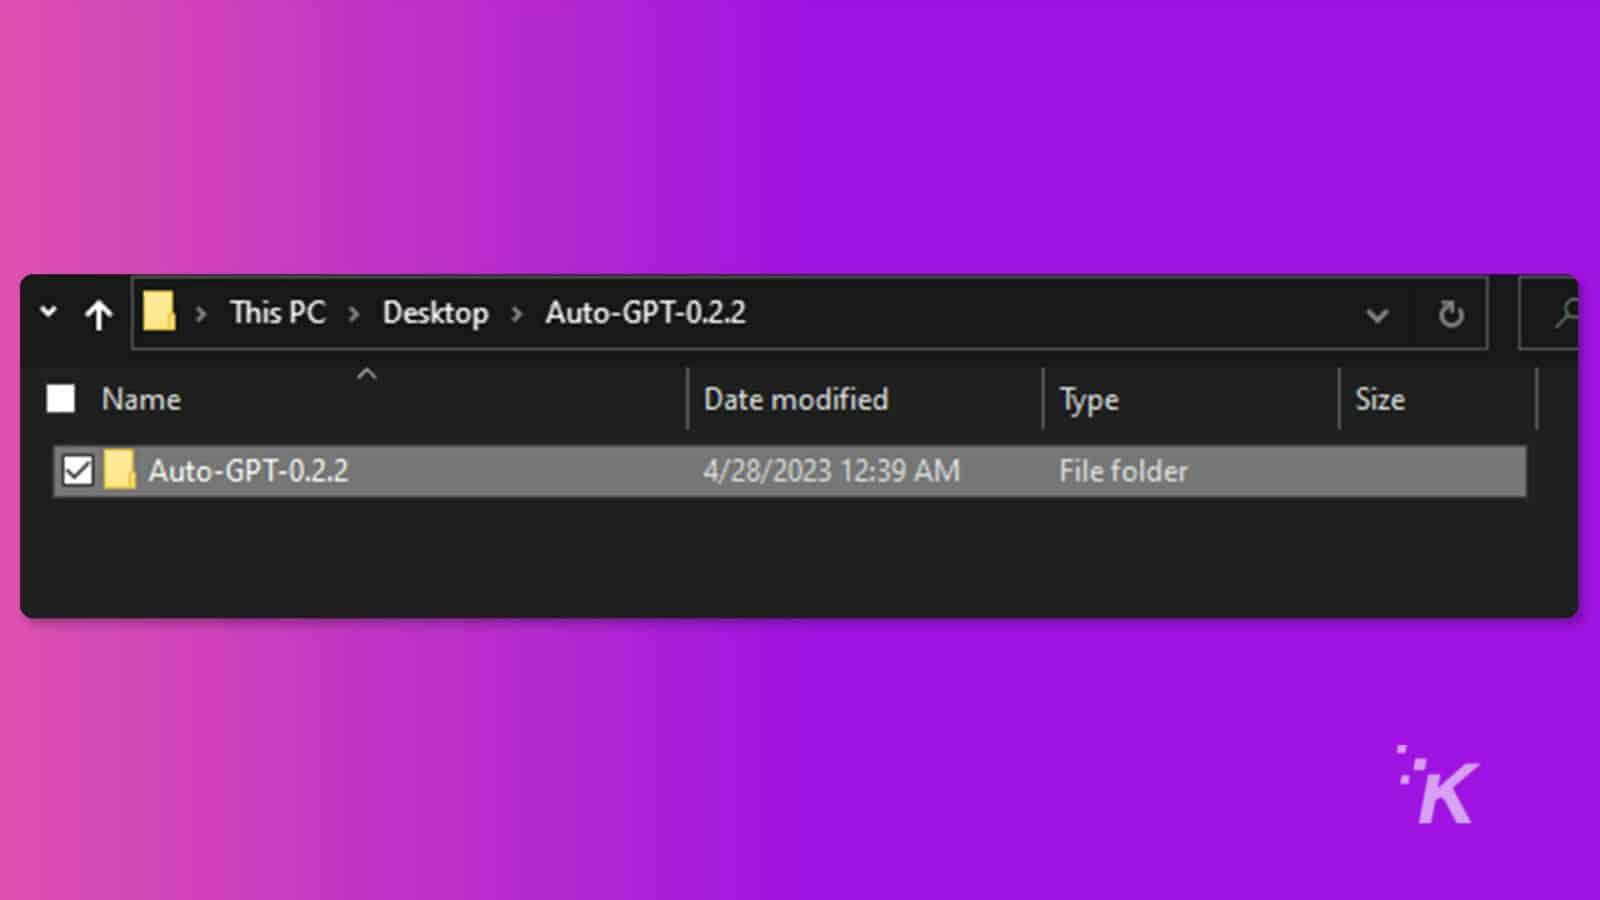
- Open the folder and look for the “.env.template” file. Open this with Notepad or your preferred text editor.
- Next, go to the OpenAI API dashboard and get your API secret key. If you don’t have one, click “Create new secret key.” Copy the created key and keep it somewhere safe.
- After that, move back to the text editor and paste the API’s secret key, as seen in the image below
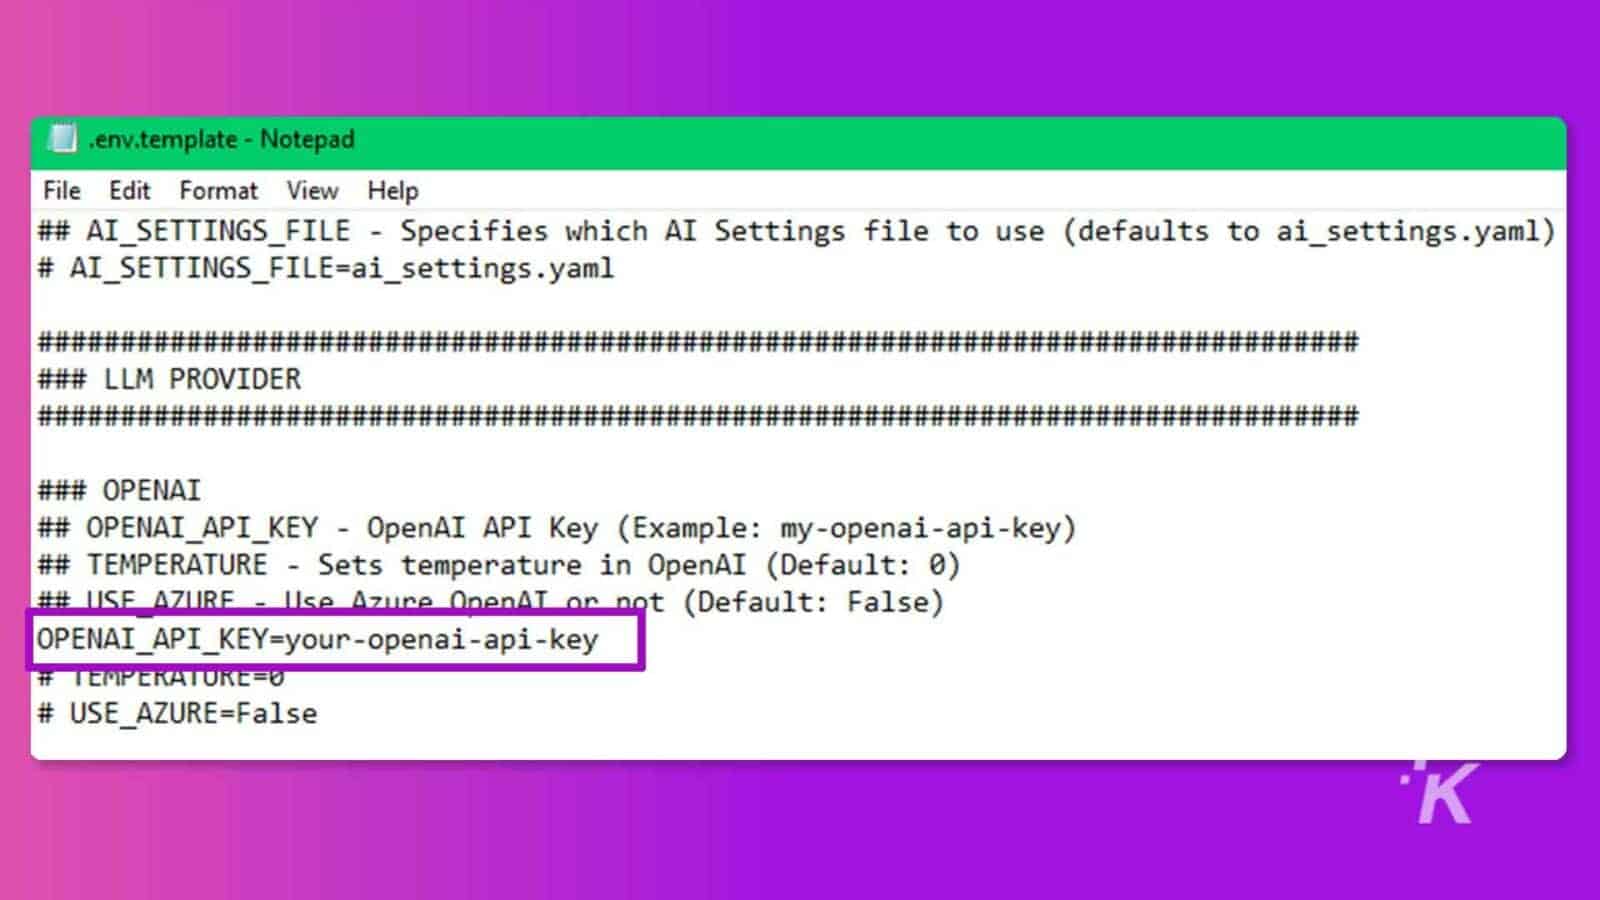
- After saving the file, rename the “.env.template” file to just “.env”
Step 3: Install Auto-GPT on Windows, MacOS, and Linux
Alright, we’re almost there. The next step in the process is getting Auto-GPT installed on your device.
- After adding your API key to the env file, select the Auto-GPT folder and choose the “Copy as path” option
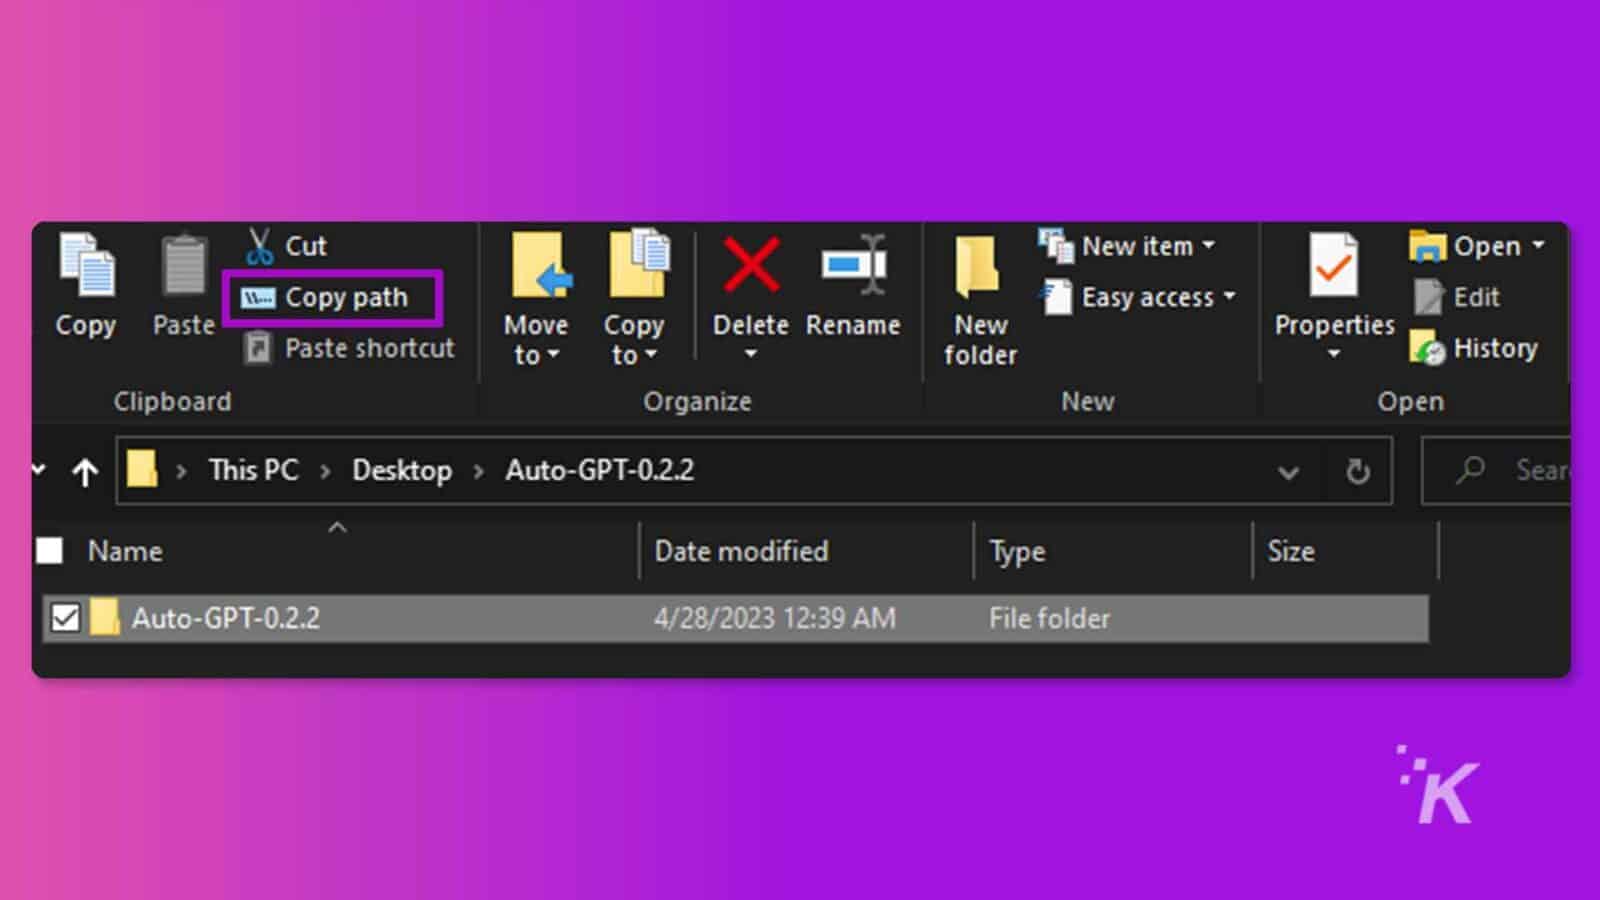
- Open Terminal, type cd with a space, paste the path you copied, and press enter. MacOS and Linux users can right-click and open the terminal inside the folder itself.

- After completing the previous step, run “pip install -r requirements.txt” to automatically install all the necessary libraries for Auto-GPT. You may see a lot of technical text on your screen, and the process might take some time, but don’t worry; this means it’s working!
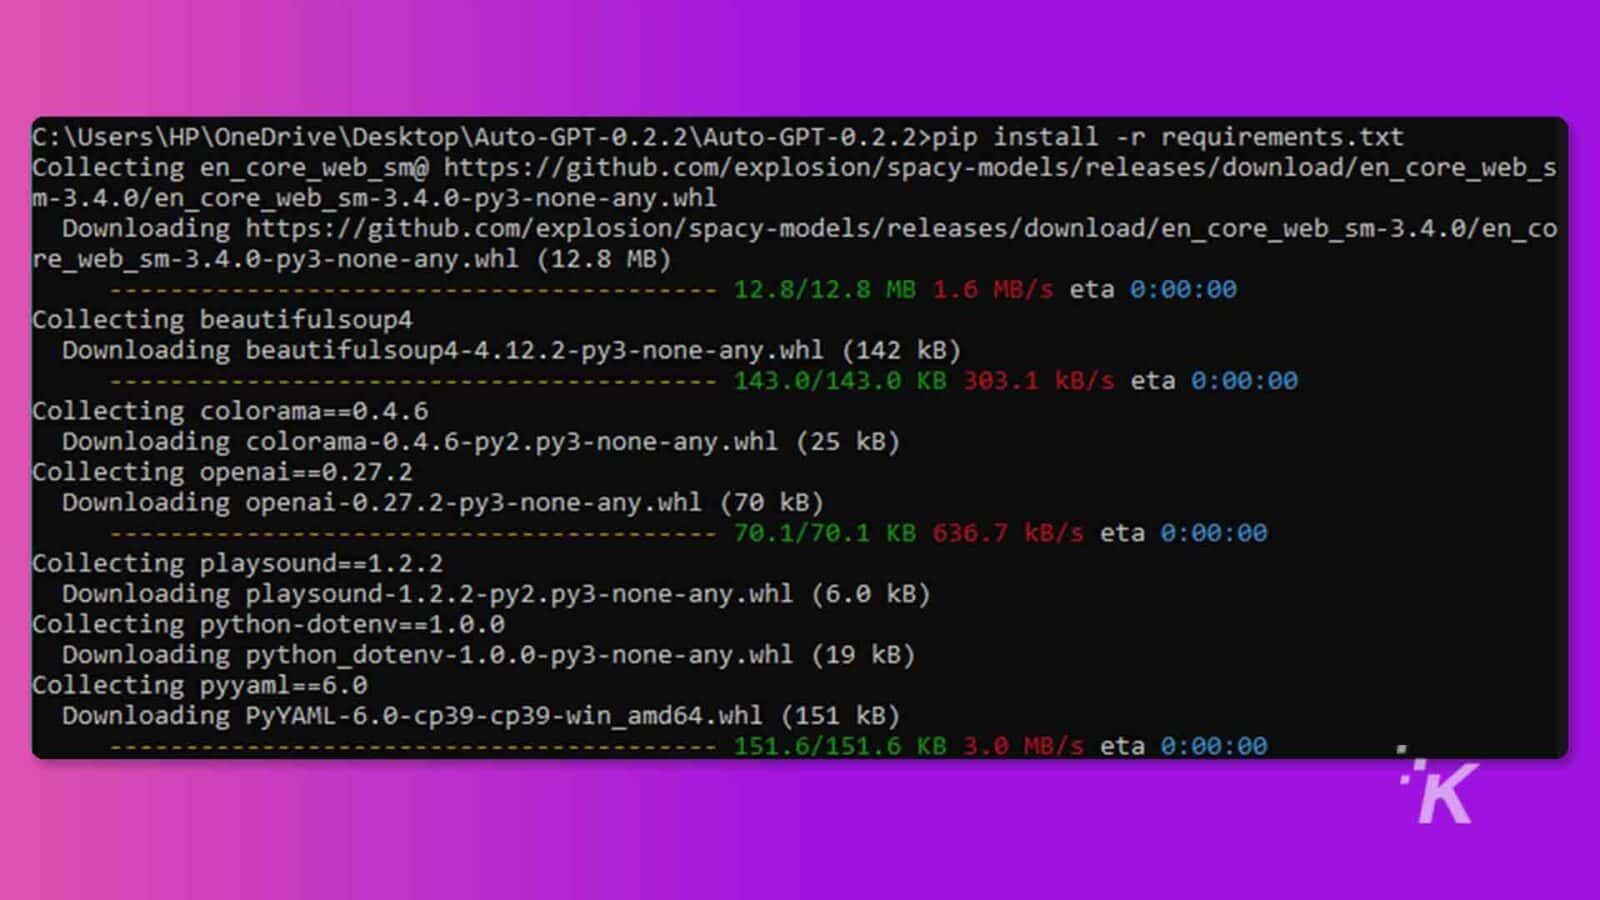
- Next, run “python -m autogpt” to start Auto-GPT on your system
How to Run Auto-GPT on your PC
Alright, now we’re in the home stretch. Finally, let’s take her out for a spin and see what she’s made off.
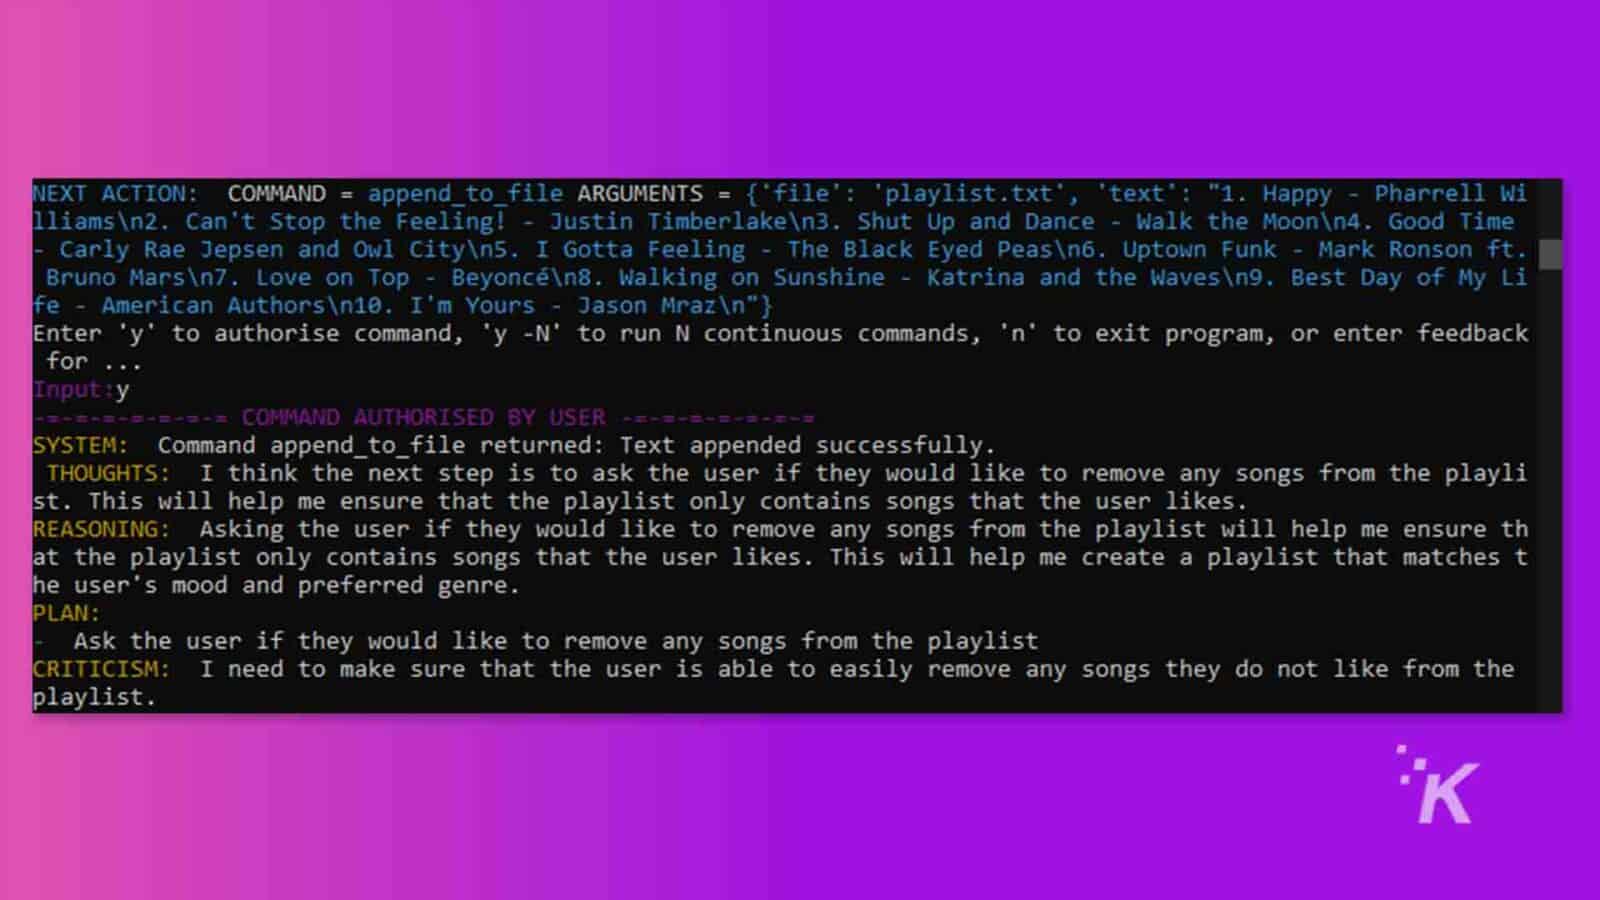
- Auto-GPT will ask you to name the AI the first time you run it (“python -m autogpt”). For this tutorial, I am creating Playlist-GPT, which should be able to create a playlist based on my mood.
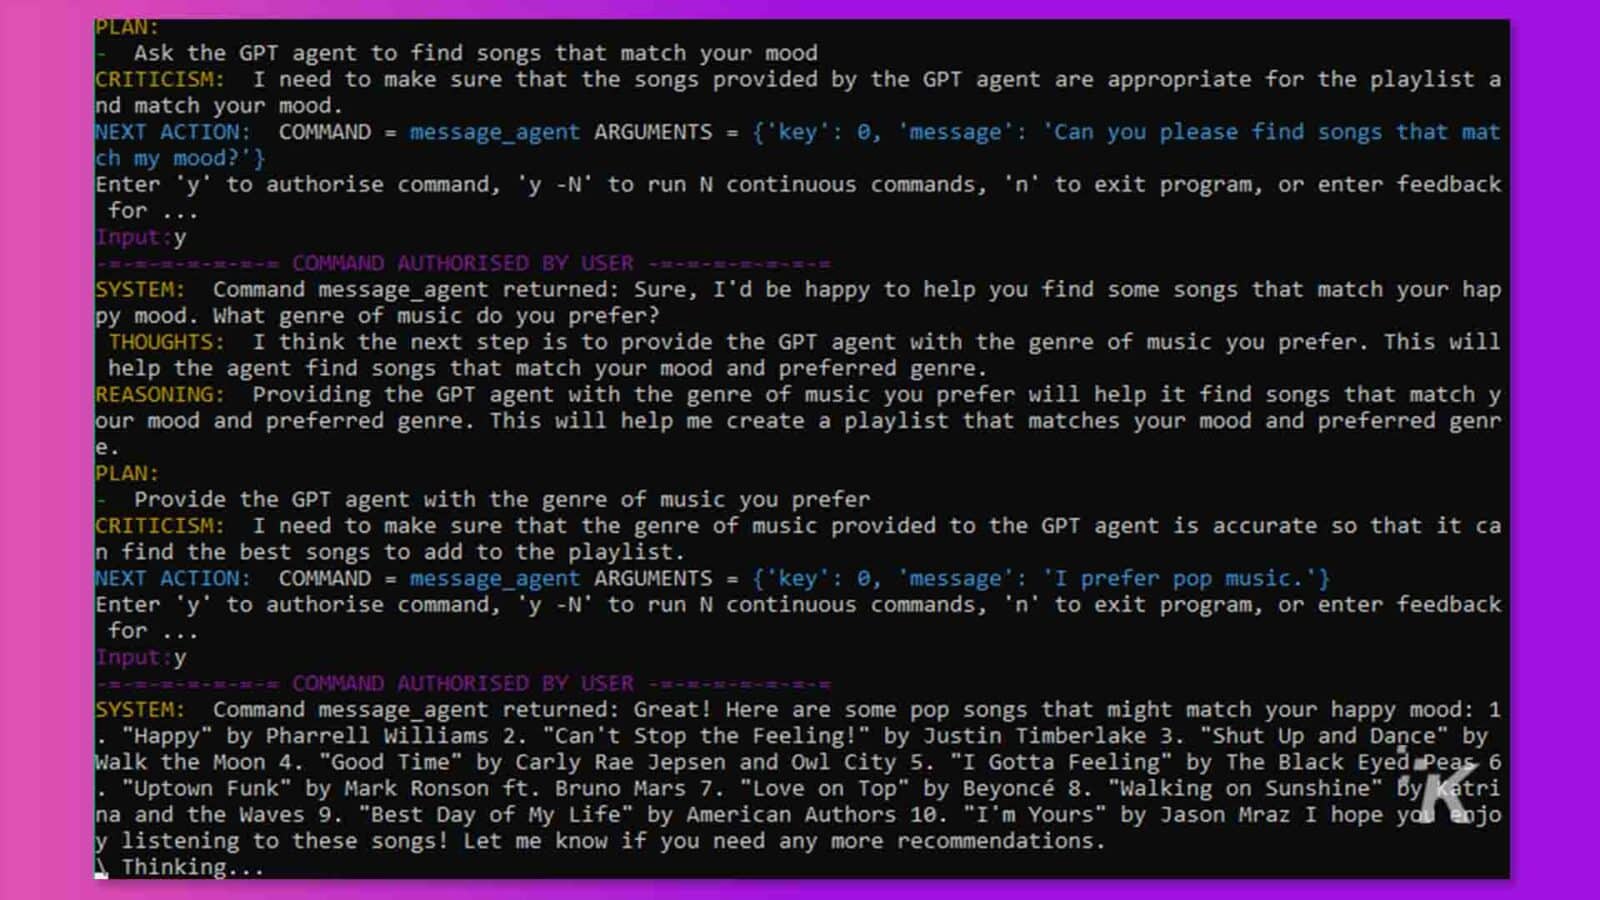
- The next steps would be to describe your AI’s role and enter up to 5 goals for your AI, as seen in my example in the image below

- Auto-GPT works in these ways
- Thoughts: created based on your goals and the role of your AI.
- Reasoning: how best to achieve the goals set.
- Plan: steps to figure out ways to successfully complete its tasks.
- Criticism: to constantly improve its performance to provide the best results.
(See example in screenshots below)
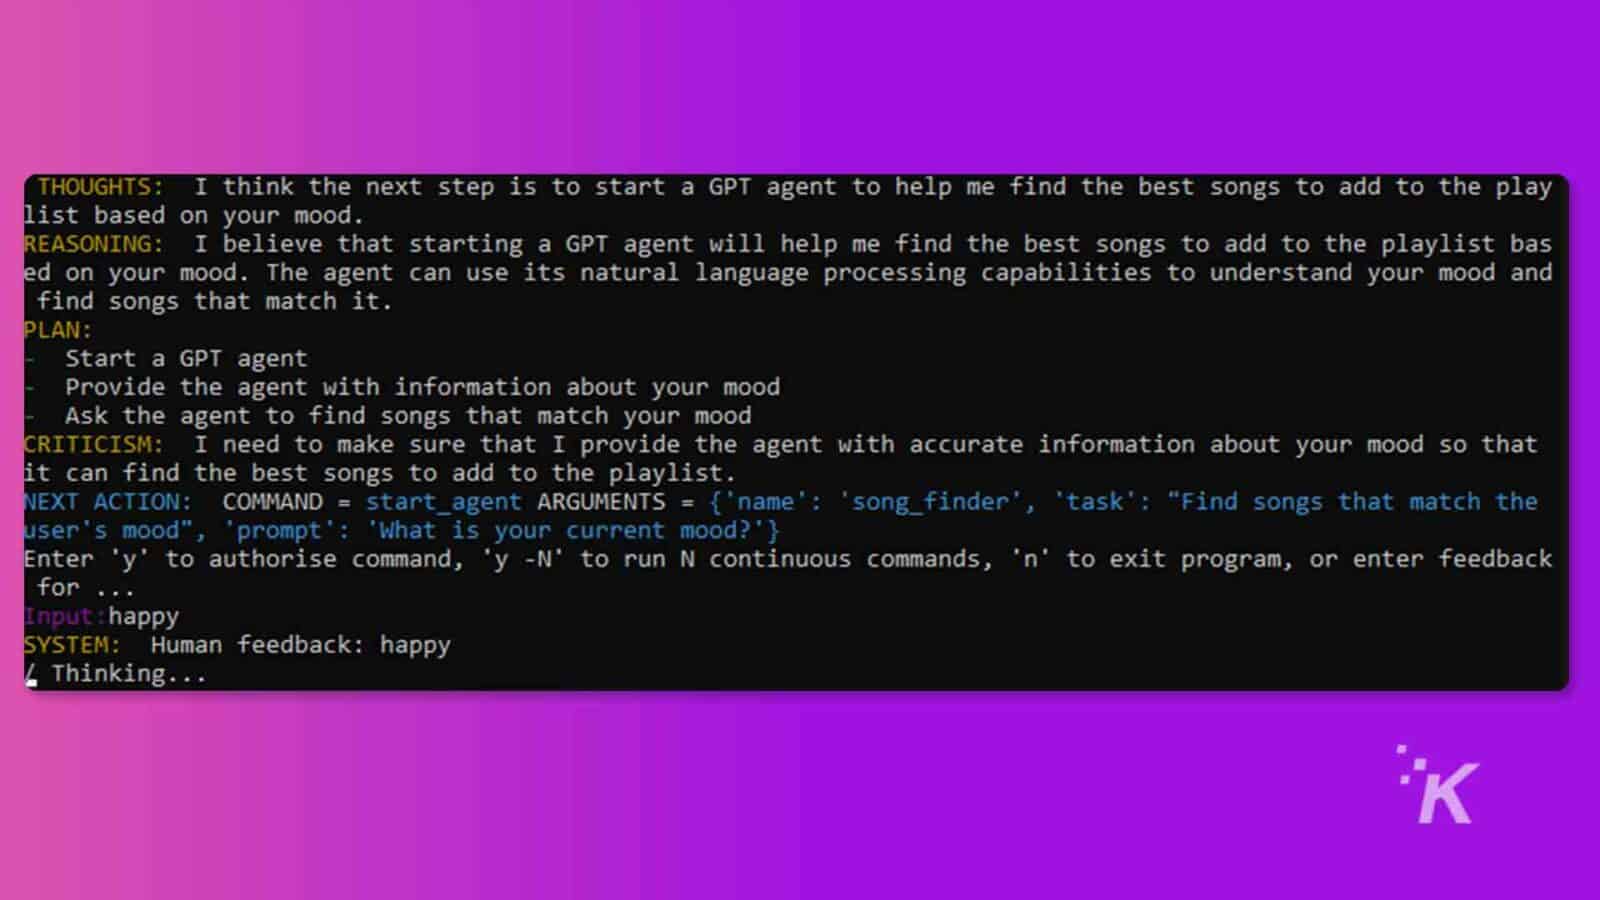

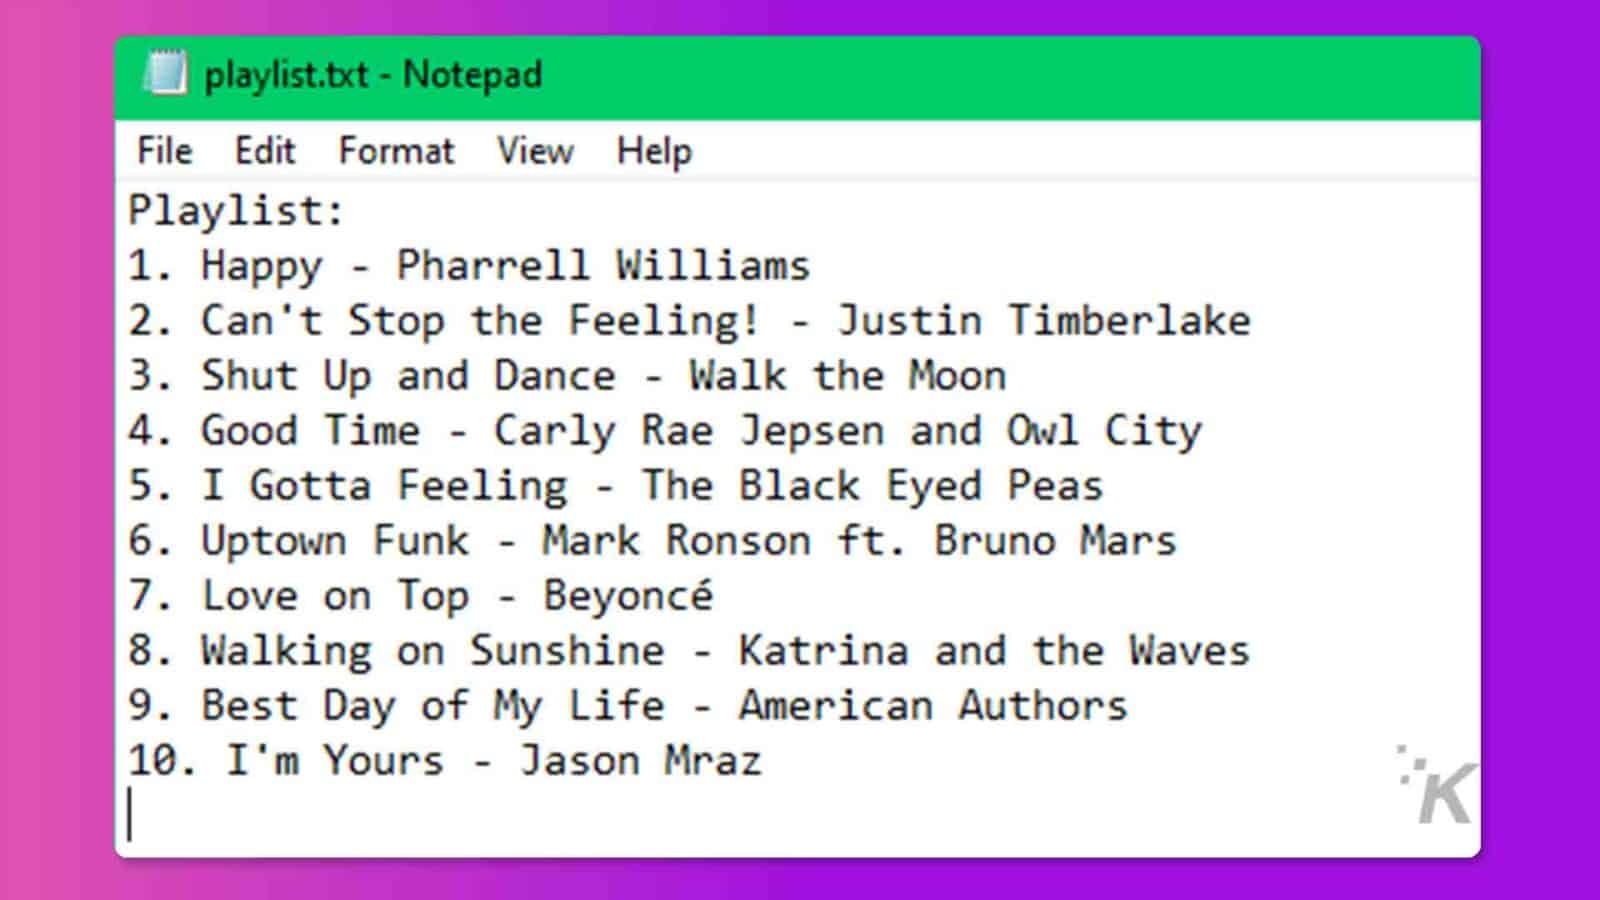
- I asked Playlist-GPT to append the songs into a file called ‘playlist.txt’ and also save that file on my PC. I liked all the songs, so removing any was unnecessary.
The image below shows my new playlist of songs in the ‘playlist.txt’ file, all done by Playlist-GPT!
How to get Auto-GPT running in your browser (no Python or programming skills necessary)
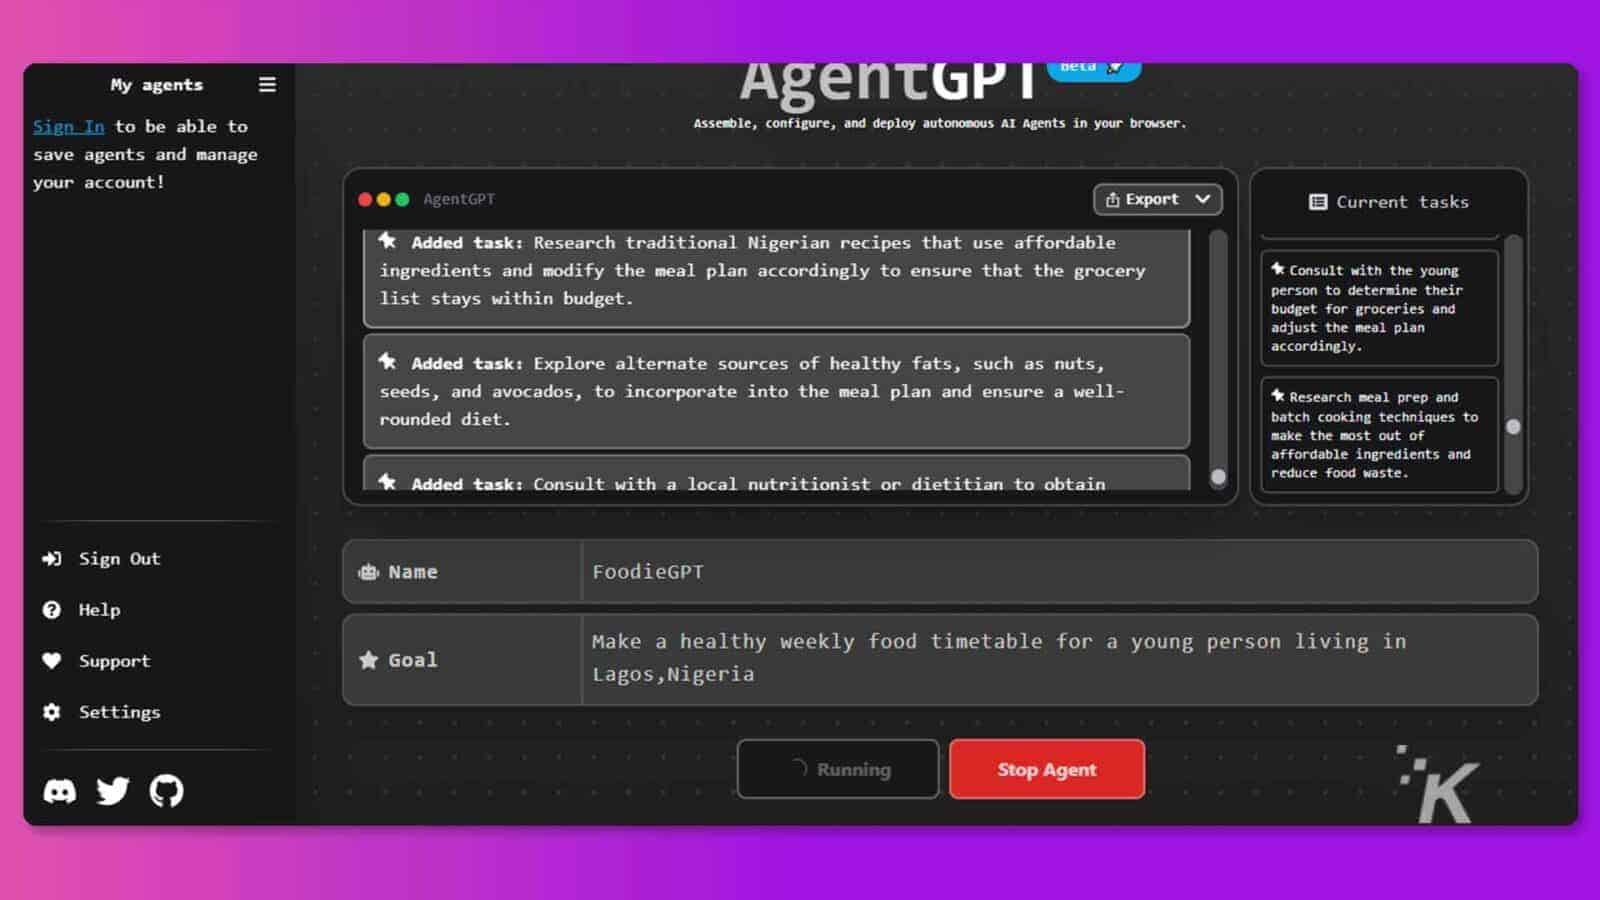
The good news for the non-programmers, you can run Auto-GPT directly in your browser with Agent-GPT. Thanks to this online tool, you can assemble, configure and deploy autonomous AI agents in your browser.
It may take a while to analyze and complete the tasks, but eventually, you will be able to export and view the data.
Bonus
I played around with Agent-GPT and uploaded a PDF document where you can read through the thought process and see how Auto-GPT works to achieve a given goal.
It goes on and on, thinking, planning, criticizing, and giving itself future tasks until it gets human input to stop.
But AgentGPT isn’t the only option to get AutoGPT running in your browser. Here are some alternatives worth checking out:
Wrapping it all up
Auto-GPT is an interesting tool that leverages OpenAI’s large language model to automate complex tasks. Additionally, Auto-GPT can save time and increase productivity with its ability to “think for itself.”
To fully utilize Auto-GPT features, you need to have Python installed on your PC, as well as an OpenAI API account. Sure, you can also use online alternatives like Agent-GPT, which is built on Auto-GPT.
In summary, Auto-GPT is a tool worth considering for anyone looking to increase productivity and streamline their workflow while completing tasks.
Have any thoughts on this? Drop us a line below in the comments, or carry the discussion over to our Twitter or Facebook.
Editors’ Recommendations:
- How reliable is ChatGPT’s incognito mode?
- Did the arrival of ChatGPT kill the metaverse?
- Can ChatGPT do your job? OpenAI says yes, at least 19% of you
- This iOS shortcut syncs Siri with ChatGPT – here’s how to set it up


