How-To
How to create a virtual desktop in Windows 11
You can quickly create virtual desktops using Task View – here’s how.
Just a heads up, if you buy something through our links, we may get a small share of the sale. It’s one of the ways we keep the lights on here. Click here for more.
If you’re a multitasking machine and one desktop just isn’t enough, you can use Windows 11’s Task View to create additional workspaces. Essentially, it allows you to create a virtual desktop in Windows 11.
On top of that, the tool also provides some customization options for adding personality and flair. With multiple desktops, you can launch applications in their own separate spaces or have certain software roam free across all virtual environments.
The feature is handy if you frequently work with multiple apps at once and want to bring some order to the chaos. Let’s discuss how to create virtual desktops in Windows 11.
How to enable Task View to create a virtual desktop
By default, Task View should already be enabled in Windows 11. However, if you’ve been playing with your personalization settings, the icon may be missing from the taskbar.
Here’s how to enable Task View in Windows 11:
- Go to Settings > Personalization > Taskbar
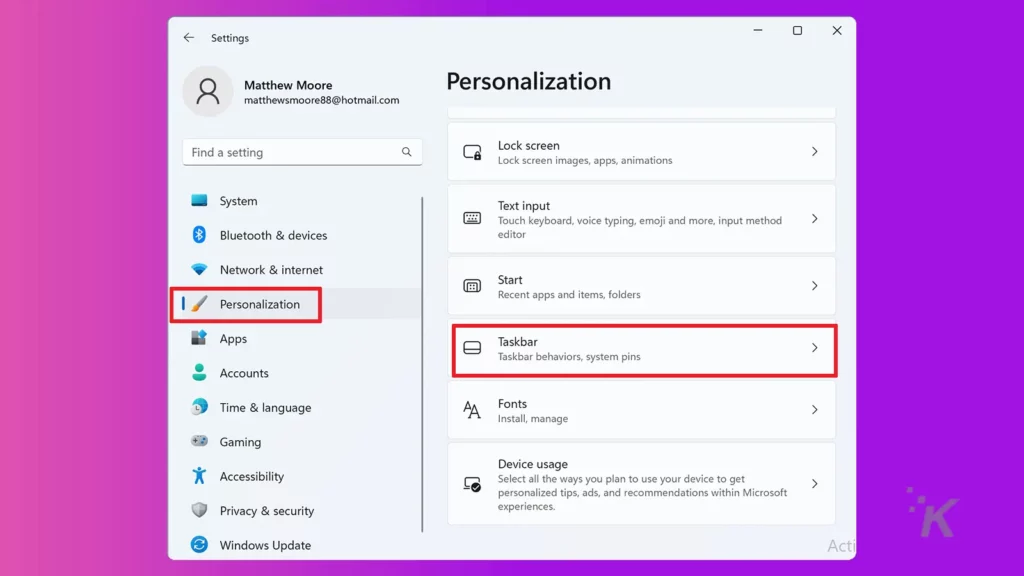
- Toggle Task view on
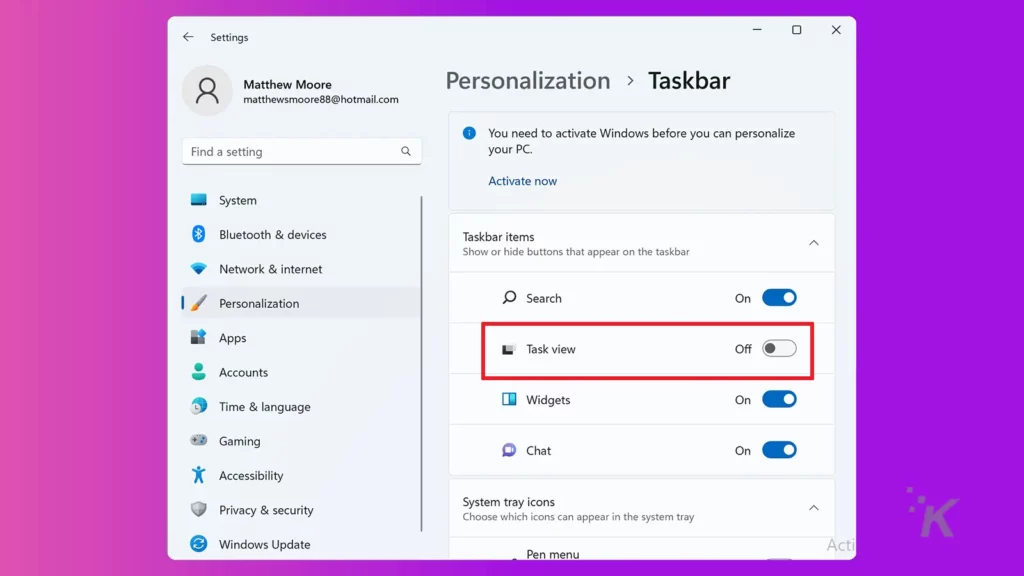
The Task View icon should now appear in the taskbar for easy access. Now, it’s time to create a virtual desktop in Windows 11.
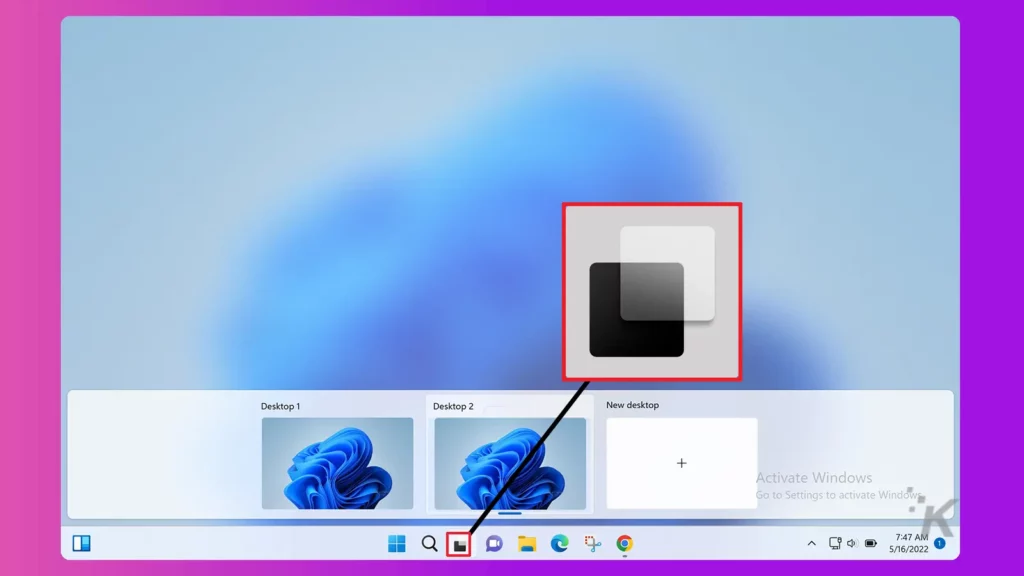
How to create a virtual desktop in Windows 11
Now that you have the Task View icon, you can move on to the next step. Here’s how to create a virtual desktop in Windows 11:


Once you have additional desktops in place, you can either use Task View to switch between spaces or press the Ctrl + Windows + ← (left arrow) or→ (right arrow) key combination. The arrow you press dictates which direction you travel along your chain of virtual desktops.
READ MORE: How to change the scroll direction in Windows 11
You can also rearrange spaces by dragging and dropping within Task View or, alternatively, by Right-clicking a desktop and selecting Move left or Move right.
How to use the same window or app on multiple desktops
If you need to duplicate the same window or app, you can do that, as well. Here’s how to set the same window or app to show on all desktops:
- Click the Task view icon
- Right-click the relevant app and select either Show this window on all desktops or Show windows from this app on all desktops
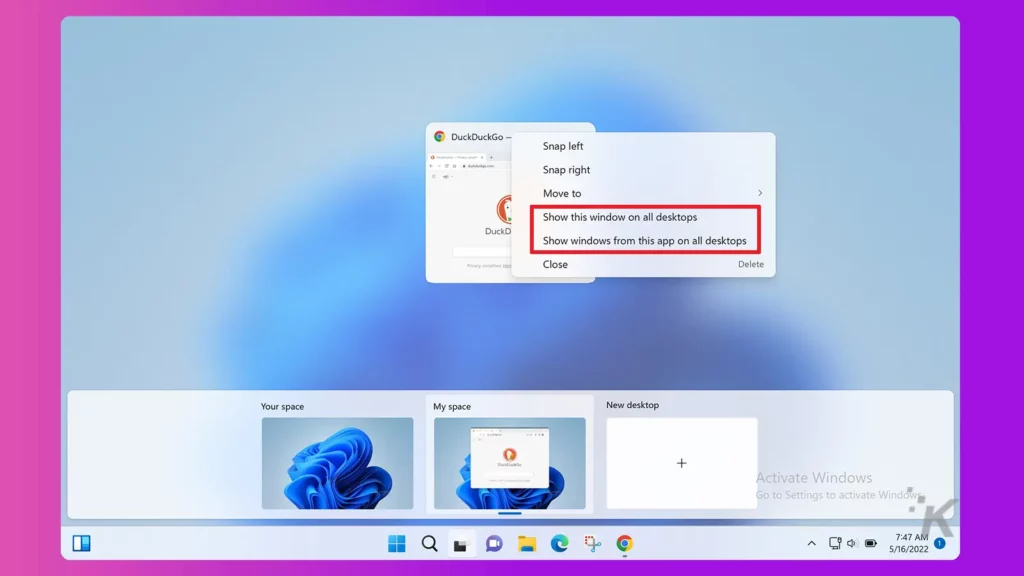
If you only want a specific window available on all desktops, you should choose the first option. If, however, you want the entire app accessible on each space, you should opt for the second choice.
How to personalize your virtual desktop
When using multiple desktops, adding some personal touches can help differentiate each space from the others. Wallpaper and name are the two main visual elements you can change to set your desktops apart.
Change virtual desktop name
If you want to help separate your virtual desktops from one another, changing the names is a great start. Here’s how to change a virtual desktop name in Windows 11:
- Click or hover over the Task view icon
- Right-click a desktop and select Rename. Alternatively, click the current title
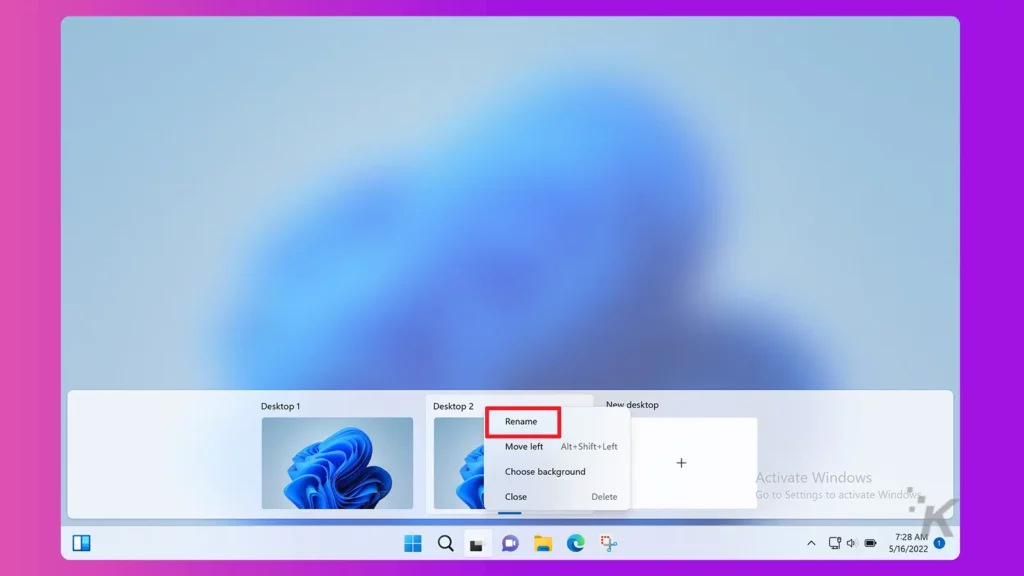
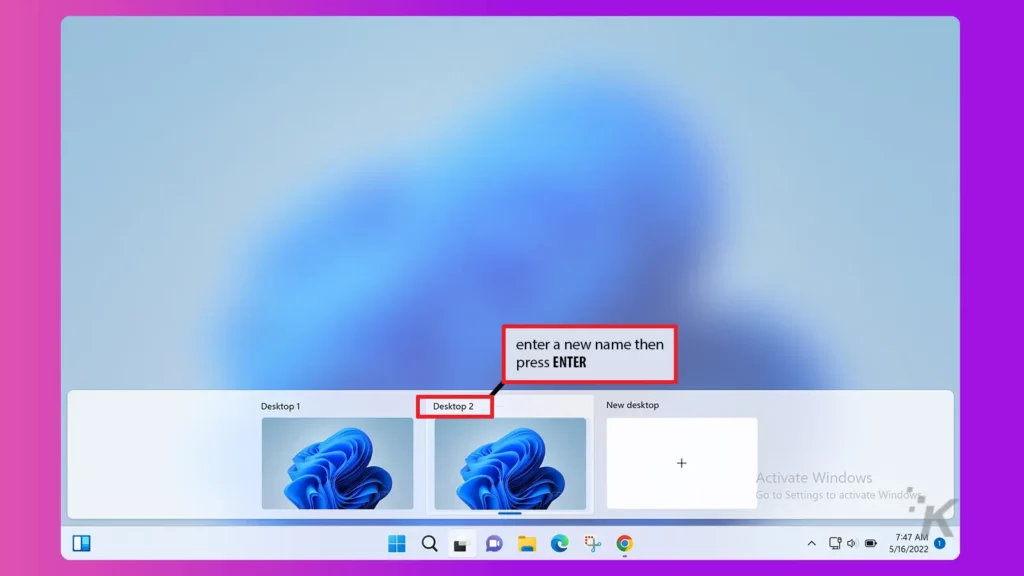
- Enter a new name and press Enter
And there you, that is done. Onto the next customization option.
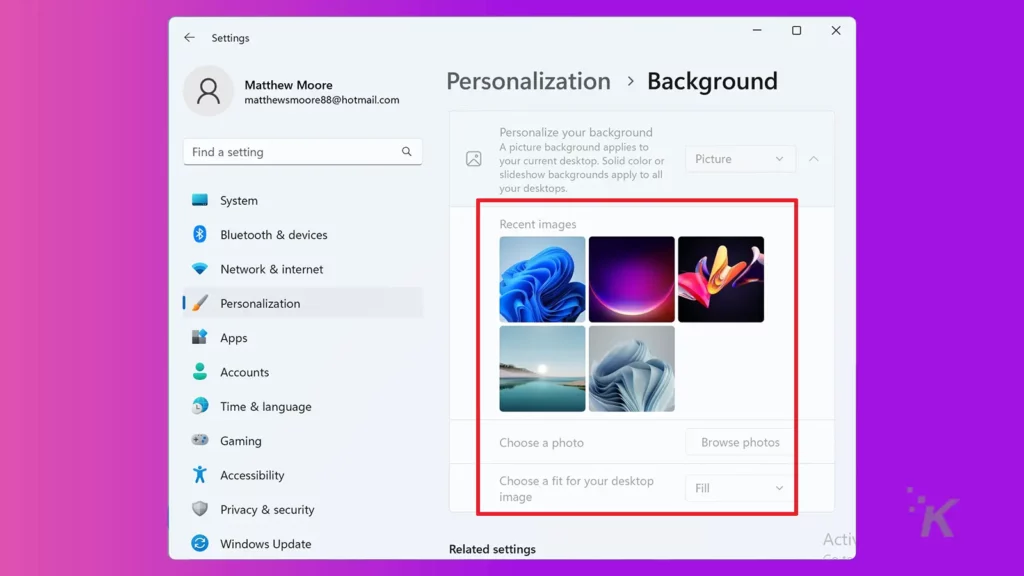
Change virtual desktop wallpaper
Here’s how to change a virtual desktop wallpaper in Windows 11:
- Click the Task view icon
- Right-click a desktop and select Choose background
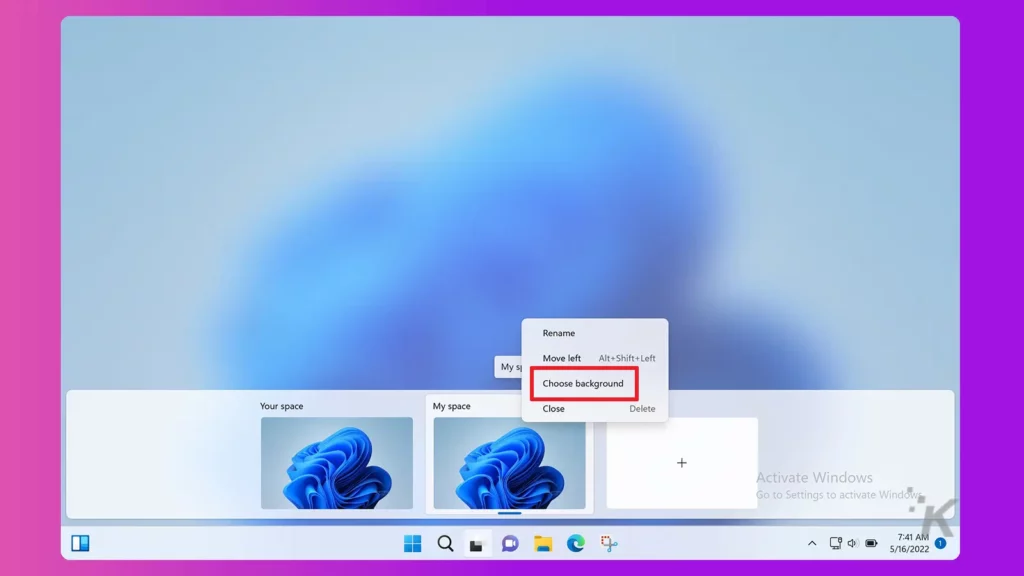
- Select a new background image
Use virtual desktops for multitasking and productivity
When it comes to virtual desktops, Microsoft doesn’t limit the number you can create. However, your computer’s hardware will scream for mercy if you push it too far.
If multitasking is your goal, utilizing a few extra desktops—within your PC’s comfort zone—and mastering the shortcut keys for quick switching can seriously boost productivity.
The only downside to Task View is that you run the risk of becoming too productive and utterly annihilating every task that crosses your path, creating more free time than you can possibly handle.
Have any thoughts on this? Let us know down below in the comments or carry the discussion over to our Twitter or Facebook.
Editors’ Recommendations:
- How to stop Chrome from saving history on Windows and Mac
- Here’s how to enable Google Chrome’s secret Reader Mode
- How to create, customize, and delete Google Chrome profiles
- Here’s how to stop Google Chrome from constantly logging you out