How-To
How to get one of the best iCloud privacy features for free
Private Relay is awesome, but you can actually get some of the features through other methods.
Just a heads up, if you buy something through our links, we may get a small share of the sale. It’s one of the ways we keep the lights on here. Click here for more.
Apple’s latest versions of iOS, iPadOS, and macOS have brought many new features to users from all over the world.
Private Relay, available with iOS 15, offers VPN-like functionality and hide’s the user’s internet activity.
The big issue with using it is that it is a paid service. Luckily, there are ways to enhance your internet privacy without paying for Apple’s service.
Before looking at what free tools you can use to hide your internet traffic, let’s take a quick look at Apple’s Private Relay feature.
How to activate the Private Relay function?
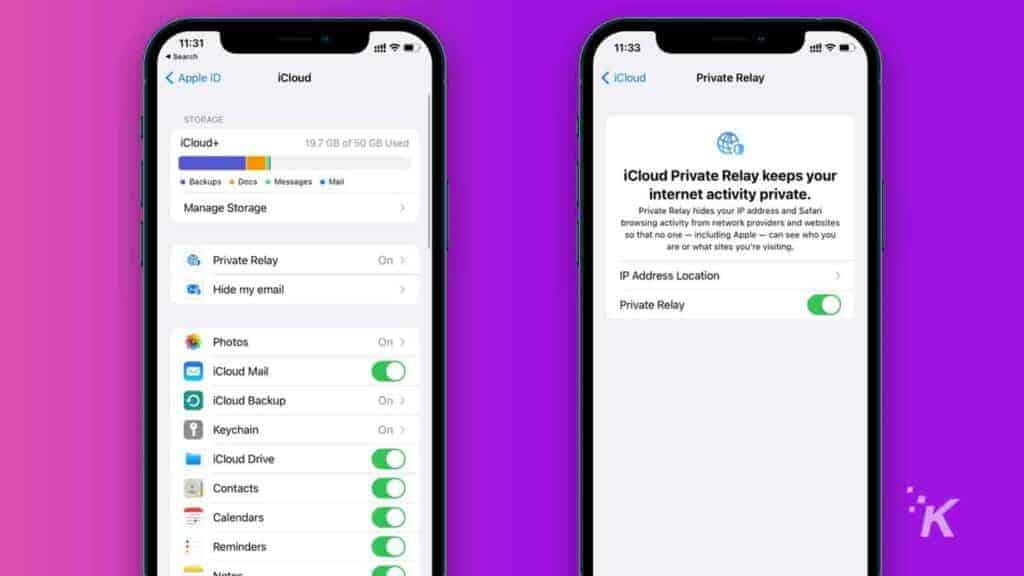
Again, remember that Private Relay is limited to users with a paid iCloud plan. Any plan will work as long as it is a paid one.
Using an Apple mobile device:
- Go to Settings > Apple ID (your name banner)
- Tap on iCloud and then on the Private Relay option
- Switch Private Relay on by using the toggle
Using a Mac:
- Go to System Preferences >Apple ID
- Click on iCloud
- Check the box next to Private Relay
Generally speaking, Private Relay is somewhat limited when compared to other VPNs. Apple’s internet privacy feature only allows users to modify their IP addresses.
Choosing General IP Address hides your exact location and replaces it with a general one. Websites won’t be able to pinpoint you but will know what region or city you’re in.
READ MORE: Are mobile carriers blocking Apple’s Private Relay feature?
Alternatively, you can choose “Use Country or Time Zone” and set a country or a time zone to use as a general location. This option offers the maximum degree of privacy.
Now, let’s look at how you can get all these features and more for free:
Get the Private Relay features for free
To emulate the functionality offered by the paid Private Relay feature, you can use a VPN or third-party email services that offer great privacy features.
Regarding using a VPN, most of these offer features that Private Relay does not.
Almost all VPNs allow you to change your IP address on the fly. This is great if you want to access region-locked content or services or if you want to hide your home IP address.
While VPNs will hide your IP, websites that you access can still track your location. To prevent this from happening, you will have to use a DNS client, such as the one from Cloudflare. This will effectively encrypt all your internet traffic.
If, however, you are only concerned about your emails, you can use one of these solutions:
Emulate Apple’s Hide My Email feature using DuckDuckGO
Apple’s Hide My Email feature enables users to essentially use a disposable email address that is changed every time they send a message.
All the emails received to that address are automatically forwarded to your real inbox. The Hide My Email feature also removes trackers that may have been attached to your emails.
DuckDuckGo offers an email protection service that rivals that of Apple.
However, using it is completely free. As with Apple’s solution, all incoming emails pass through a disposable address and are then forwarded to your real inbox. This service removes trackers as well.
The service automatically creates a new email address every time you need to send an email. However, you can also create a permanent “@duck” address that you can share with others and use as a filter for your emails.
When you want to prevent someone from sending you emails, you can simply delete the disposable inbox and create a new one.
All disposable or permanent “filter” inboxes will delete trackers from emails, so nobody will be able to trace you using the redirected emails.
Remove tracking pixels from your emails using Gmail or Microsoft Outlook
Most trackers that companies use as part of their emails are usually in the form of hidden images.
These let them know that the email has been opened when they are displayed on your screen.
These trackers can be blocked by preventing your email address providers from loading the images in the first place. Here’s how to do it:
Using Gmail:
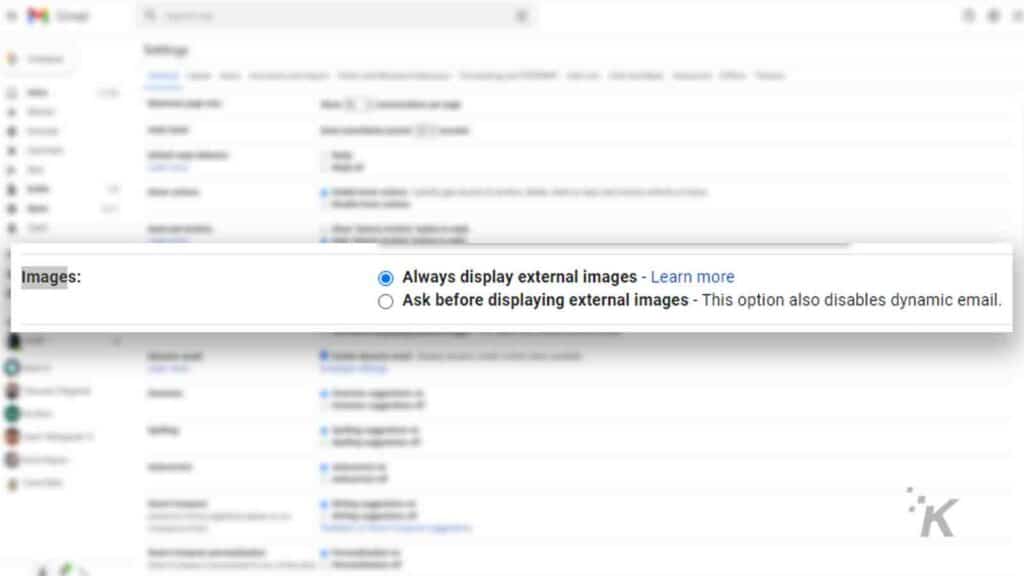
- Go to Settings and then to the Images section under General
- Select Ask Before Displaying External Images
Using Outlook on mobile devices:
- Go to Options
- Select Block External Images
Using Outlook on desktop:
- Go to Options > Trust Center
- Disable Automatic Downloads on Desktop
Using Apple Mail:
- Go to Preferences > Viewing
- Disable Load remote content in messages
If you’d like to see the images that are part of your emails, but do not know which ones are hidden trackers, there are extensions that will help you.
Choose a private email provider
Another option is to make the switch to a private email client. Almost all of these offer great security features and will block trackers while also telling you who has put them in your emails.
Have any thoughts on this? Let us know down below in the comments or carry the discussion over to our Twitter or Facebook.
Editors’ Recommendations:
- How to remove those annoying Chat and Rooms tabs from the Gmail app
- How to use picture-in-picture on iPhone as a YouTube Premium subscriber
- You can turn off Night Mode on iPhone with iOS 15 – here’s how
- Stop closing all your dang apps on iPhone – here’s why
Follow us on Flipboard, Google News, or Apple News