How-To
How to lock your Chrome incognito tabs behind Face ID on iPhone
With Chrome 92, you get new security options with Chrome. Here’s how to set them up.

Just a heads up, if you buy something through our links, we may get a small share of the sale. It’s one of the ways we keep the lights on here. Click here for more.
If you prefer to use Chrome on your iPhone, Google just updated it with a sweet feature that keeps your Incognito tabs locked away from prying eyes. Once enabled, anyone who wants to view your Incognito tabs will need to unlock them with either Face ID, Touch ID, or your device passcode. Sweet.
Now the web pages you visit while in Incognito are doubly protected, first from not showing up in your browsing history, and now from another layer of security.
That’s pretty cool, as it means you can leave your Incognito tabs open, even if you know you’re going to be away from your device.
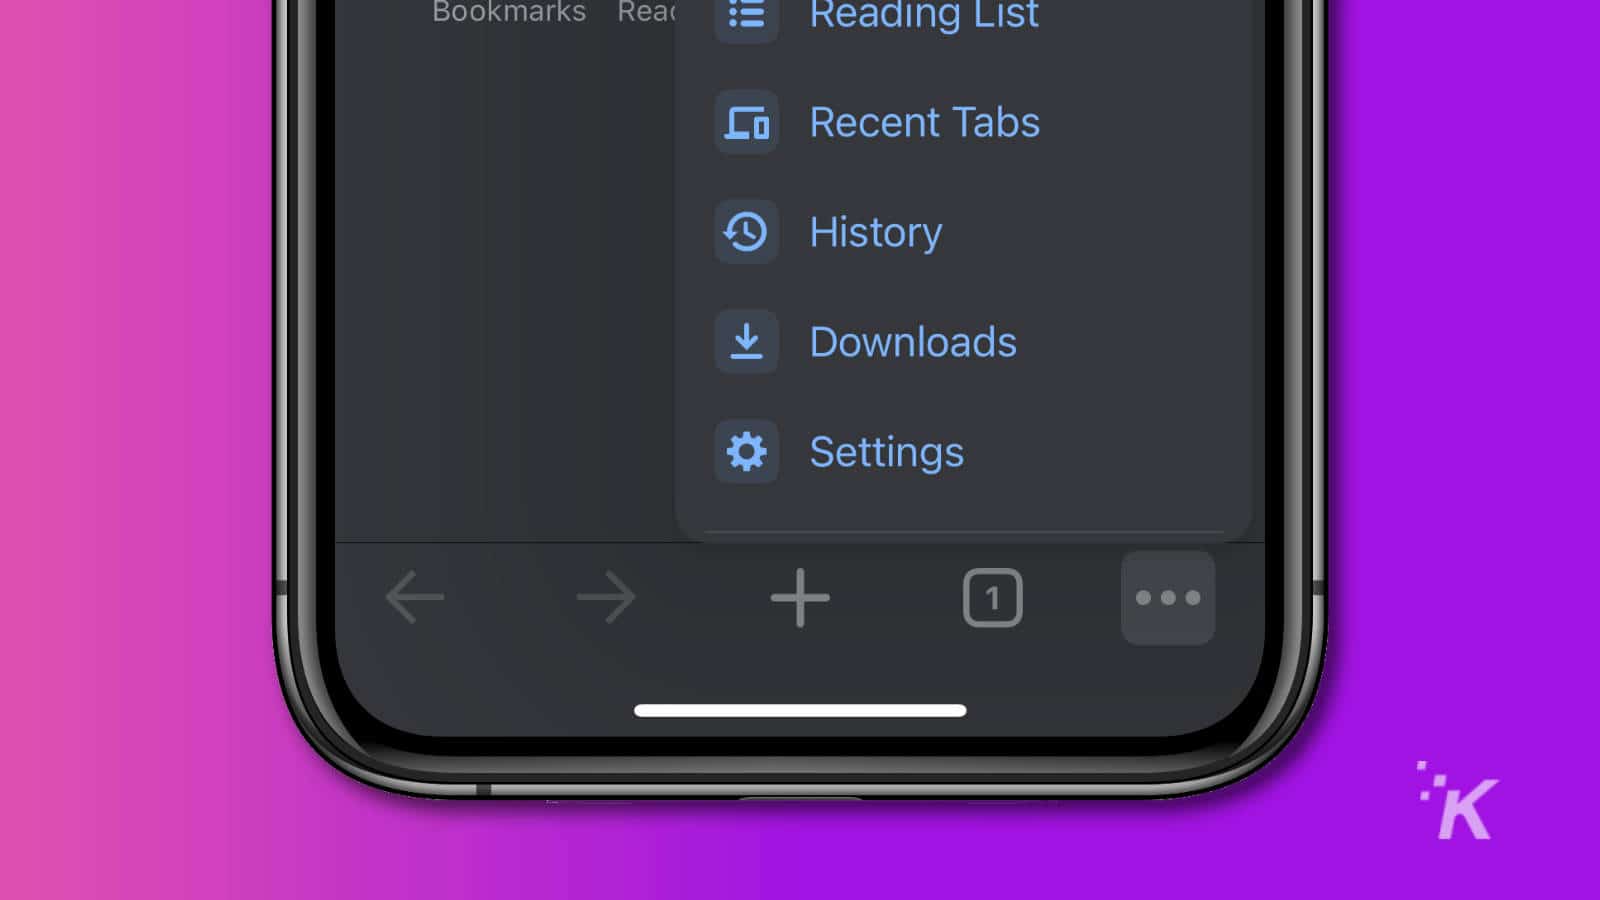
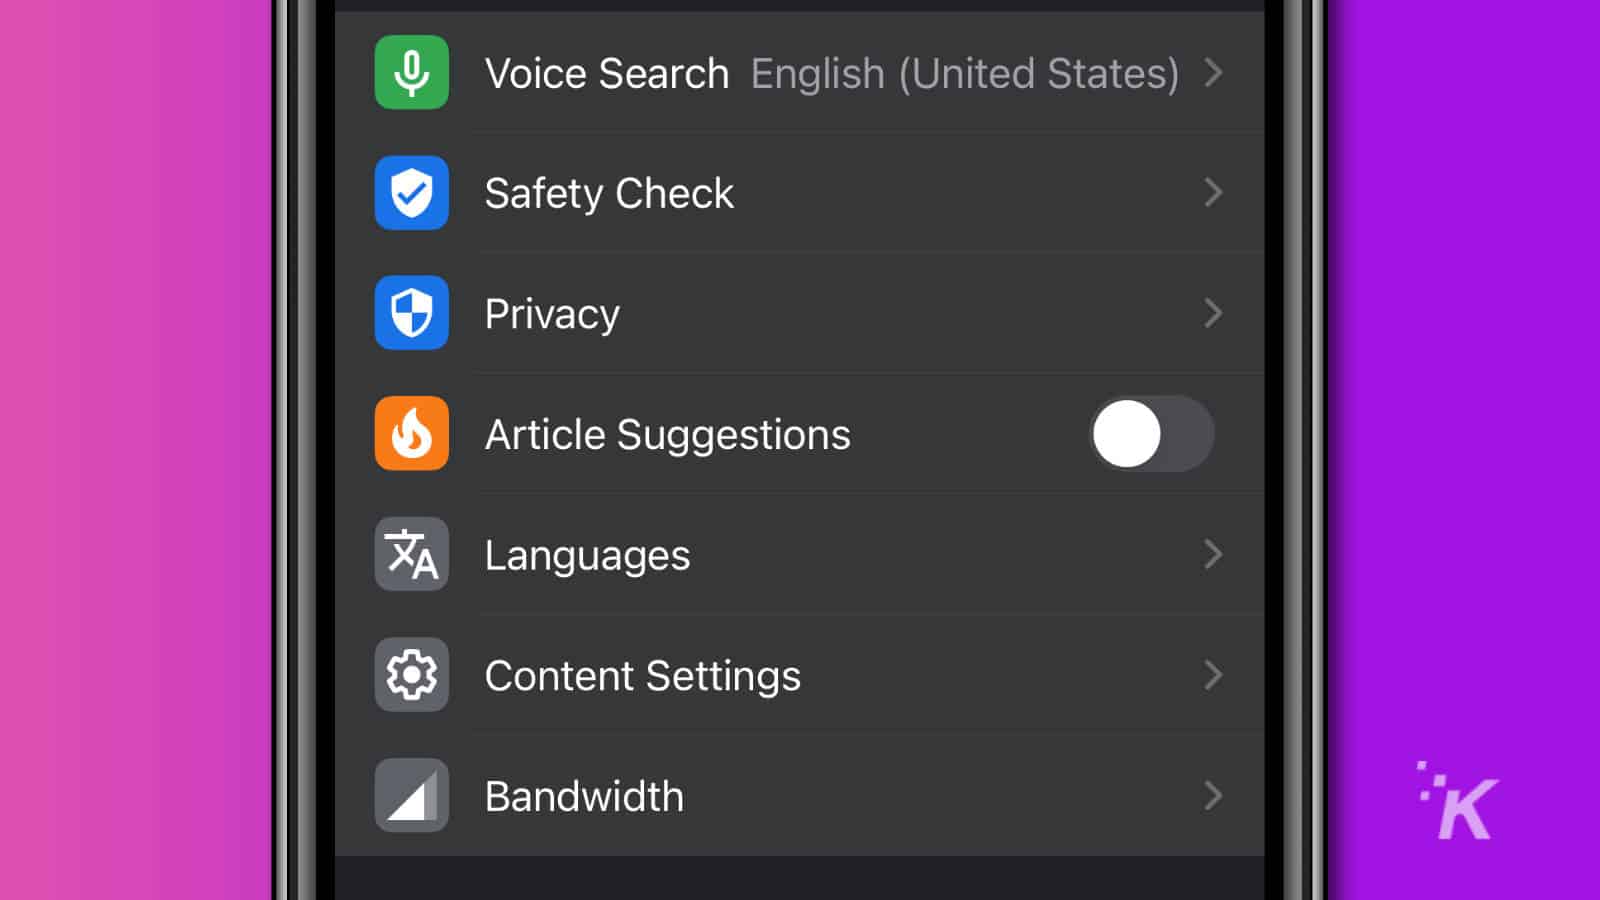
Here’s how to lock your iOS Chrome Incognito tabs away from prying eyes


That’s it, now you’ll need to use Face ID, Touch ID, or your passcode to unlock whatever you’ve got in your Chrome Incognito tabs.
If you can’t see the option yet (as we couldn’t), Macrumors says it’s rolling out now so you probably don’t have long to wait.
Have any thoughts on this? Let us know down below in the comments or carry the discussion over to our Twitter or Facebook.
Editors’ Recommendations:
- How to clear your cache if your iPhone is slowing down
- Facebook is still tracking your iPhone – here’s how to stop it
- You can use your iPhone to make your Apple TV look even better – here’s how
- How to stop your iPhone from giving its unique identifier to third-party trackers


