How-To
5 useful ways to use Face ID with the iPhone
Face ID is a feature on the iPhone that allows users to unlock their phone, authorize payments, and auto-fill passwords and credit card information in Safari, making life more convenient than ever before.
Just a heads up, if you buy something through our links, we may get a small share of the sale. It’s one of the ways we keep the lights on here. Click here for more.
Face ID is one of Apple’s latest efforts to make its gadgets secure and high-tech while offering users a seamless experience.
You may already know about Touch ID, which lets you unlock your phone with a fingerprint, but if you haven’t updated to the iPhone X or later, you are most likely much less familiar with the new feature.
Think of Face ID as something similar, except it verifies you with your face instead of a finger. It’s a feature on the iPhone, and whether you already own that smartphone or are thinking about buying it, there are numerous ways to make the most of Face ID.
1. Unlock Your Phone
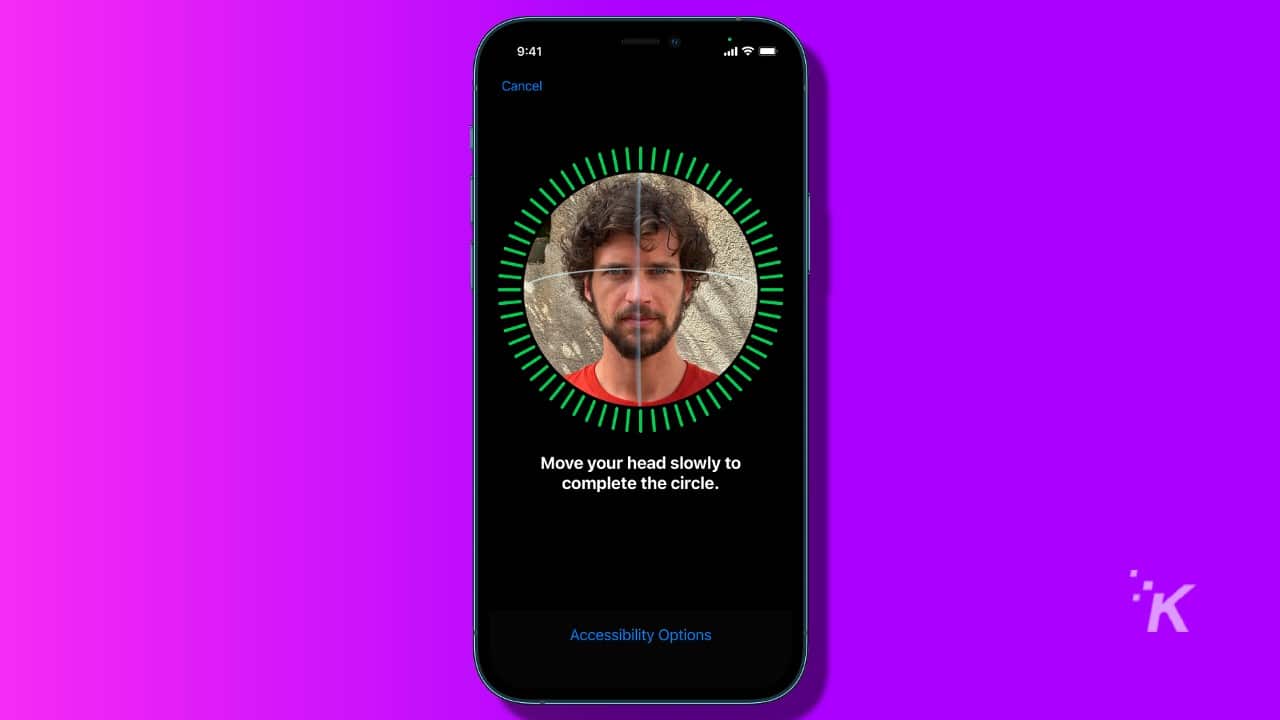
The most common way you’ll likely use Face ID is to unlock it. First, get Face ID ready for use by going to Settings, then Face ID & Passcode on your iPhone X.
From there, choose Set Up Face ID and follow the prompts. It takes a little while, but that is not a bad thing – you want to make sure it truly gets the information it needs.
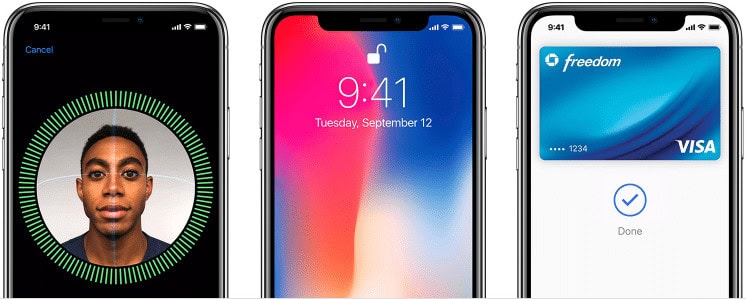
After that, tap your phone or lift it to wake it up. Then, glance at the screen. When you see your screen’s lock icon change to an open position, that means Face ID worked properly. You can then swipe up from the bottom of the screen to use your phone.
2. Use It to Pay for Apple-Specific Products
Face ID also lets you authorize payments for things Apple sells, such as iTunes songs, e-books to read in the iBooks app, and apps from the App Store.
First, tap the Settings icon on your iPhone X. Then, go to Face ID and Passcode. On the next screen, you’ll see an option that says iTunes & App Store. You must activate this option for Apple purchases to work with Face ID.
To buy something from one of Apple stores, simply tap the item. When you see the payment prompt, press the button on the side of your iPhone X twice then, look at the screen. A green checkmark indicates a successful payment.
3. Buy Things Elsewhere With Face ID
Besides allowing you to buy Apple products, Face ID supports purchases in physical stores or on websites that accept Apple Pay.
The first step is ensuring you have Apple Pay set up on your iPhone and activated in the Face ID & Passcode category of Settings.
First, we’ll cover using Face ID in a physical store. To do so, you just hit the side button on your iPhone X and choose to pay with your default method or a different card.
Look at the screen for payment authentication, then hold the phone close to the top of the store’s contactless card reader. Once the transaction goes through, the screen will say Done and display a blue checkmark to verify competition.
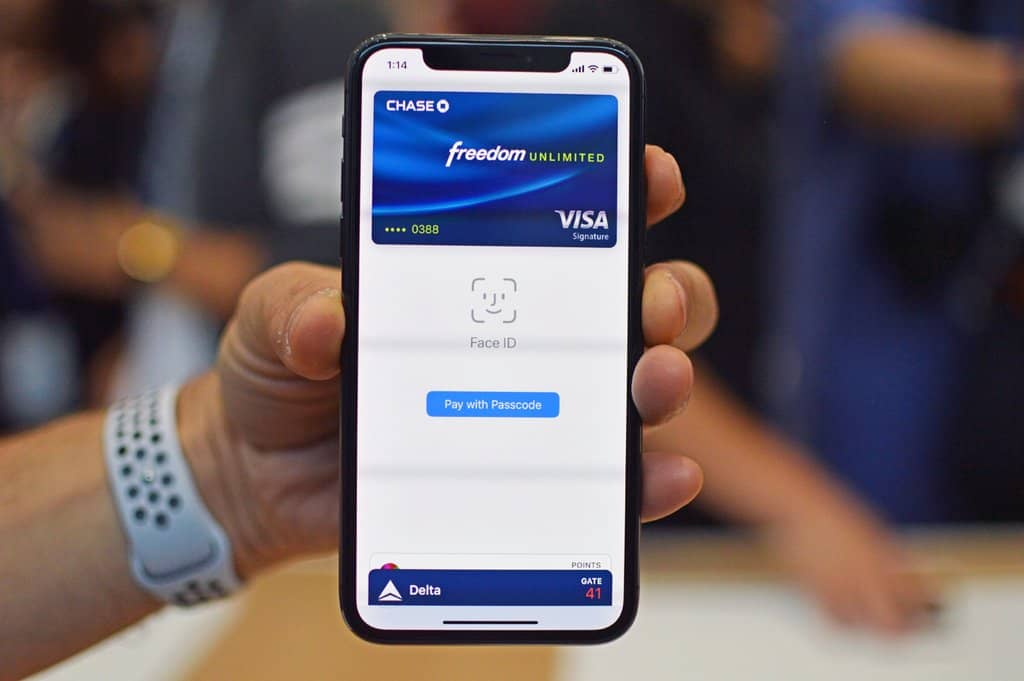
What about when you want to make a purchase within an app or while visiting a website in Safari? In those cases, select Apple Pay as your payment method where you will then see a Buy with Apple Pay button.
Look at what appears on the screen and make sure the payment details are correct. To pay with a different card other than the default option, you can tap the > symbol next to the displayed payment method and select another one.
Then, press the iPhone X’s side button twice, glance at the screen and wait to see the Done message and blue checkmark, as usual.
4. Make Face ID Sign Into Apps That Support Touch ID

Like many other iPhone users, you have probably used the Touch ID feature to log into apps that support the feature. Fortunately, apps compatible with Touch ID typically work with Face ID, although there are a few exceptions.
Give Face ID permission to work with an app first. After tapping the Settings icon, scroll down on the left menu until you see the section for installed apps. Select the desired application and scroll to the part that says Allow [app name] to Access followed by the various permissions.
Take note of the option for Face ID and slide the toggle switch to the on position. Then, return to your iPhone X’s Home screen and launch the app. When you see the login screen, enter your details or sign up for an account if necessary.
After that, you’ll see a box that prompts you to enable Face ID. Confirm that action by sliding the toggle switch to the right and tapping Let’s Go at the bottom. This will complete the setup.
Once you launch the app from the Home screen again, you’ll be prompted to authenticate yourself by looking at the screen. Watch for an icon to appear that indicates things are working as intended.
5. Use Face ID to Auto-Fill Passwords and Credit Card Information in Safari

It’s time-consuming to repeatedly fill in passwords and credit card details while visiting a website in the Safari app. Face ID can help by automatically populating the respective fields for you.
Start by launching the Settings section from the Home screen and finding the iCloud section from the menu on the left. Swipe down to the option that says iCloud Keychain and slide the toggle switch to turn on the feature.
Then, go back to Settings and choose Safari from the left menu. Pick Autofill, then slide the toggle switches to indicate what kind of information that gets auto-filled.
The passwords you store for various sites should start syncing to work with Face ID almost immediately. If they don’t, you can manually add passwords in the Accounts & Passwords section of Settings, and it should work normally from there.
When you visit a site related to the stored information on your iPhone X, the Face ID icon will flash on the screen. Look at your phone, then watch as the icon disappears and the saved content fills in the fields.
As this list demonstrates, Face ID does much more than simply prevent other people from using your phone. By using this information, you can see that the iPhone X makes life more manageable than ever before.
Have any thoughts on this? Drop us a line below in the comments, or carry the discussion to our Twitter or Facebook.
Editors’ Recommendations:
- WhatsApp is adding FaceID and fingerprint recognition for its desktop applications
- iPhone users: Stop making this common security mistake
- How to secure your WhatsApp account with a fingerprint lock
- Don’t be fooled by Apple’s embrace of ‘Right to Repair’
Follow us on Flipboard, Google News, or Apple News