How-To
How to enable two-factor authentication in Firefox
We’ll walk through the steps on how to set up two-factor authentication in the Firefox browser.
Just a heads up, if you buy something through our links, we may get a small share of the sale. It’s one of the ways we keep the lights on here. Click here for more.
Firefox is a lightning fast browser used by people all over the globe. The developers at Mozilla has introduced a ton of useful and exciting features to users.
Recently, the company introduced two-factor authentication feature for Firefox accounts. This feature will add an extra layer of security to the credentials system that shields passwords, open tabs, bookmarks, and the data synchronized between multiple devices with the help of Firefox Sync feature.
If you’re not using the Firefox Sync feature then you should totally set up this feature right now.
Firefox two factor authentication is still in beta, so the chances are high that you might not find the same settings in your Firefox account. Worse comes to worse, you’ll have to wait a few weeks. If the feature is already enabled on your account, proceed to the steps below.
How To Enable Two-Factor Authentication in Firefox
To access this feature right now, follow the instructions below:
1. Launch Firefox Browser on your computer.
2. In the Address bar, paste this link (https://accounts.firefox.com/settings?showTwoStepAuthentication=true)
3. This will bring Firefox account login screen. Here you need to enter the credentials to log into your Firefox account.
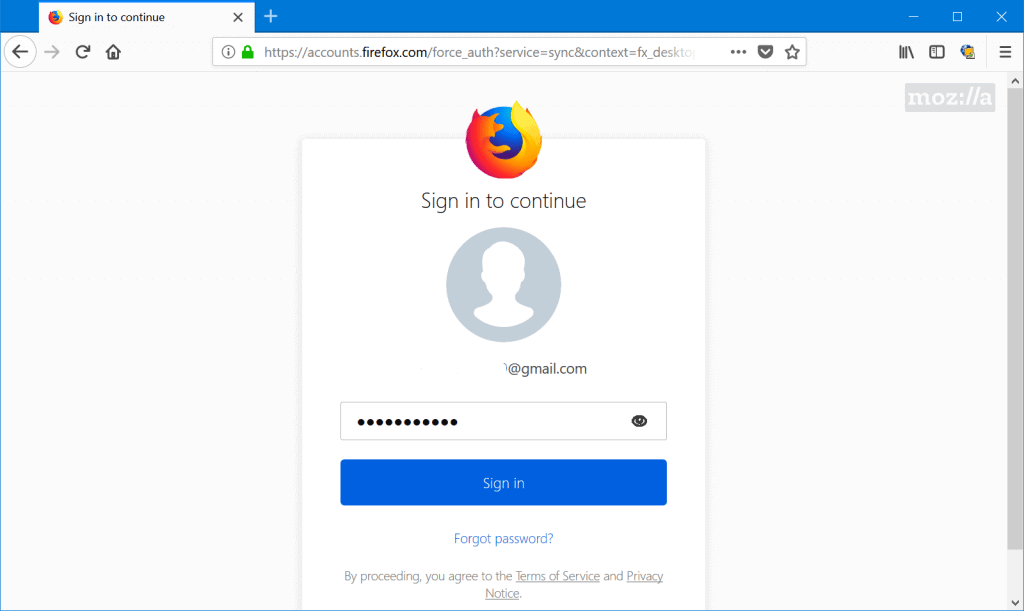
Image: Viney Dhiman / KnowTechie
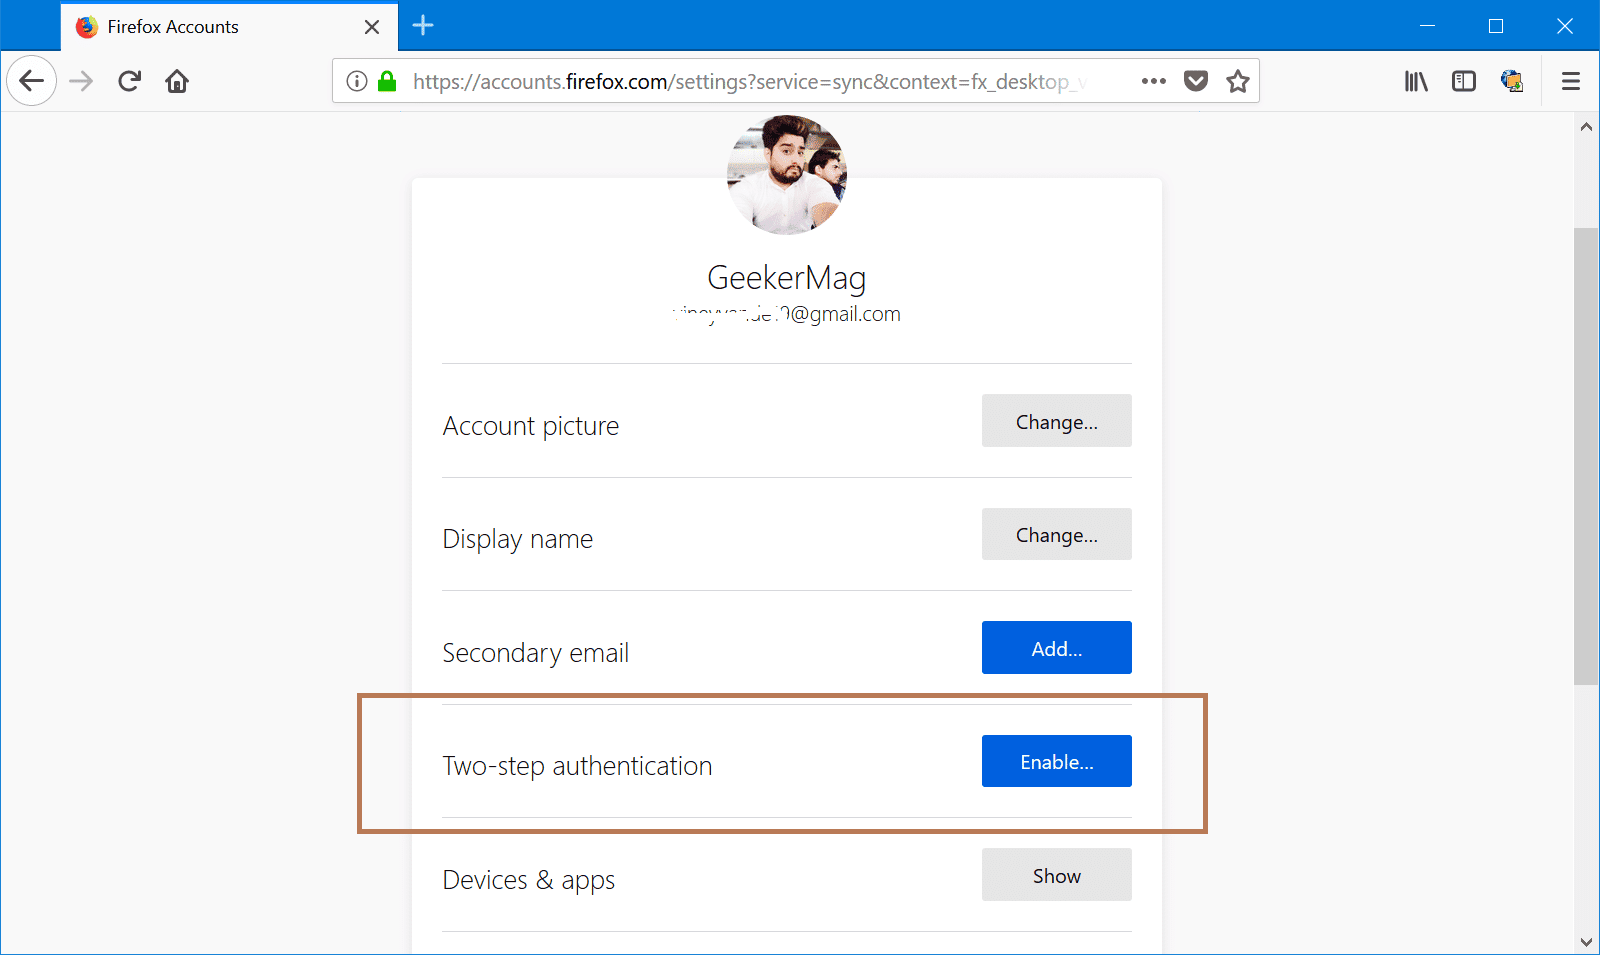
4. This will redirect you to Account Preferences page. Here click on the Add button next to Two-Step Authentication.
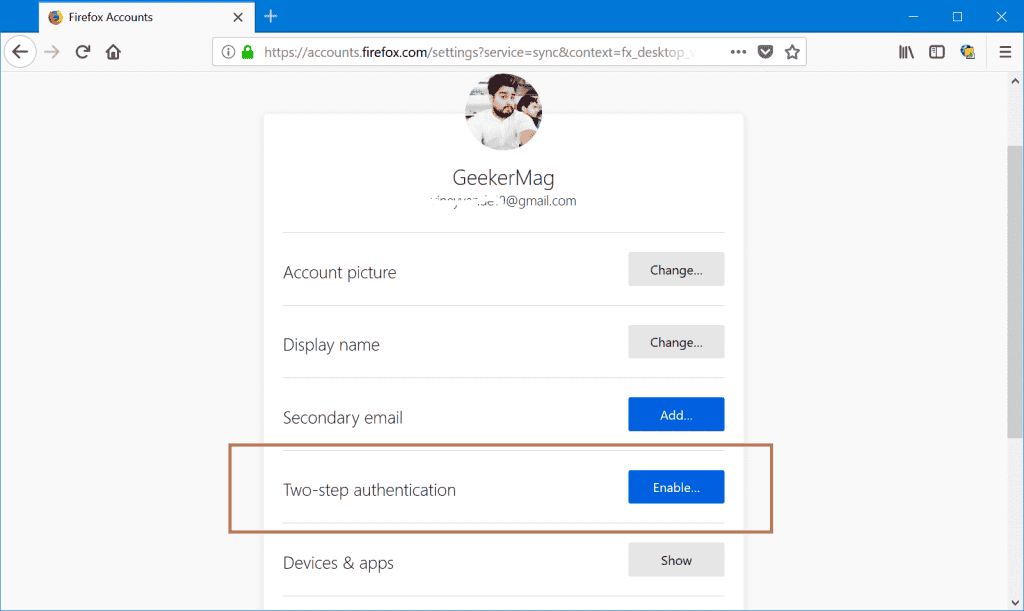
Image: Viney Dhiman / KnowTechie
5. To setup two-authentication feature, you need to install the time-based authentication app on your phone. You can use Google Authenticator, Duo Mobile, and Authy.
We recommend Authy if you want to take full advantage of the feature. Use these links for your Android and iOS phone.
Once installation completes, get back to Firefox Account Preferences page for move forward.
6. Here you will see a QR Code which you need to scan using any of the authentication app discussed above.

Image: Viney Dhiman / KnowTechie
The authentication app will show you a code which you need to enter in the space provided and then click on the Confirm button.
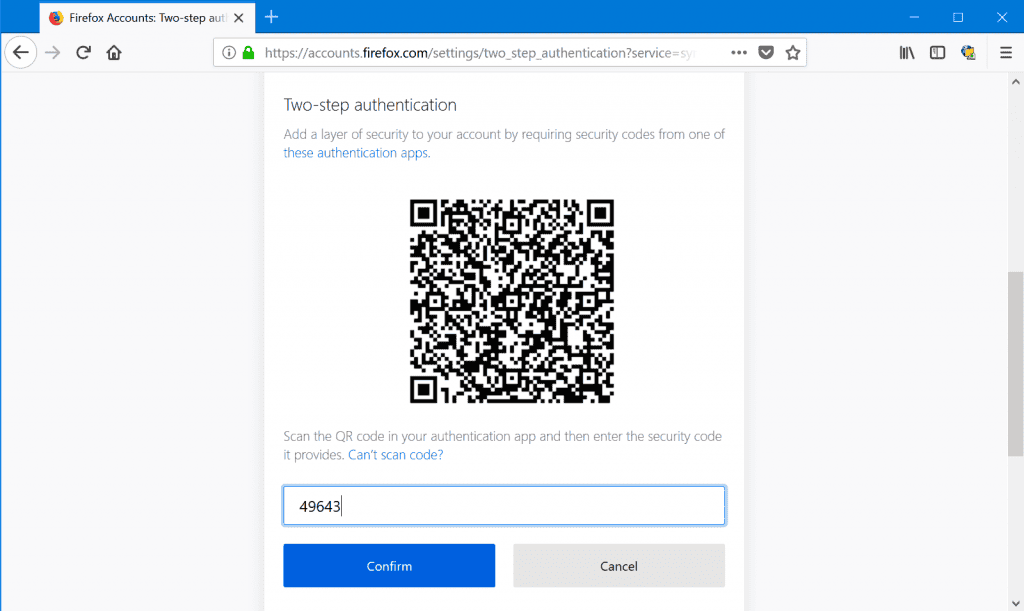
Image: Viney Dhiman / KnowTechie
7. Once done, a dialogue box will pop up showing you recovery codes. You need to Download or Print those recovery codes and save them somewhere convenient and safe.
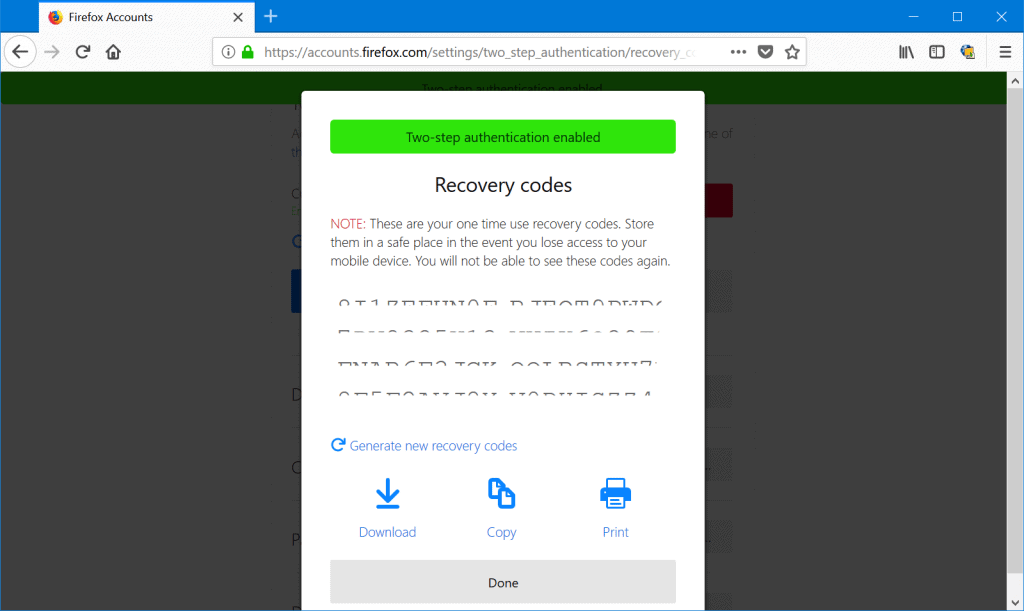
Image: Viney Dhiman / KnowTechie
These recovery codes are useful if you, unfortunately, lose your phone.
8. At last, click on the Done button to exit the dialog box.
Congratulations, you have successfully enabled two-factor authentication feature for Firefox.
What are your thoughts about this security feature of Firefox? Find this feature useful? Share the views in the comments.
For more how-to articles, check out:
- How to download and save YouTube videos on your iPhone and iPad
- Here’s how you can turn a website into a PDF file
- Here’s how to restore a lost Recycle Bin in Windows 10