Apple
How to auto delete two-factor authentication codes on iPhone
Stepping up your digital security with two-factor authentication is a smart move, but it often comes with the small annoyance of a cluttered inbox.
Just a heads up, if you buy something through our links, we may get a small share of the sale. It’s one of the ways we keep the lights on here. Click here for more.
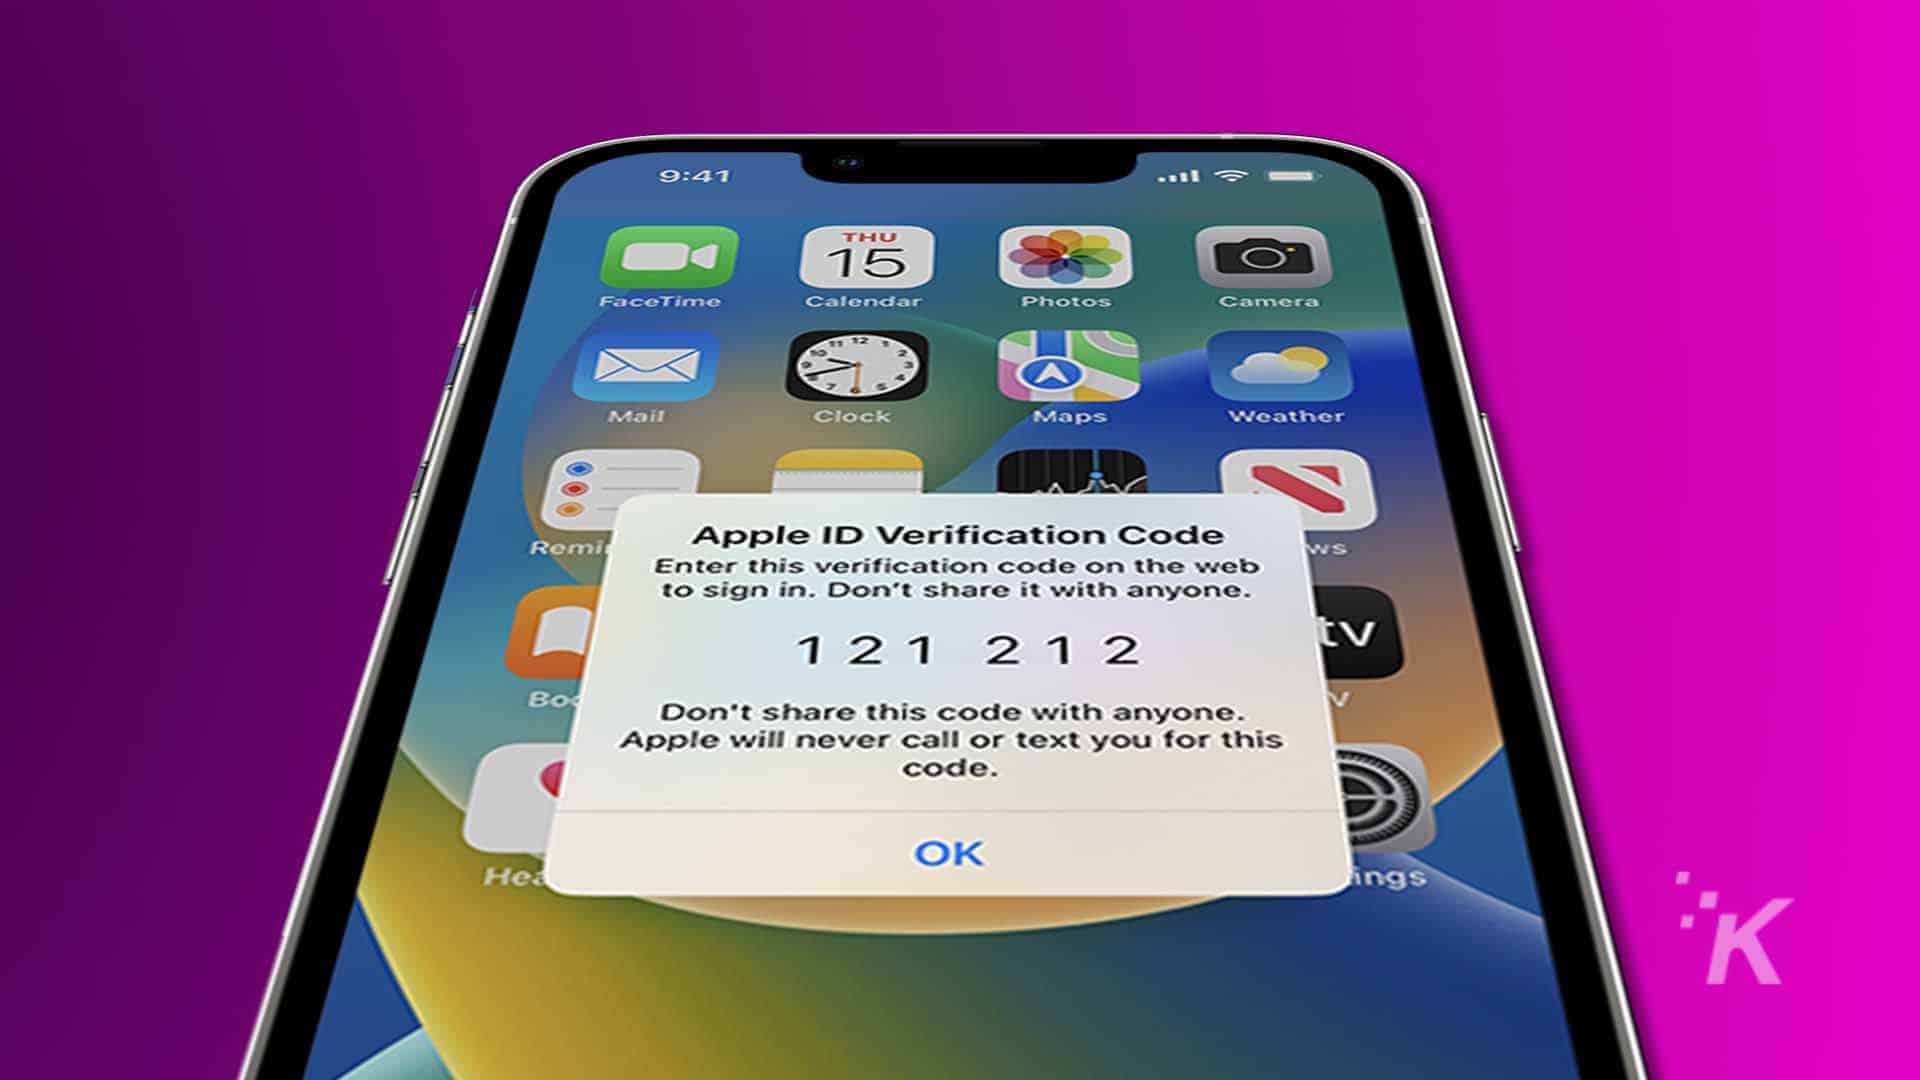
We all love the peace of mind that comes with extra security like two-factor authentication (2FA). However, the aftermath is often a messy inbox filled with one-time codes.
If you’ve found yourself annoyed by this clutter, you’re not alone. Thankfully, with iOS 17, Apple has introduced a neat solution.
Now, there’s a handy feature that clears out these codes for you, automatically. By simply flipping a switch in your settings, you can say goodbye to the endless list of codes in your Messages app.
In this post, we’ll show you how to activate this feature, helping you keep a clean inbox while staying secure
How to delete two-factor authentication codes automatically on iOS 17
Open Settings
Tap on ‘Passwords’
Unlock Your Phone
Access ‘Password Options’
Find the ‘Verification Codes’ Section
Enable ‘Clean Up Automatically’
And there you have it – you’ve just set your iPhone to automatically delete used two-factor authentication codes, making inbox clutter a thing of the past. Now, isn’t that satisfying?
This feature is designed with user convenience in mind. It will not delete any unused authentication codes, only those that have been used. This ensures that you won’t accidentally lose a code you may need later.
This automatic cleanup also extends to the Mail app too, ensuring all your inboxes remain clutter-free.
iOS 17 makes deleting two-factor authentication codes on iPhone super easy
Stepping up your digital security with two-factor authentication is a smart move, but it often comes with the small annoyance of a cluttered inbox.
Thankfully, iOS 17 brings a simple yet effective solution to this common problem.
With the automatic deletion feature highlighted in this guide, you can effortlessly keep your inbox tidy, showing that staying secure doesn’t have to come with a side of disorder.
Have any thoughts on this? Drop us a line below in the comments, or carry the discussion to our Twitter or Facebook.
Editors’ Recommendations:
- Apple rolls out iOS 17 update to battle overheating iPhone 15 bug
- Does the iPhone 15 have four cameras?
- How much is the iPhone 15?
- Resident Evil Village is coming to iPhone 15 Pro/Pro Max in October
Follow us on Flipboard, Google News, or Apple News