
How-To
How to backup your iPad with or without a computer
Your data is precious. We’ll show you how to backup your iPad so you don’t lose any.
Just a heads up, if you buy something through our links, we may get a small share of the sale. It’s one of the ways we keep the lights on here. Click here for more.
Is your iPad storage full, and you can’t find any files to delete and free up space? Did you know you can easily back up an iPad to an external hard drive?
Apart from backing up your iPad to iCloud, Mac, or PC, you can also use an external hard drive to save your files.
Most external hard drives come with a large storage capacity, allowing you to save as many files as you wish. This becomes handy when you want to back up large files from your iPad.
If you have important photos, videos, or documents you don’t need currently, moving them to an external backup helps save your iPad storage.
We’ll walk you through how to back up your iPad, whatever storage device you have.
Why you should backup your iPad to another drive

You may want to backup your iPad to an external hard drive for several reasons.
One is to protect your files against accidental deletion. Unlike saving your files to an iCloud backup accessed across several devices, using an external hard drive is more secure.
This is because you won’t run into situations where you accidentally delete a photo or video while viewing it on a different device.
Another reason is to reduce your subscription costs. iCloud provides a free storage space of only 5GB. Unless you’ve purchased more storage, this fills up quickly under normal use.
With an external hard drive, however, you can transfer large files from your iPad and use iCloud storage for other important files.
An external hard drive is also more portable and can be used on multiple devices to back those up as well.
How to backup your iPad to an external hard drive
You’ll need an adapter
Connect things together
Open Photos
Save to the external drive
Once you’ve saved your files and data to the external hard drive, you can disconnect it from your iPad and store it in a safe place.
How to backup iPad to an external hard drive using Finder
Finder is the default tool for managing files on computers running macOS.
This application allows you to conveniently move files from your iPad and save them to an external hard drive.
Note that these steps work for all Apple devices attached to a Mac, not just the iPad.
Backup your data to the Mac
- Connect your iPad to a Mac via USB. Do the same for your external hard drive. Next, launch Finder and select your iPad under Locations.
- Under Locations, go to General, select Backup up all of the data on your iPad to this Mac, and click on the Apply button.
That starts the backup, and all you have to do is wait until it’s finished.
Transfer backup to your external hard drive
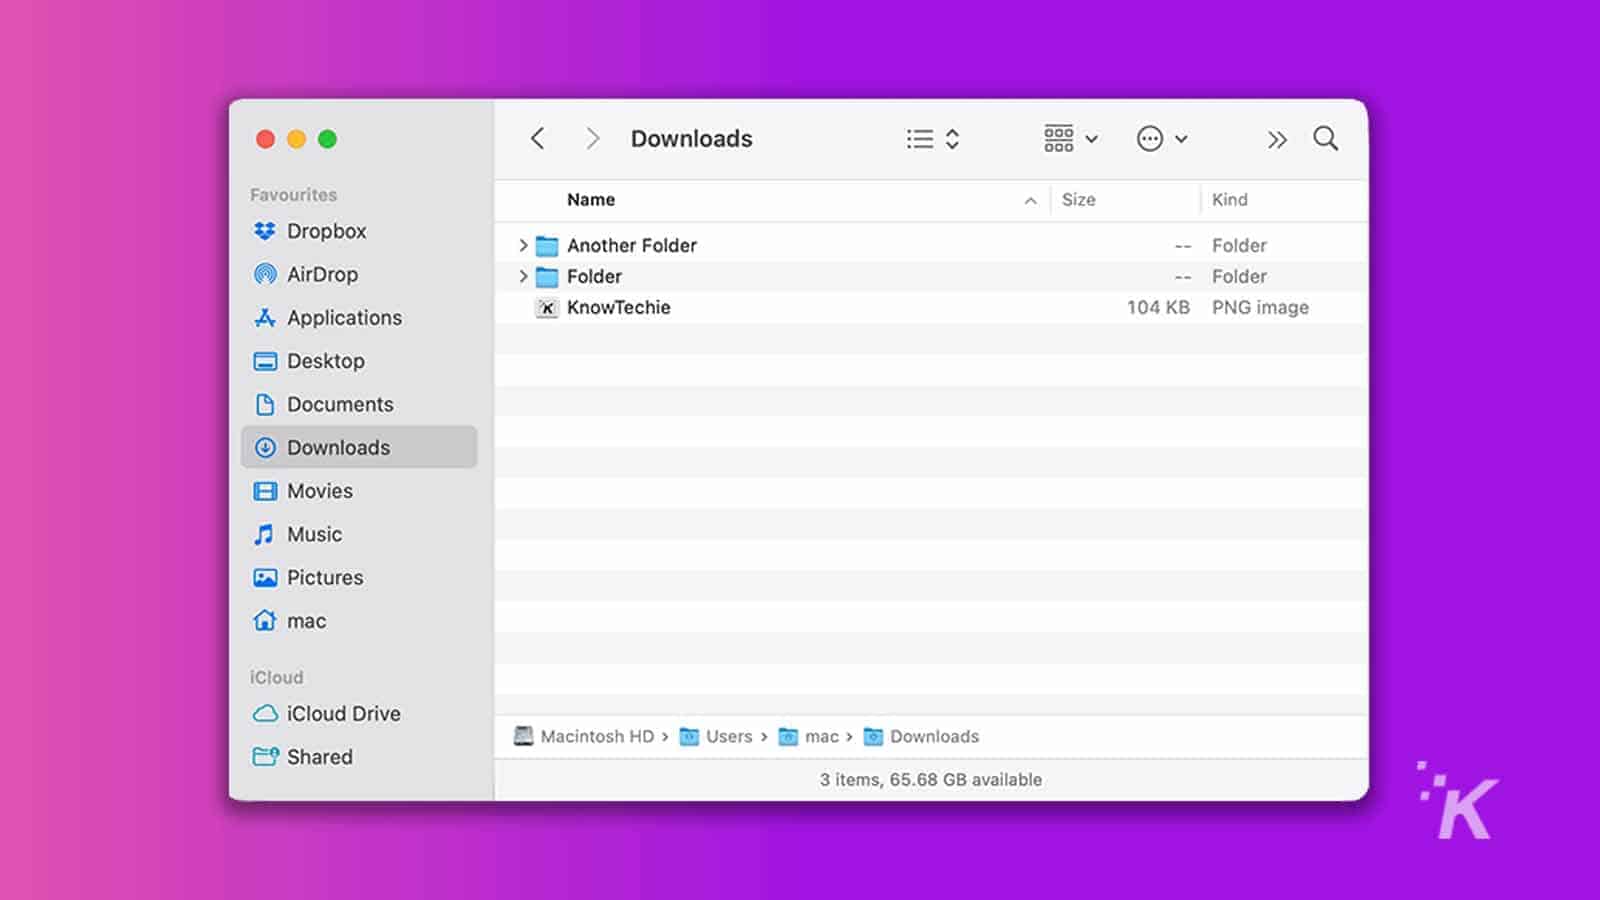
- Select your iPad from the Finder window and go to General, Manage Backups.
- Locate the backup you created earlier. Right-click on the backup, then choose the option for Show in Finder.
- Copy the backup folder, select your external hard drive as the backup destination, and click Paste item. You’ll then have your iPad data transferred to the external hard drive.
How to backup iPad to an external hard drive with iTunes on Windows PC
With a Windows PC, you can easily back up your iPad files and data to your external hard drive via iTunes.
Before getting started with iTunes, ensure you’ve downloaded and installed the latest version of the software.
Also, you’ll need either a Lightning to USB cable or a USB-C to USB-A cable, depending on which iPad you have. You’ll also need the USB cable that comes with your external drive.
- Connect your iPad and external hard drive to your Windows PC via USB. Tap on the Trust button on your iPad.

- Step 2. Launch Command Prompt on your PC and paste the command below.
mklink /J "C:\Users\Your user name\AppData\Roaming\Apple Computer\MobileSync\Backup" "E:\"From the above command, change “C” to represent your actual iTunes drive letter and “E” to represent the real drive letter for the external hard drive.
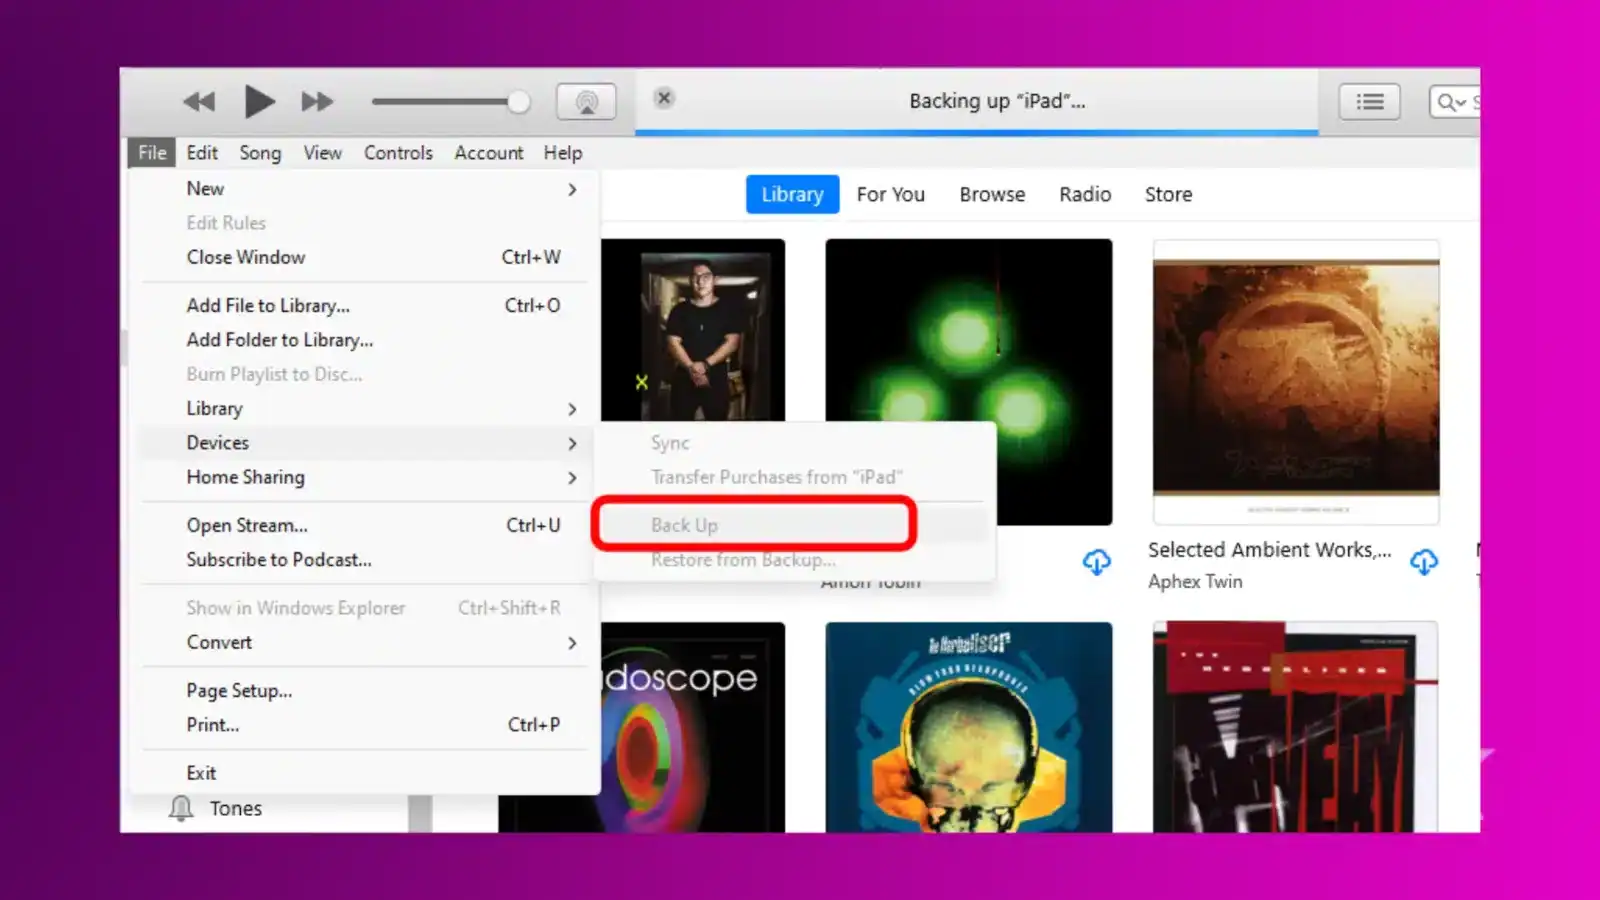
- Next, select your iPad from the iTunes window. Go to Summary, Backups, then click on This Computer to make it your backup destination.
- Click on Back Up Now, then Apply. iTunes will automatically copy the files and data on your iPad and transfer them to your external hard drive.
That’s it! You’ve now saved your iPad data to an external hard drive.
Backup your iPad data and files efficiently
Moving your iPad files and data to an external hard drive creates more storage space and enhances data security.
Having your files saved to an external hard drive secures them from accidental deletion, a common occurrence if relying on iCloud.
With the three backup options discussed above, you can find the one that works best for you.
Have any thoughts on this? Drop us a line below in the comments, or carry the discussion to our Twitter or Facebook.
Editors’ Recommendations:
- New AI-powered Gboard feature aims to help avoid grammar errors
- Review: XGIMI Horizon Ultra projector
- How to create an anonymous Facebook account
- Tesla myQ errors–quick fixes
Follow us on Flipboard, Google News, or Apple News
1 Comment
Leave a Reply


SenileOtaku
November 28, 2023 at 8:39 pm
*EVERYBODY* has the exact same ***USELESS*** information on their sites. There isn’t enough **ROOM** on the MacBook to back up the iPad!!!! So I need to back up the data ****DIRECTLY**** to the external disk, with none of this back up internally and copy to external.
I thought Macs and iDevices were supposed to be **SIMPLER**???? Simple-minded perhaps, that’s about it.