Keyboard
Can you replace mechanical keyboard switches?
Maybe you are tired of the clickity-clack and ready for something a little quieter.
Just a heads up, if you buy something through our links, we may get a small share of the sale. It’s one of the ways we keep the lights on here. Click here for more.
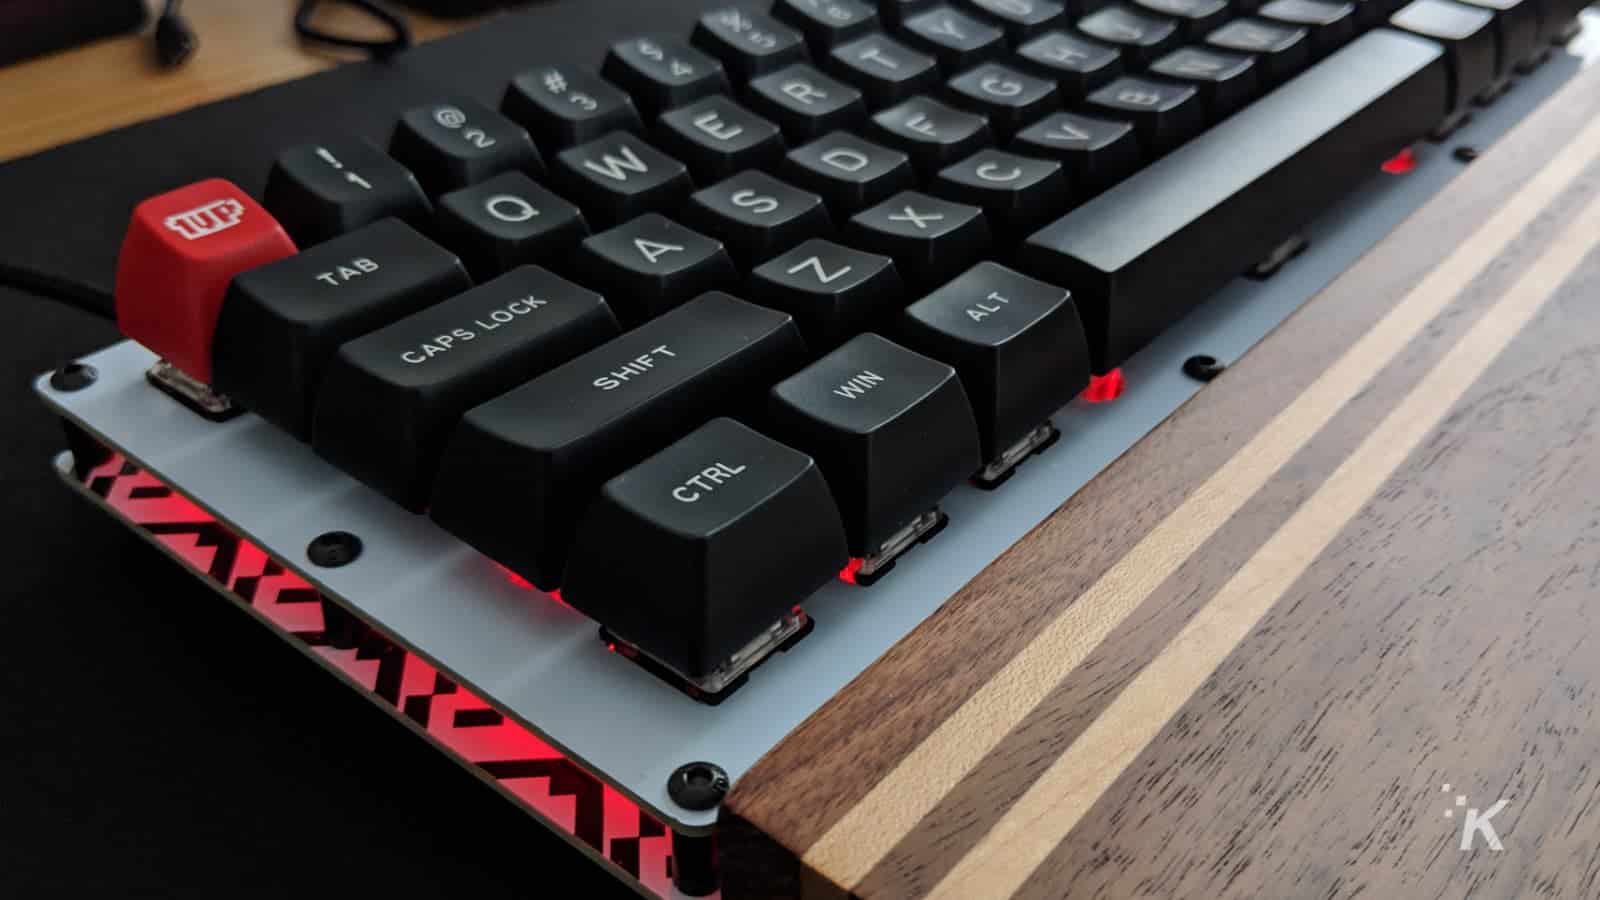
Mechanical keyboards are the perfect companion peripheral to your computer, whether you’re a coder, a gamer, or just like annoying the heck out of your office mates with your clackity-clack. They’re generally better built, more expensive, and come with a bewildering array of options to the uninitiated.
With that extra outlay of cash, you might be wondering what to do if something goes wrong. The switches used in mechanical keyboards can be finicky, failing earlier than their cheaper, membrane cousins. If a switch fails, or if you decide you don’t like the switch type you bought with your keyboard, can you change them out?
So, can you replace the switches on your mechanical keyboard?
Short answer: Yes
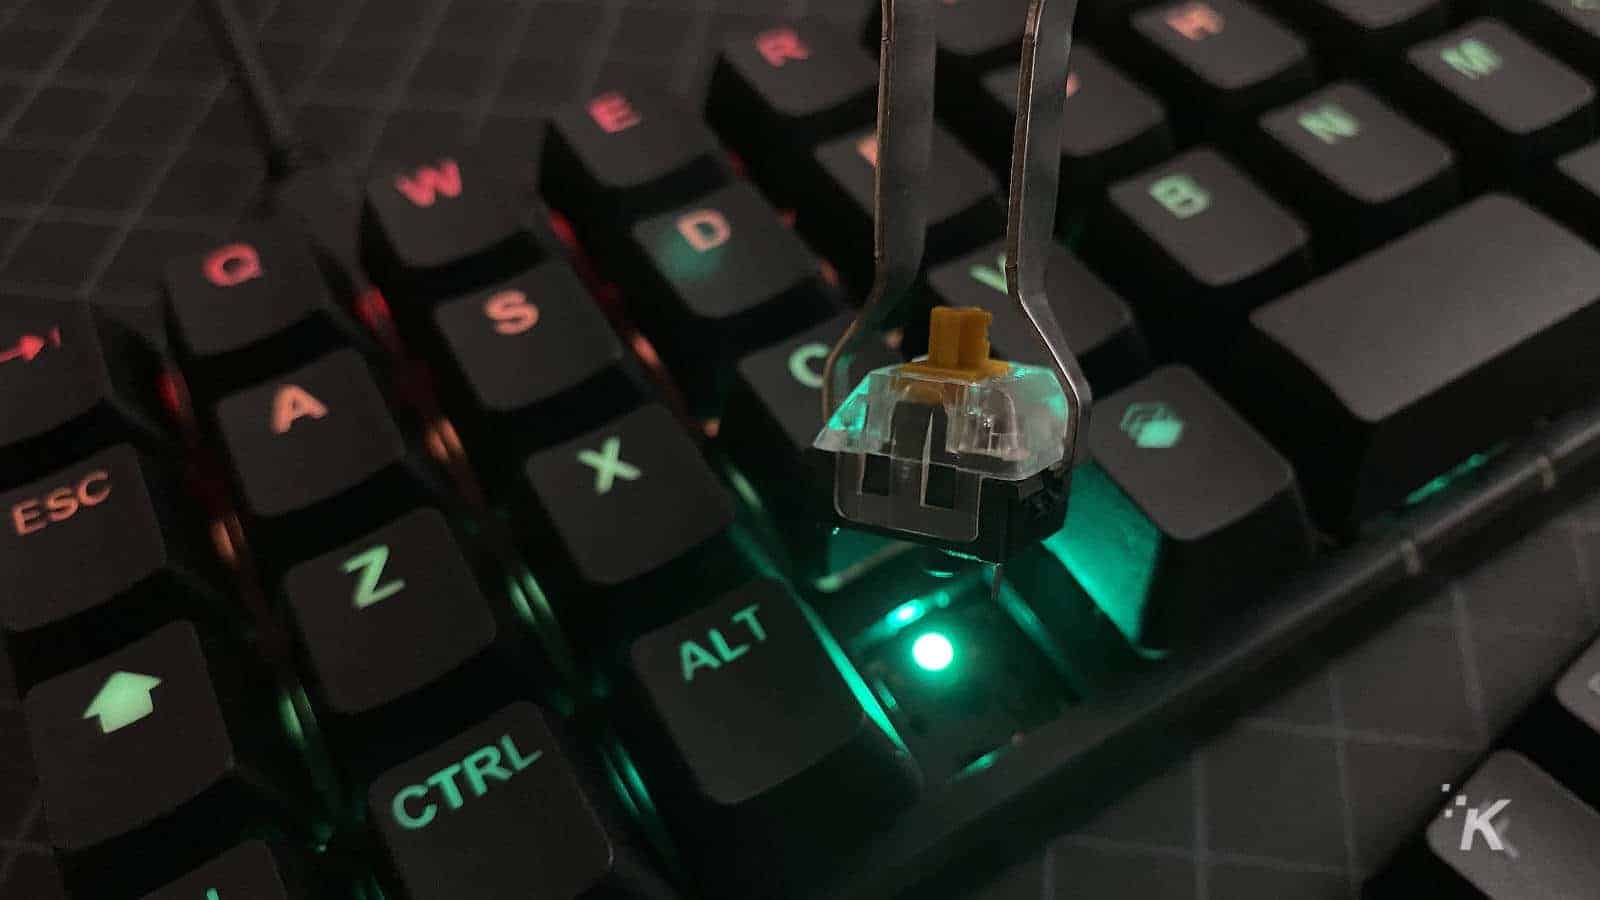
The longer answer here depends on the type of mechanical keyboard you own. If you bought a keyboard marketed as “hotswap”, like the Planck EZ we reviewed, then it’s a simple matter of using the switch pulling tool that came with the keyboard to carefully pull out the faulty switch, and replace it with a new switch of the same type.
The same thing goes if you just want a change of switches for other reasons, and mechanical keyboard enthusiasts do this type of swap fairly often.
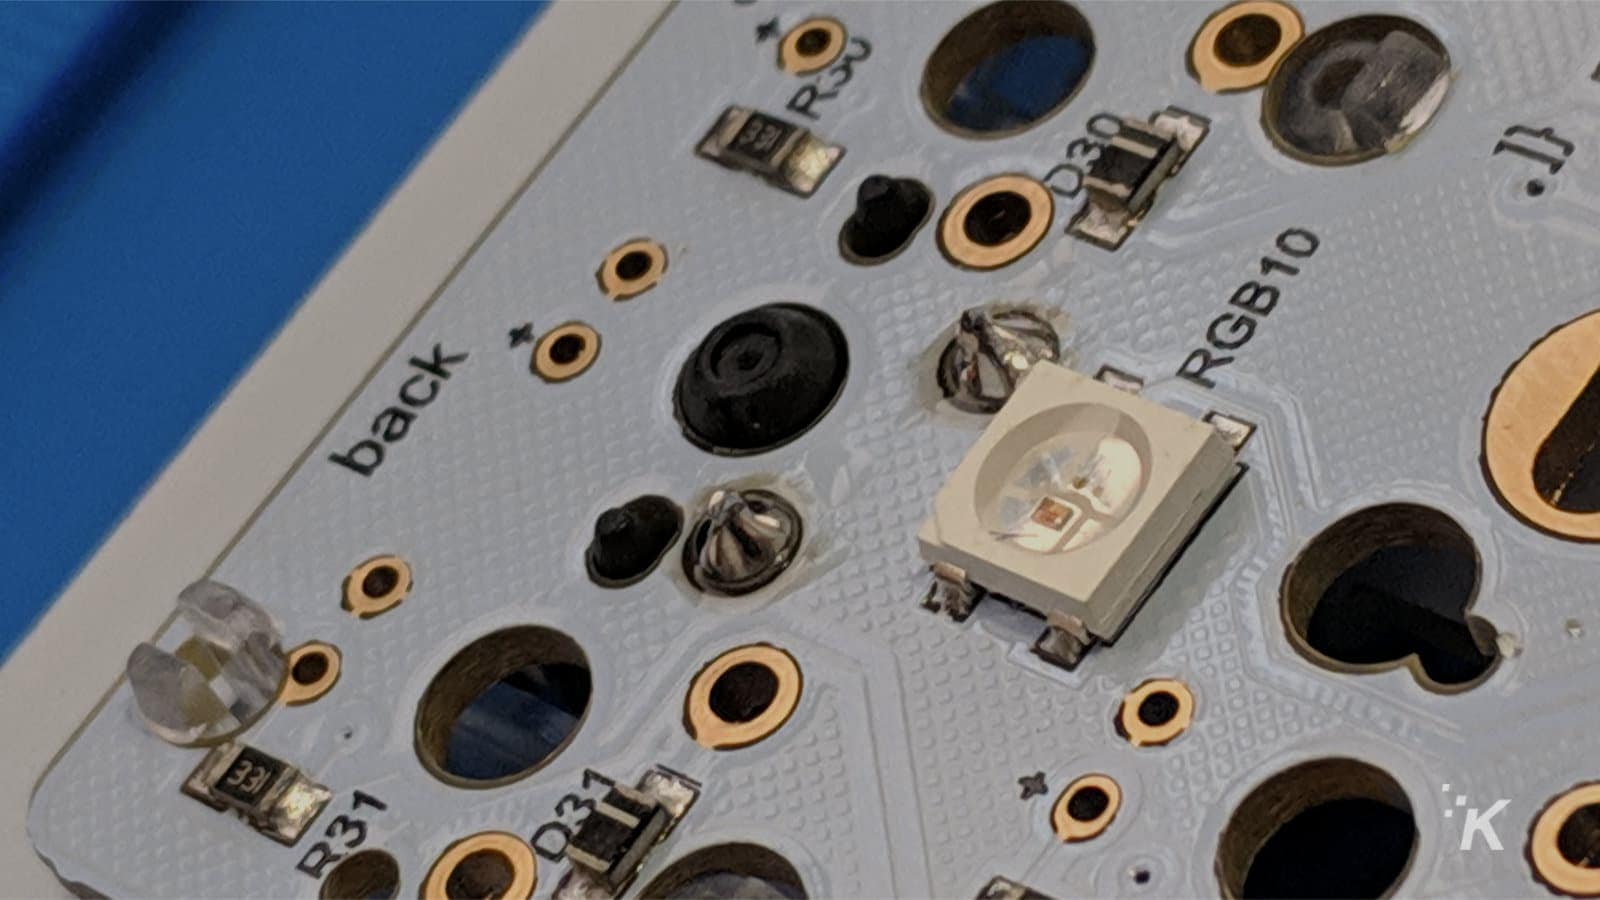
If you’ve got a non-hotswap mechanical keyboard, and feel like you’re comfortable with both your soldering skills and breaking any warranty you might have left, then it’s slightly more long-winded. You’ll need some tools, mainly a soldering iron, some solder, a screwdriver kit, probably a spudger or expired credit card to pull the case apart, a desoldering pump, and some replacement switches.
You’ll take apart the keyboard carefully so you get to the circuit board, flip it over to see the soldered switch terminals, and remove the solder with applied heat from a soldering iron and then a desoldering pump. Then it’s just a case of replacing the switch with a new, working one, soldering it in, and reversing the process you did when you disassembled the keyboard. You did take pictures and notes to help you, right?
Now you can rest easy knowing that if your expensive mechanical keyboard starts to have issues, you’ve got a fair chance of repairing it. Best brush up on your soldering skills…
What do you think? Plan on making upgrades to your mechanical keyboard anytime soon? Let us know down below in the comments or carry the discussion over to our Twitter or Facebook.
Editors’ Recommendations:
- Review: Das Keyboard 4 Professional for Mac mechanical keyboard
- Review: Nuphy NuType portable mechanical keyboard
- Review: Hexgears Nova – a solid mechanical keyboard for under $100
- Samsung apparently wants to turn your selfie cam into a keyboard