Alexa
How to connect Blink cameras to Alexa?
Get your Blink cameras connected to Alexa with our handy guide.
Just a heads up, if you buy something through our links, we may get a small share of the sale. It’s one of the ways we keep the lights on here. Click here for more.
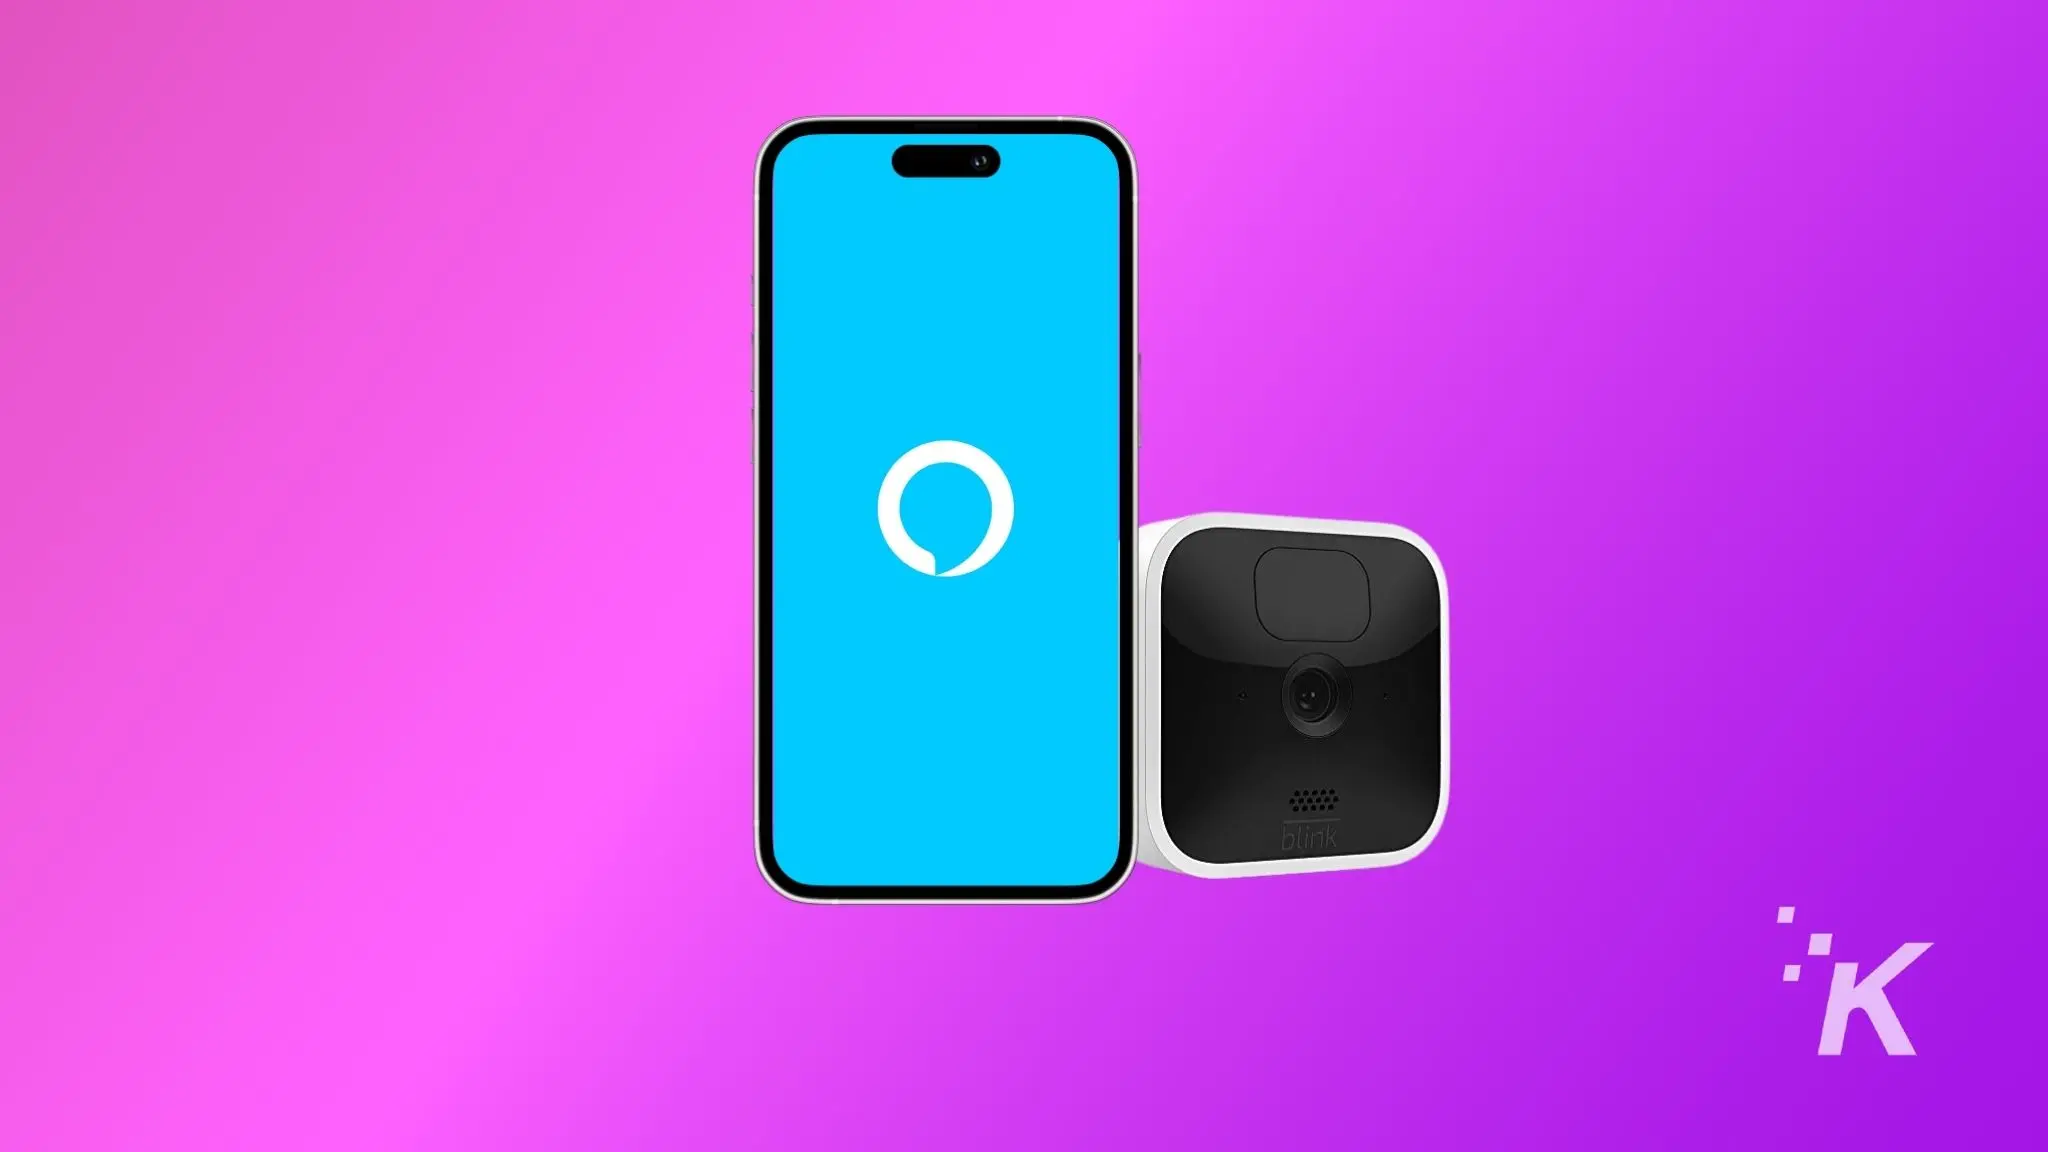
Blink makes some of the best home security cameras, and as they’re owned by Amazon, they all have deep integration with Alexa.
Connecting your Blink camera to Alexa opens up a new world of convenience and control. You can watch the feed of the camera on your Alexa-enabled devices or check your home’s security status using voice commands.
But many of us don’t know where to start when it comes to linking the two together.
We’ll tell you everything you need to know, including if you need any additional hardware.
Step-by-step guide to connect Blink camera to Alexa
Blink Home Monitor is the home monitoring app for Blink home security camera systems. It's got everything you need to keep an eye on your home from anywhere with a cellular signal.
Before connecting your Blink camera to Alexa, ensure you have the Blink Home Monitor and Alexa apps installed on your smartphone. Also, any Alexa-enabled devices should be on the latest firmware.
Open the app
Go to Settings
Enter the privacy menu
Start the linking to Alexa
Continue in the Alexa app
Enable the Alexa skill for Blink
Sign in to your Blink account
Verify the sign-in
Close the skill
Now, discover your cameras
Create a disarm code
Now, you can use Alexa’s voice commands to control your cameras or watch the live Blink camera feeds on Fire TV.
Connect your Blink cameras to Alexa manually
If Alexa is unable to discover your Blink Cameras automatically, then you have to add them manually.
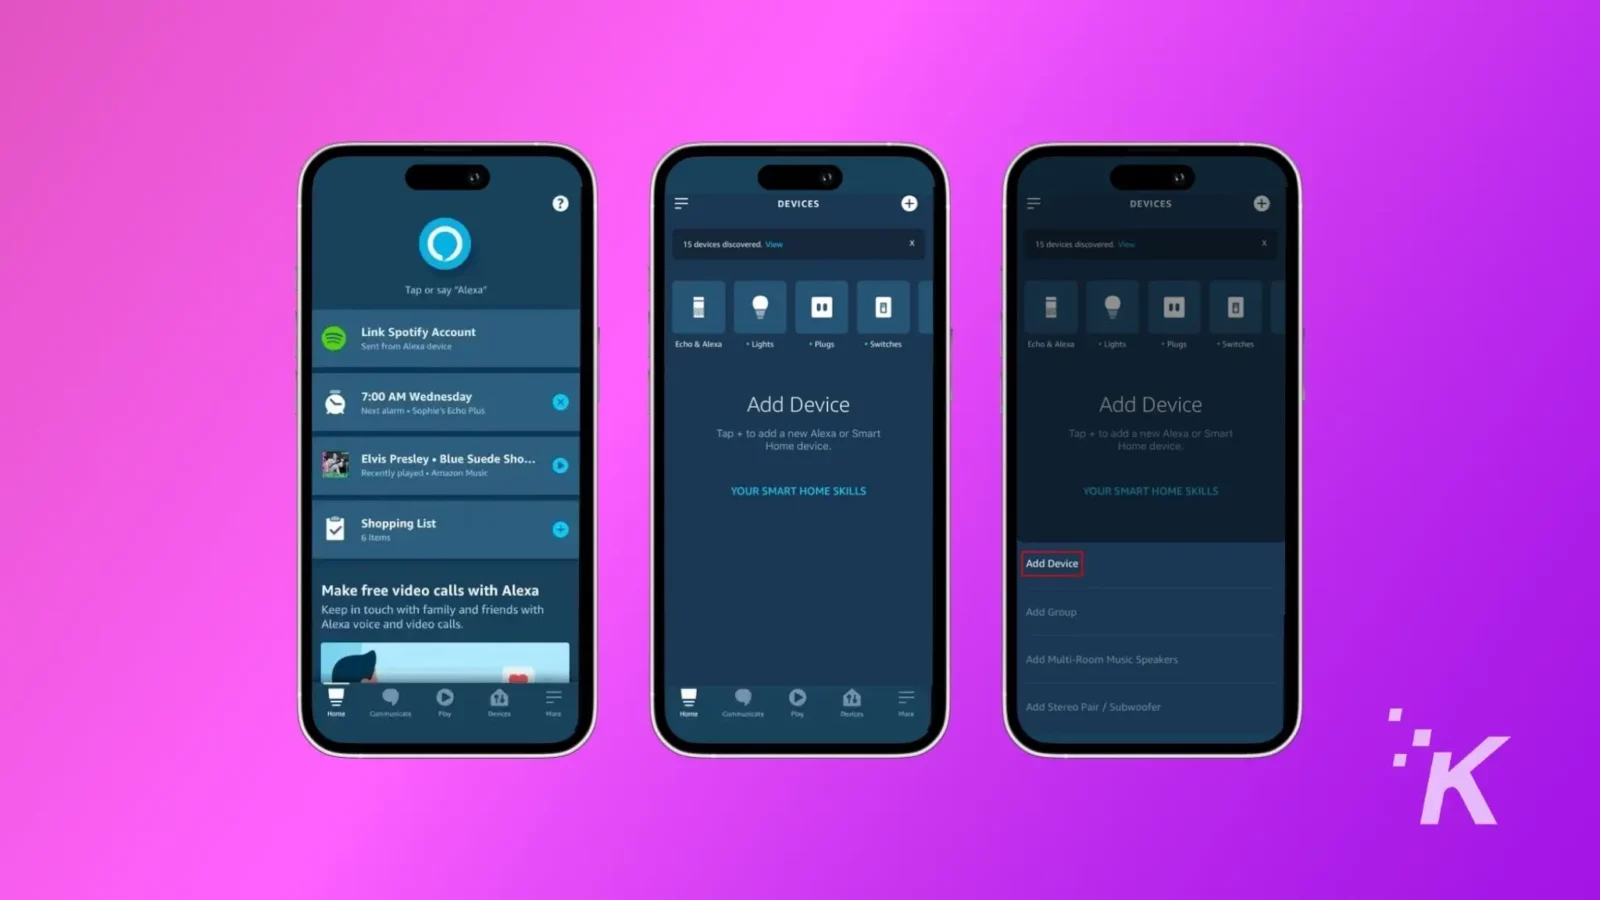
- On the home screen tap on Devices, at the bottom of the screen.
- Now, Tap the + icon at the top right-hand corner.
- Tap on Add Device from the pop-up menu.
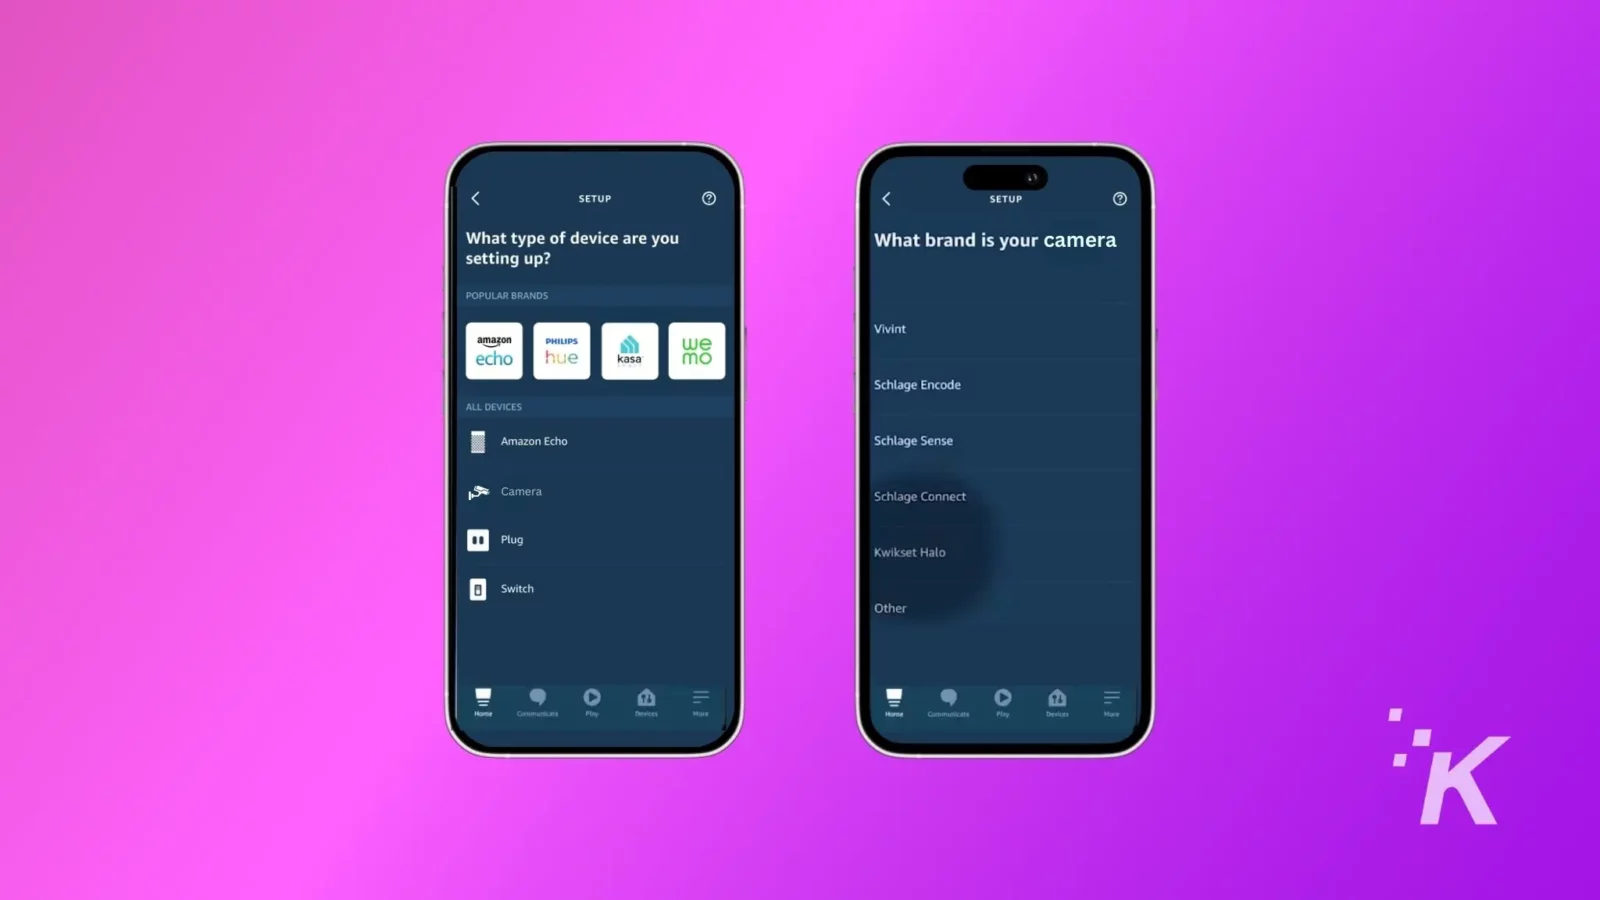
- Next, tap on cameras.
- On the next screen, select Blink from the list of available brands.
- Now, tap on Discover Devices button to search for Blink cameras. (From here, follow the last steps of the above section).
By now, your Blink cameras will be successfully connected to the Alexa app. If not, you should reset your Blink camera to factory defaults and try again.
Voice control for your Blink cameras is cool
Once successfully linked, you can arm or disarm the cameras using voice commands, watch live camera feeds on Fire TV, and control your cameras in a lot of different ways.
With how present voice assistants are in our modern way of life, it’s good to know that linking your camera system is a straightforward and short process.
Have any thoughts on this? Carry the discussion over to our Twitter or Facebook.
Editors’ Recommendations:
- How to share Blink Camera access?
- How to do a Blink Camera reset
- How to set up your Blink camera
- How to view Blink Camera on a TV?


