Just a heads up, if you buy something through our links, we may get a small share of the sale. It’s one of the ways we keep the lights on here. Click here for more.
When it comes to the best home security cameras, Blink has carved a niche for itself. The company offers optimal video quality, motion detection alerts, two-way audio capabilities, and a ton of other features at affordable pricing.
If you recently picked up one of its affordable home security cameras, congratulations! Now it’s time to get it installed.
We’ll walk you through setting up your new Blink camera or video doorbell.
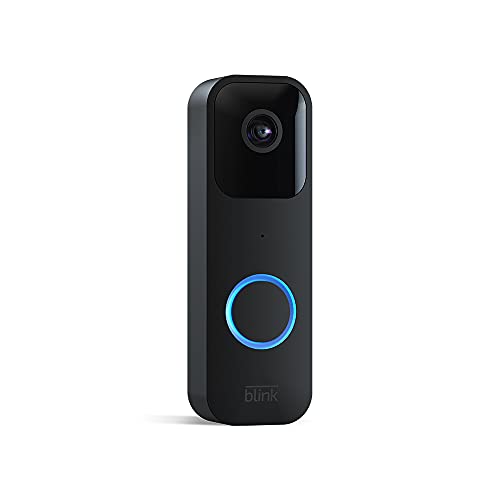
The Blink Video Doorbell is a powerful home security device designed to provide peace of mind and convenience without breaking the bank.
- Affordable: $35 for great security.
- HD & Audio: Clear video, talk feature.
- Simple Install: DIY setup.
- Smart Compatible: Works with systems.
Set up an account
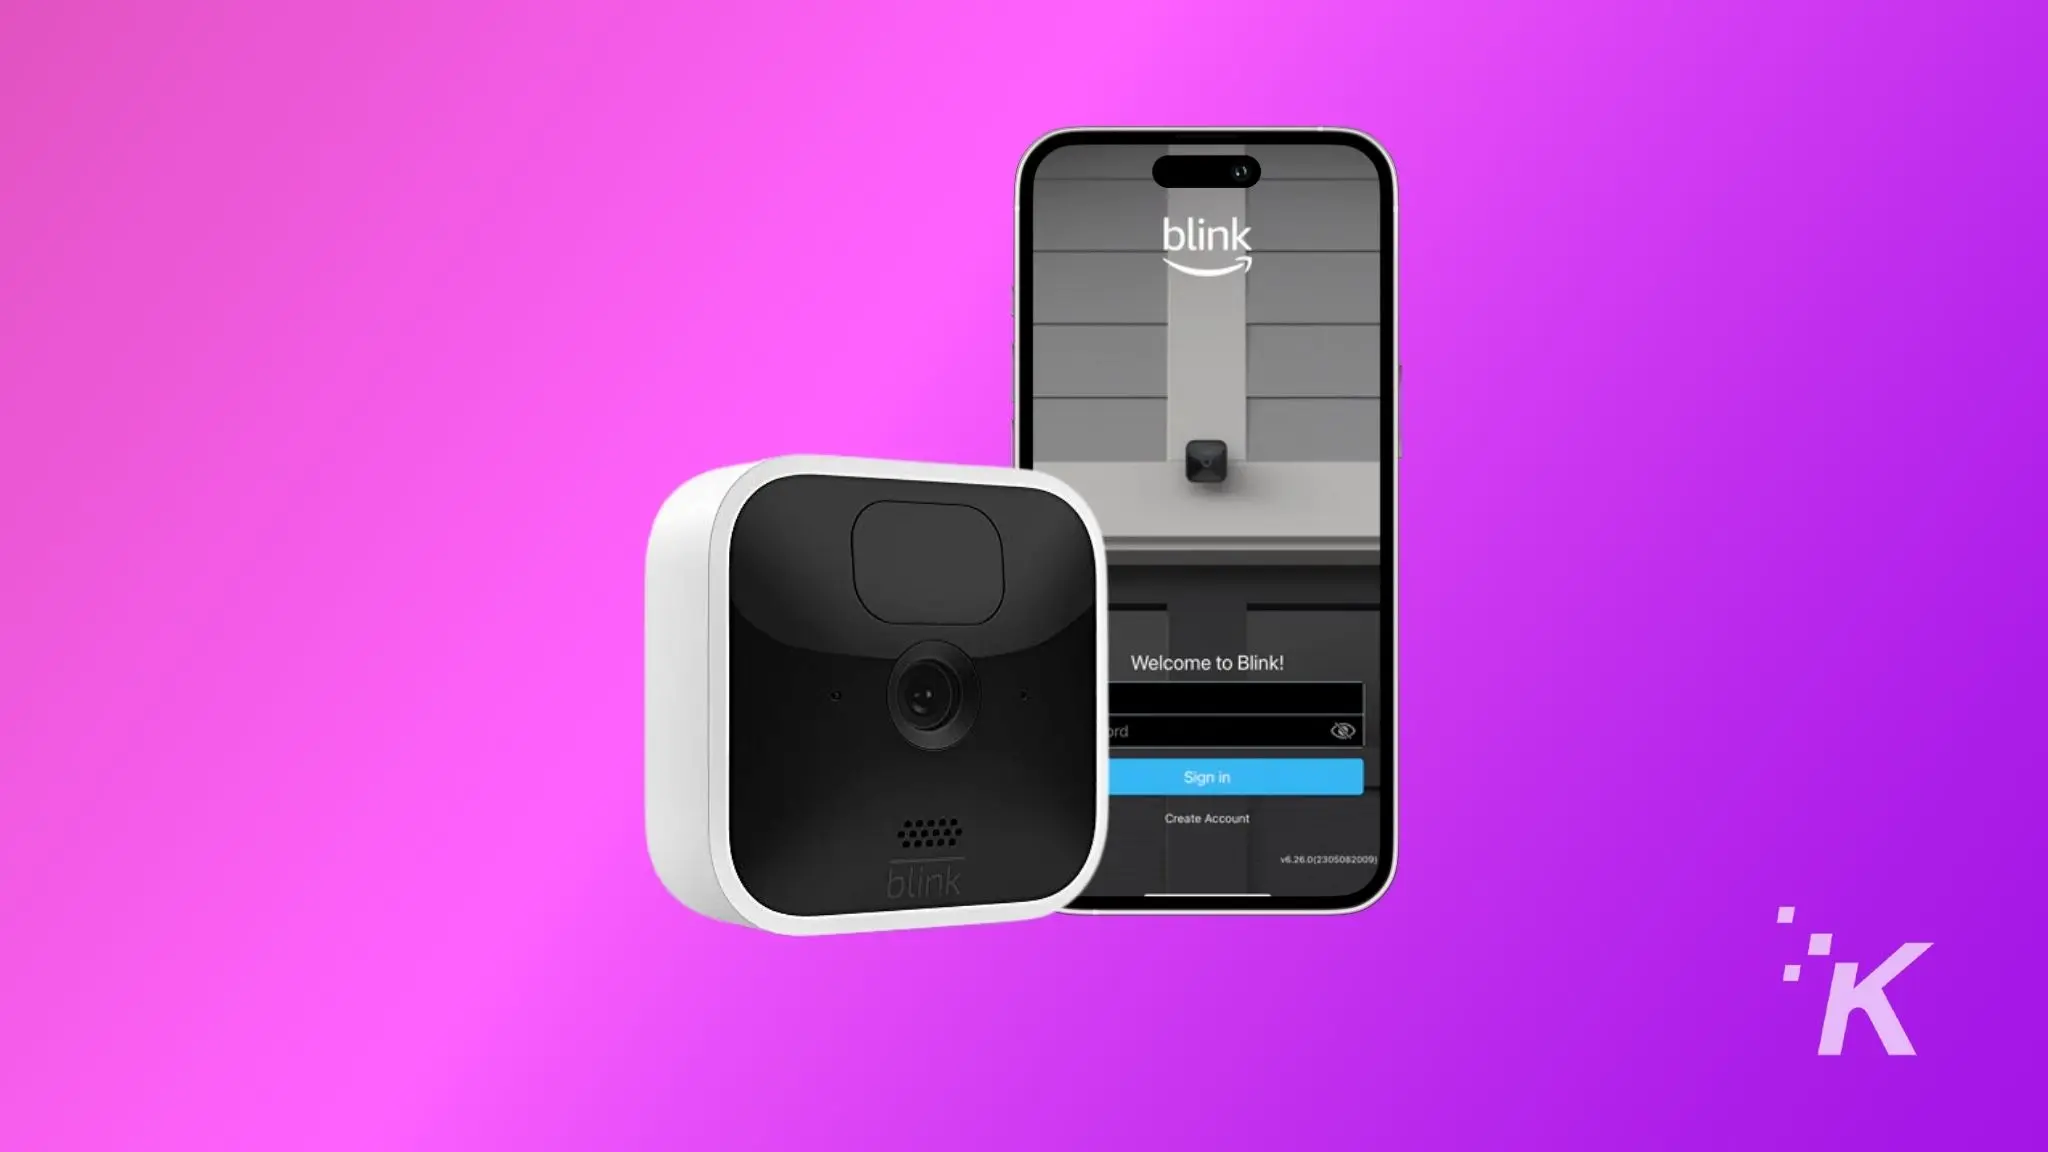
The first step in setting up any indoor or outdoor Blink camera, especially for new users, is to create an account on the Blink Home Monitor app.
Blink Home Monitor is the home monitoring app for Blink home security camera systems. It's got everything you need to keep an eye on your home from anywhere with a cellular signal.
Create an account
Choose your country
Confirm your region
Account details
Create a password
Set up MFA
Set up the Blink Sync Module
After creating the account on the Blink App, you need to set up the Blink Sync Module. It’s a tiny box that links the cameras to the Blink servers so you can monitor your home from anywhere.
Here’s what to do:
- Open the Blink App on your mobile phone.
- Tap the + sign at the top right corner of the screen.
- Now tap on Sync Module on the list.
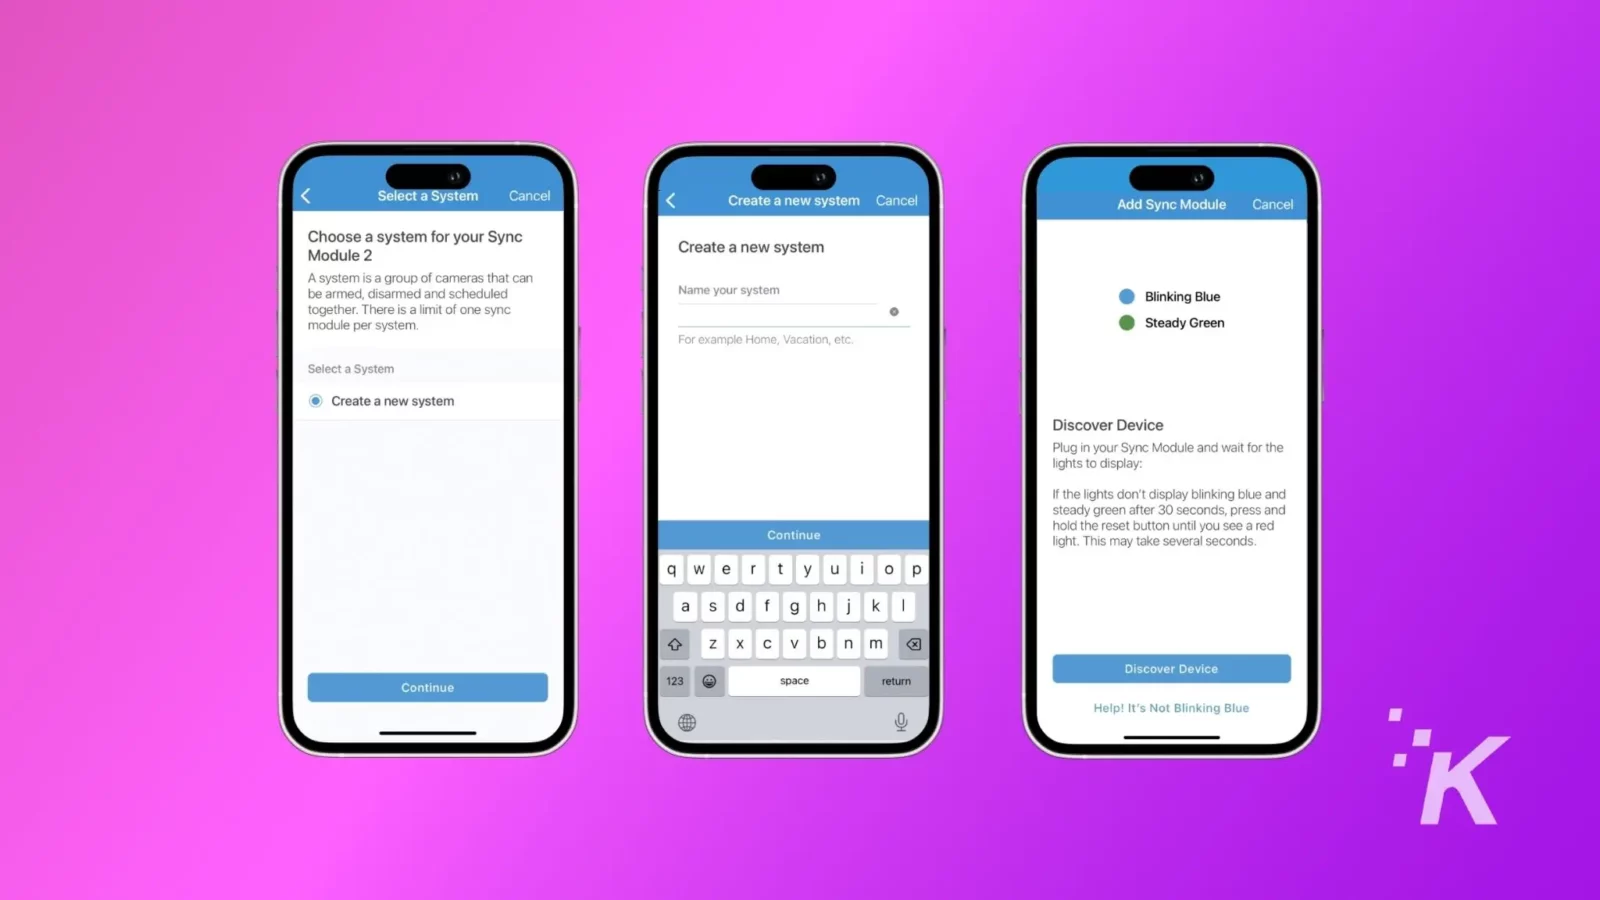
- Use your smartphone camera to scan the QR code on the back of your Sync Module.
- Enter a unique name for your new system, and tap on the Continue button.
- Plug in the Sync Module by using the power adaptor, and wait for a blinking blue and steady green light pattern. Once you see the light pattern, tap Discover Device.
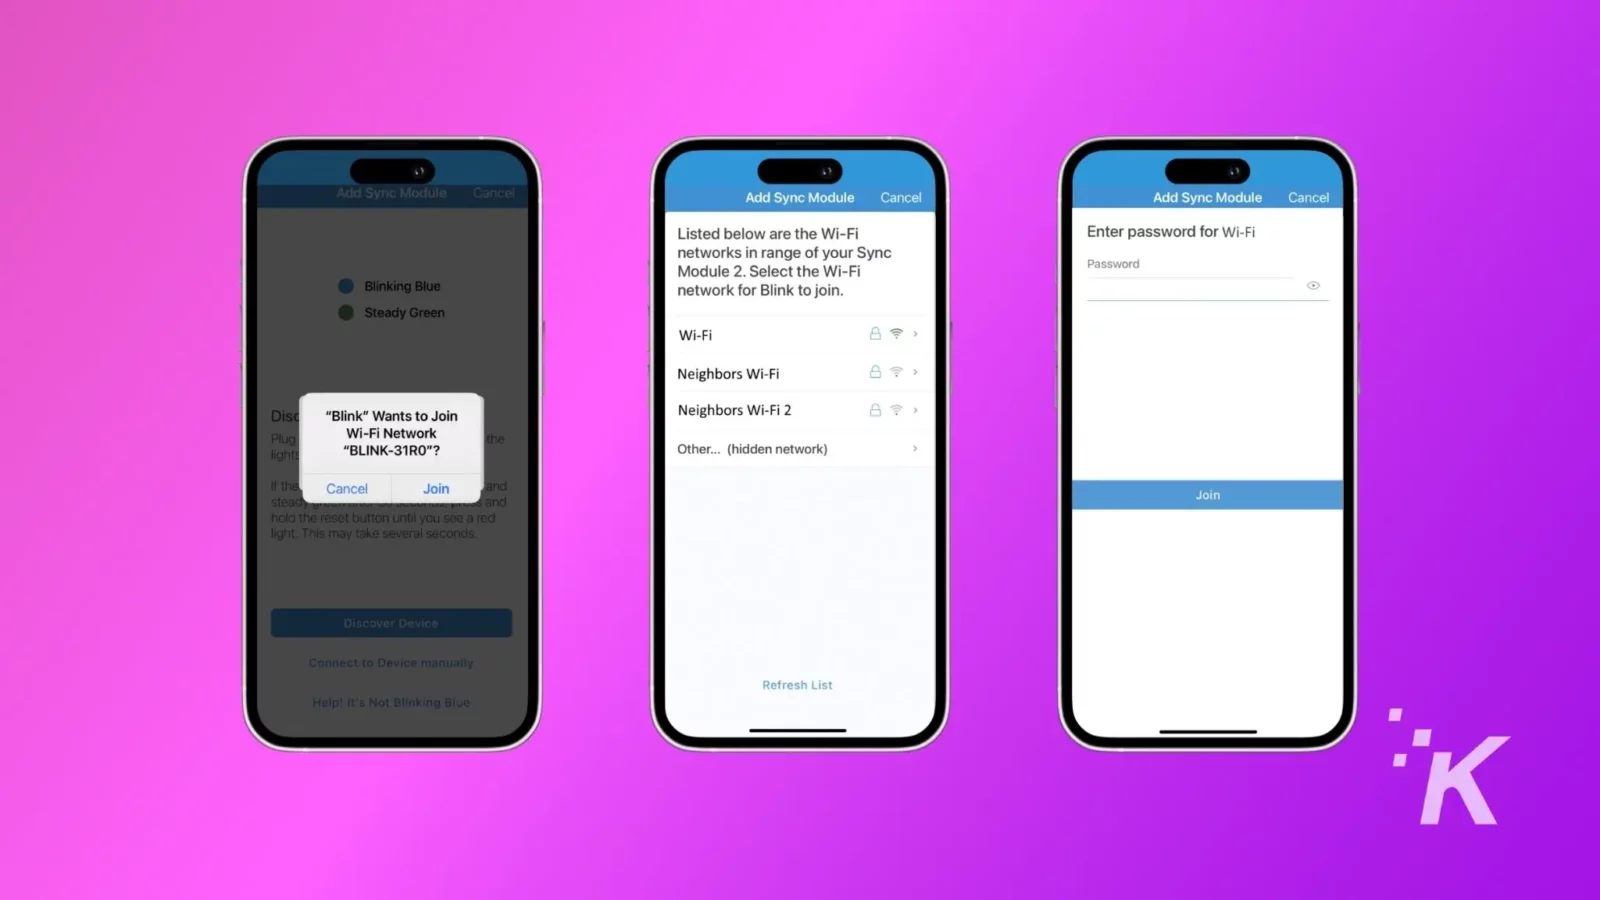
- A popup will appear on the screen asking to join a temporary Wi-Fi network; tap on the Join button.
- On the next screen, select your home Wi-Fi network, enter the credentials, and tap on the Join button.
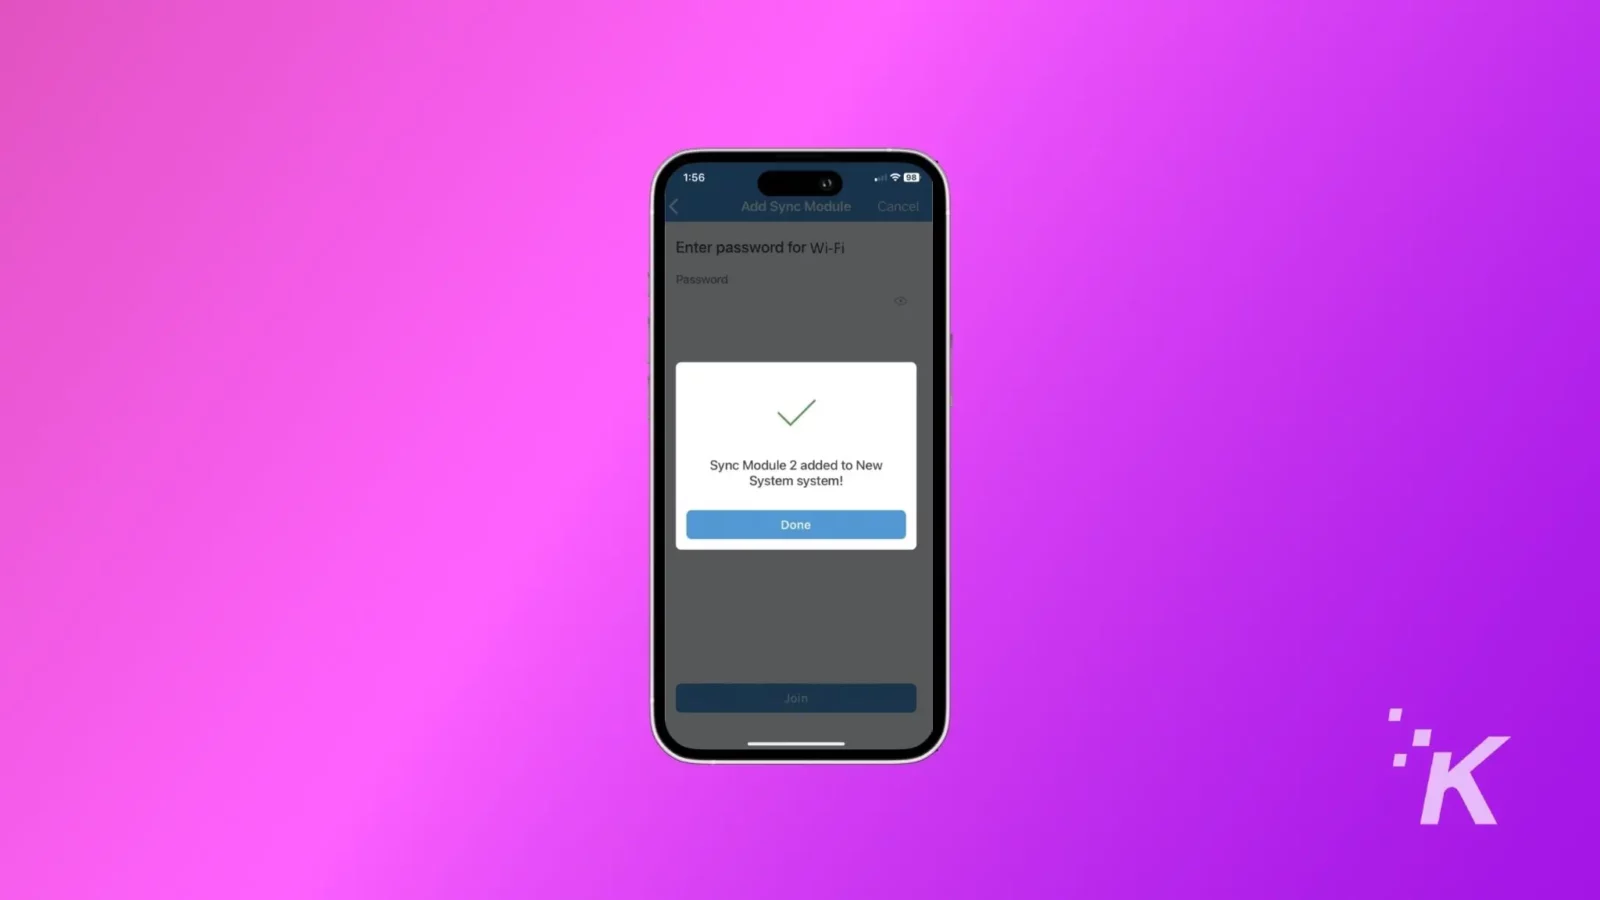
- Once the home Wi-Fi network is successfully connected, a popup will appear with the confirmation that a new Sync Module added to the system. Tap on the Done button.
Add Blink Cameras to the system
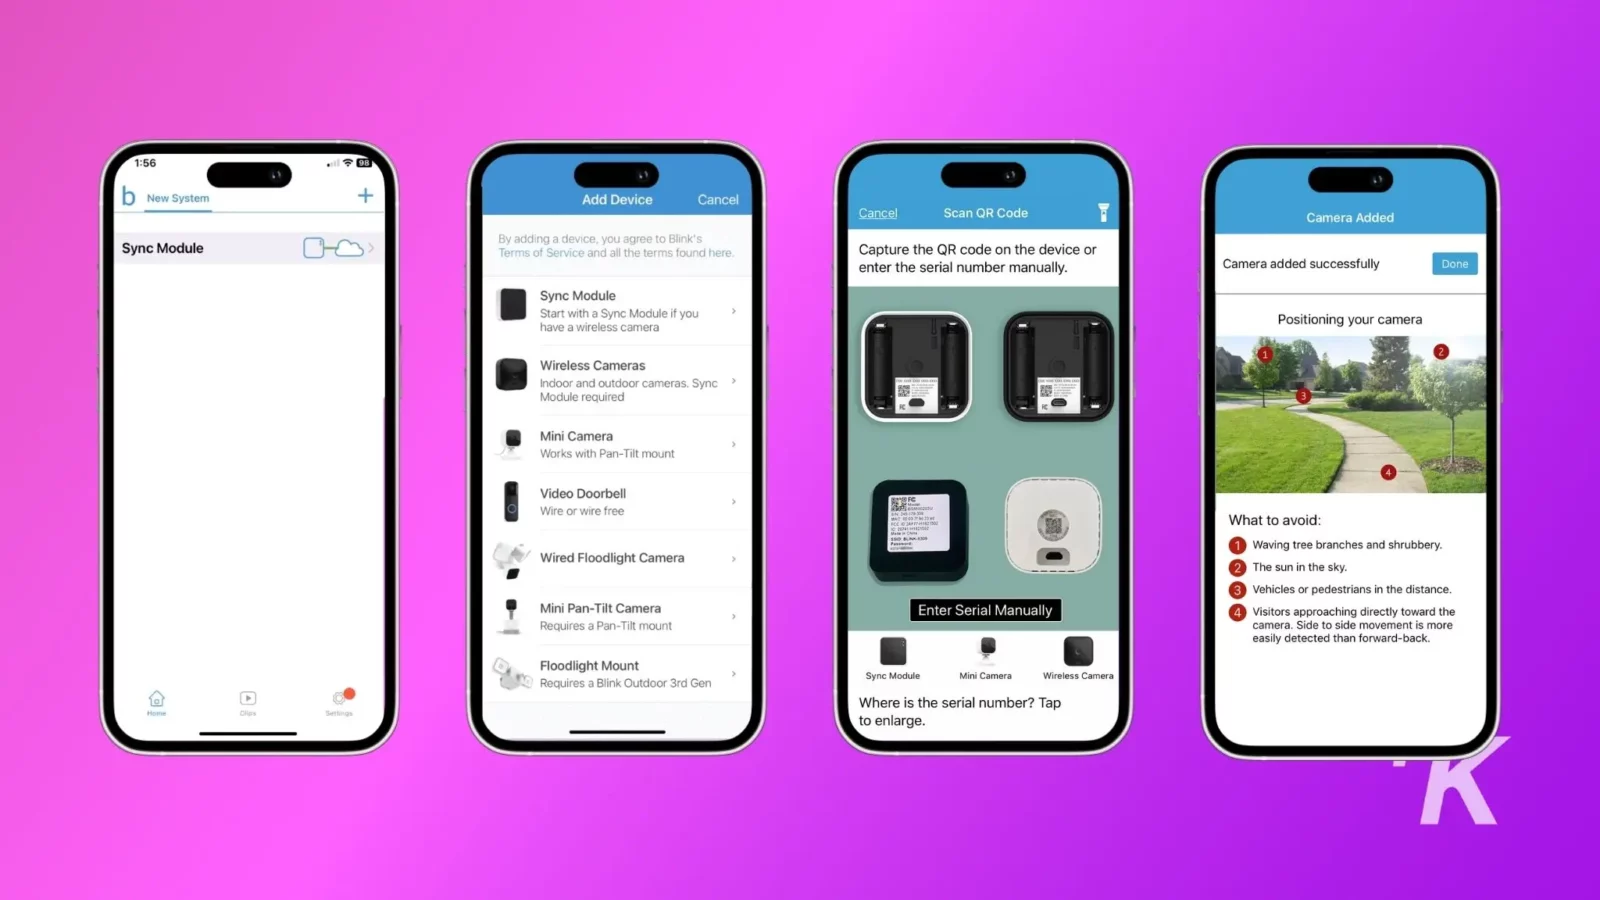
Now your Sync Module is working. It’s time to add some cameras to your system.
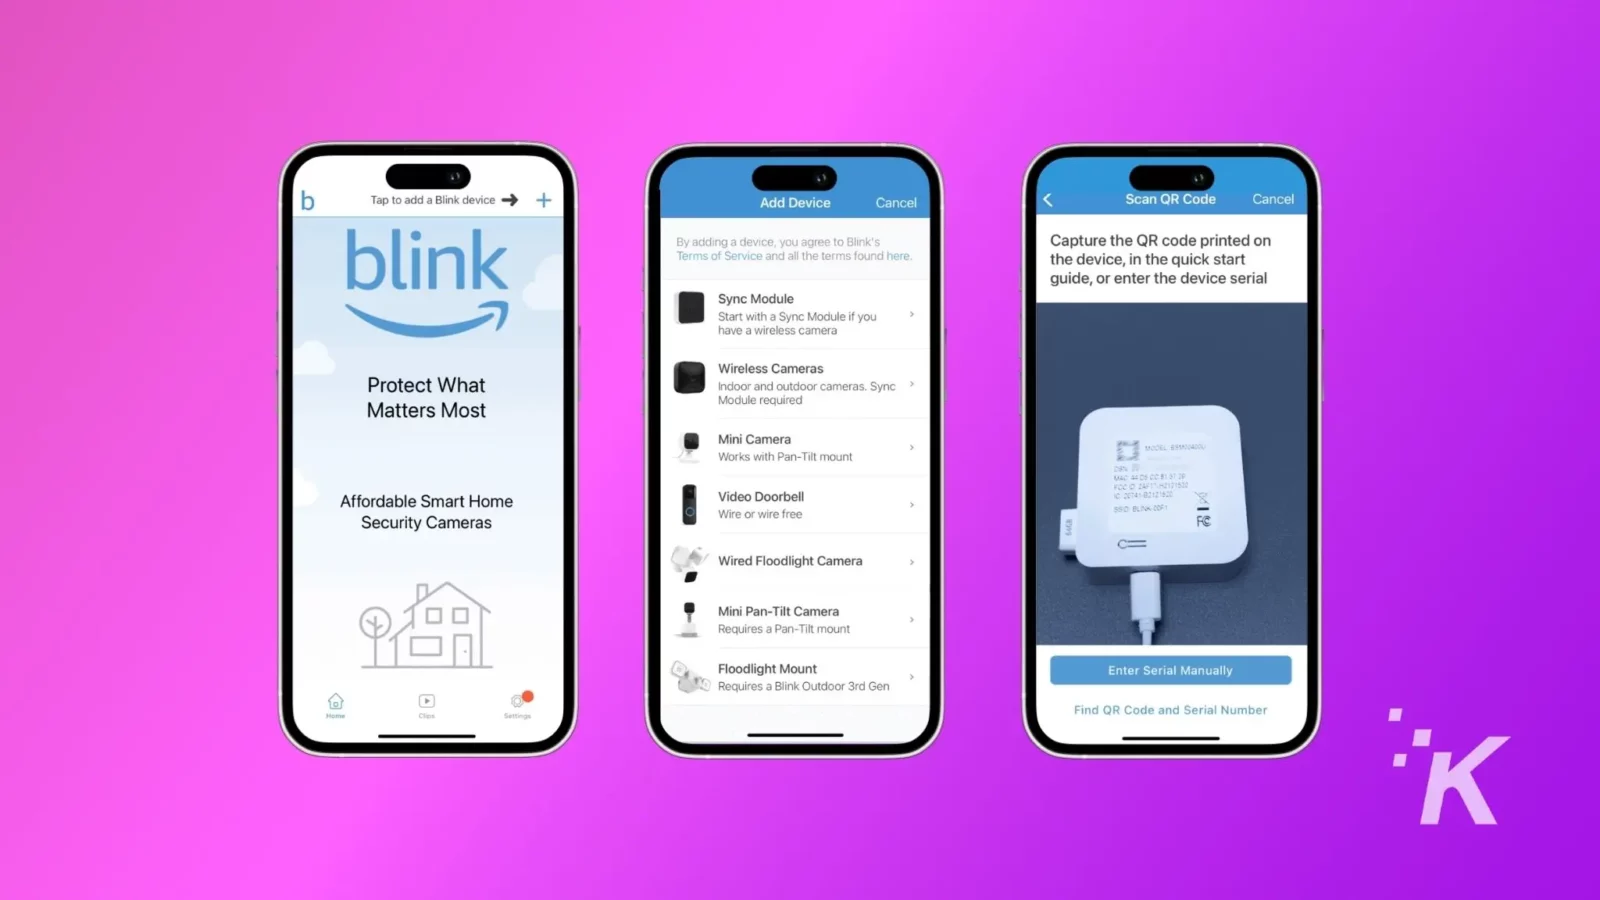
- Open the App and tap on the + button.
- Select Wireless Cameras.
- Scan the QR code or manually enter your Blink camera’s serial number.
- Select the Sync Module you set up earlier.
- Once the system validates the serial number, you will be directed to the Camera Added screen, which has tips for the best camera placement.
Now your Blink Camera is connected
Now you’ve got your Blink security camera set up and pointing at the area of your home you want securely watched. The process is the same, no matter which camera or doorbell you have.
That makes it simple to cover your entire house with cameras, just in case.
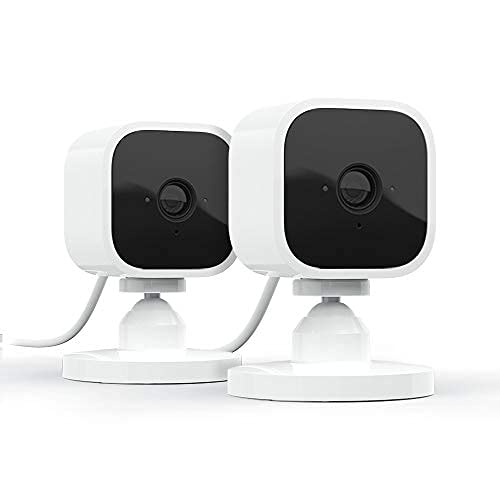
Meet the Blink Mini Security Cam: 1080P HD video, motion detection, and two-way audio for seamless home monitoring. Customize alerts, use them as an indoor chime, and enjoy easy setup.
- Crisp 1080P HD video: Crystal-clear footage for monitoring every detail.
- Two-way audio: Chat with pets and visitors from your smartphone.
- Customizable alerts: Prioritize what matters with tailored motion zones.
- Alexa-compatible: Effortlessly control your camera using just your voice.
Have any thoughts on this? Drop us a line below in the comments, or carry the discussion to our Twitter or Facebook.
Editors’ Recommendations:
- Top 4 worst locations you can put an Amazon Echo in your home
- How can you make your iPhone speaker louder and more powerful?
- This simple feature solves any ChatGPT plagiarism claims
- How to turn on Airplane Mode in Windows 11
Follow us on Flipboard, Google News, or Apple News