How to hide photos and videos in Google Photos
Now you can lock any images you want behind a passcode.
Just a heads up, if you buy something through our links, we may get a small share of the sale. It’s one of the ways we keep the lights on here. Click here for more.
If you have items saved in Google Photos that you’d rather not share, hiding sensitive content could save you future trouble and embarrassment. Luckily, you can conceal the worst of your collection by creating a locked folder.
Normally, when you launch the Photos app, all of your images and videos are laid bare to anyone close enough to view them.
However, media saved within a Locked Folder doesn’t appear in any easily accessible locations, including memories, albums, and searches.
On top of that, other software on your device can’t access concealed content, so you don’t need to worry about an awkward photo or video leaking through to another application.
Are you ready to protect all of those questionable moments you—for some reason—decided to capture on camera? Let’s discuss how to use a locked folder to hide content in Google Photos.
How to hide Google Photos content in a Locked Folder
While Google has been rolling out the Locked Folder feature to non-Pixel devices, the tool may not yet appear on all smartphones.
If the option is missing from your device, you should ensure that you’re running Android 6 or later and that your Photos app is up-to-date. If the feature still doesn’t appear, you may need to wait for the rollout to complete.
Here’s how to create a Locked Folder to hide content in Google Photos:
Your device’s passcode protects your Locked Folder from unauthorized access. If you want to prevent a security breach, you should ensure that no one knows that code.
Because secure items are locked down tight, transferring data to a new device will leave those files behind.
Therefore, you’ll need to transfer content from the Locked Folder manually or move it somewhere visible before a migration.
How to access the Google Photos Locked Folder
Now that you know how to create a Locked Folder, it’s time to access it. Here’s how to locate and access your hidden Google Photos Locked folder:
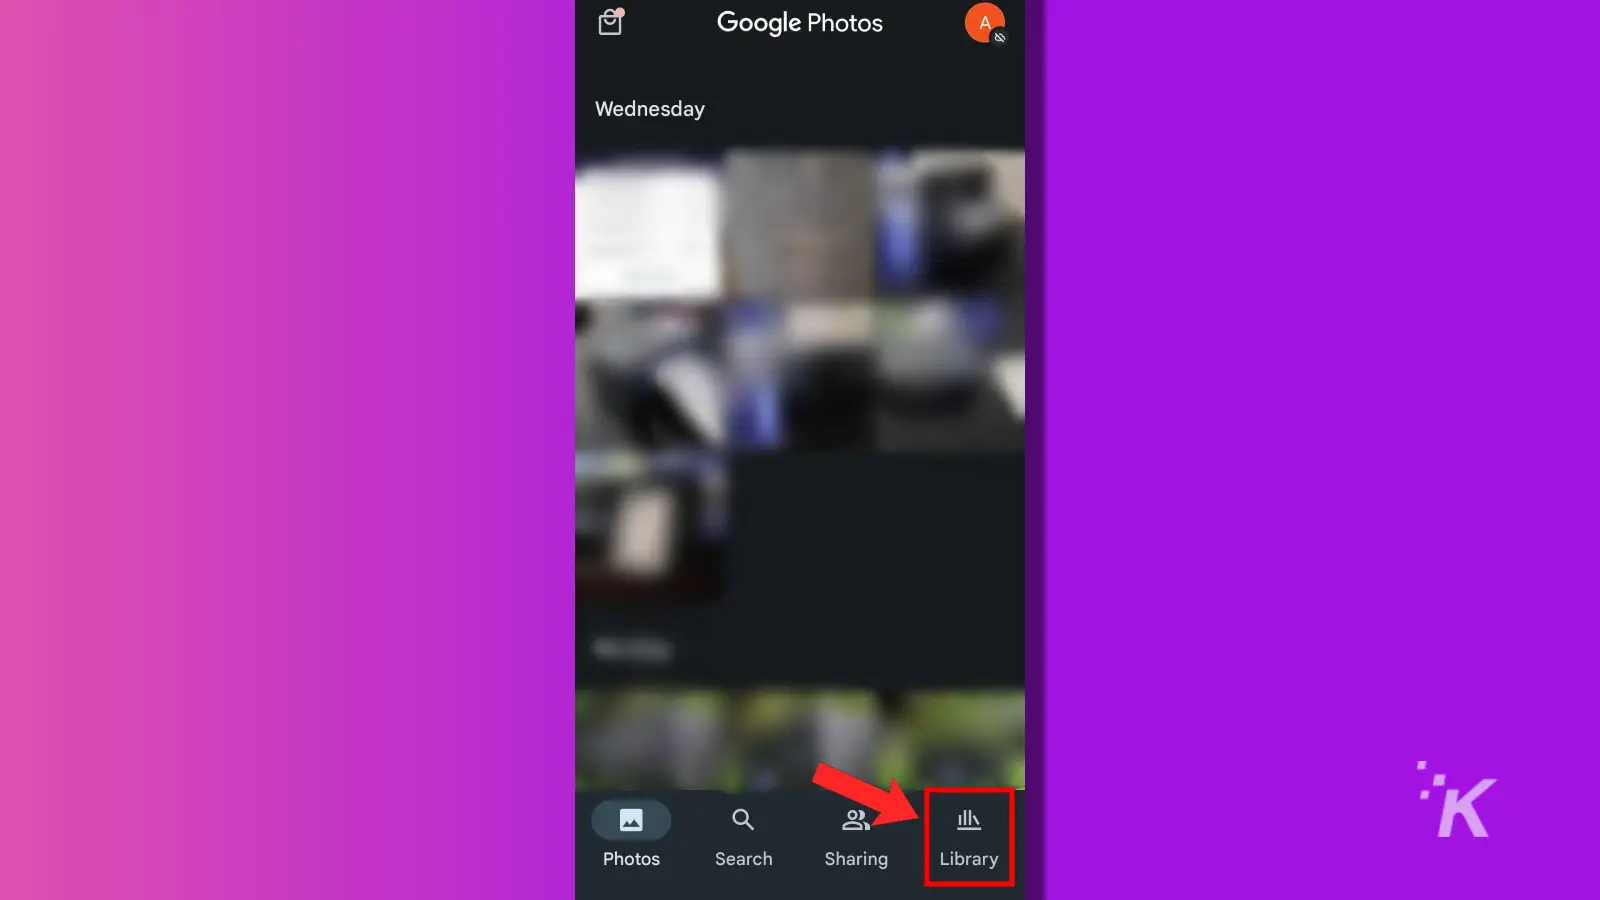
- Launch Photos and go to Library

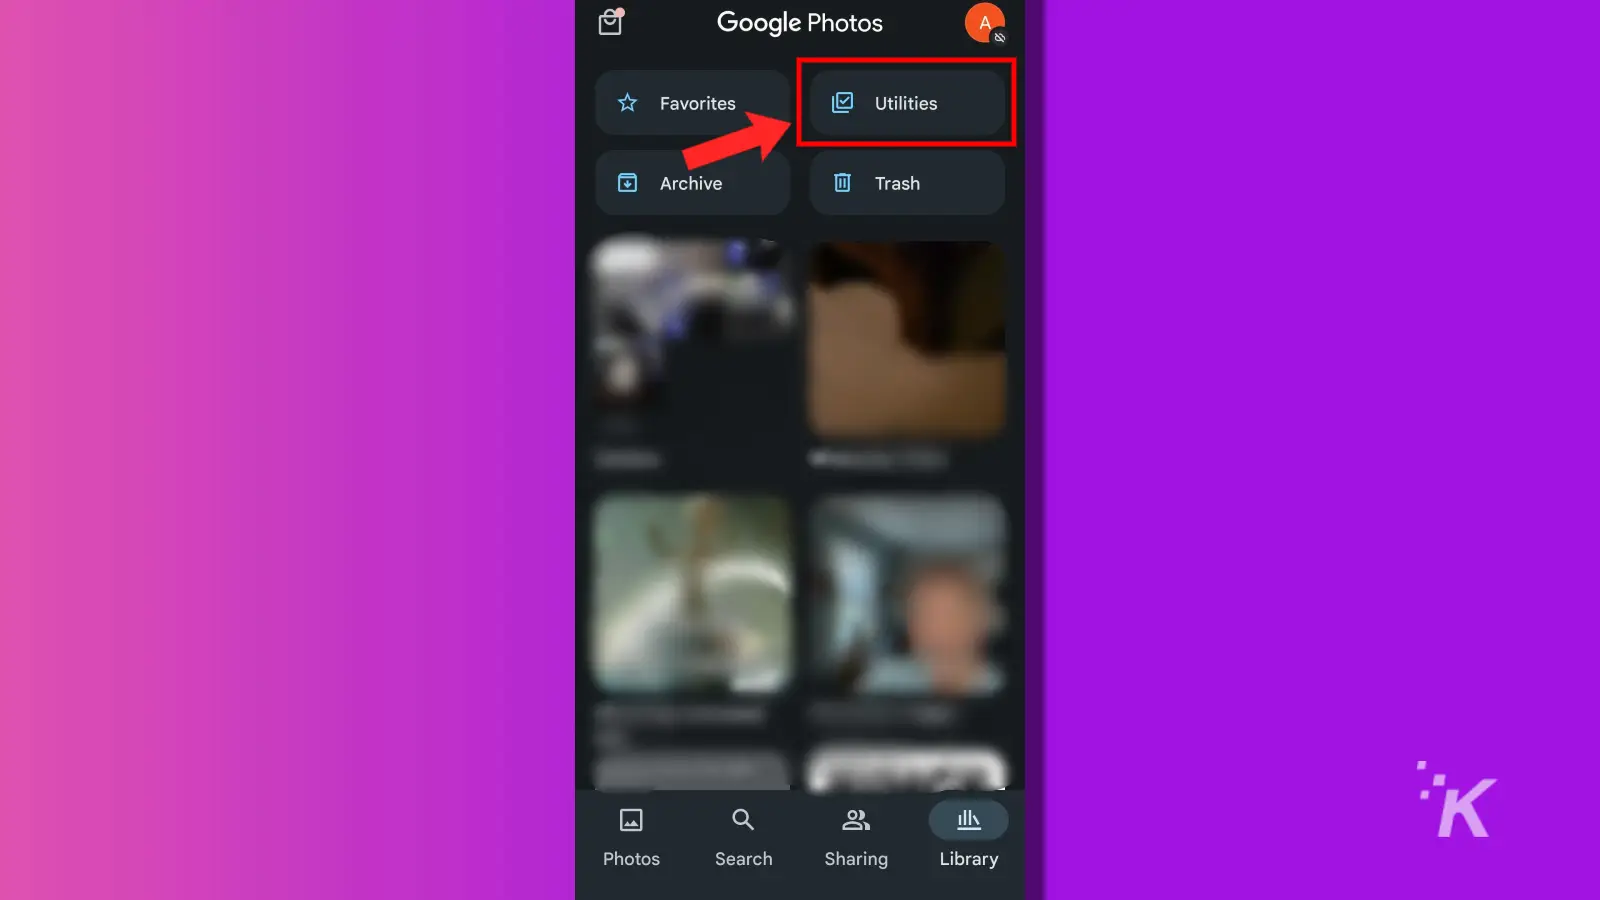
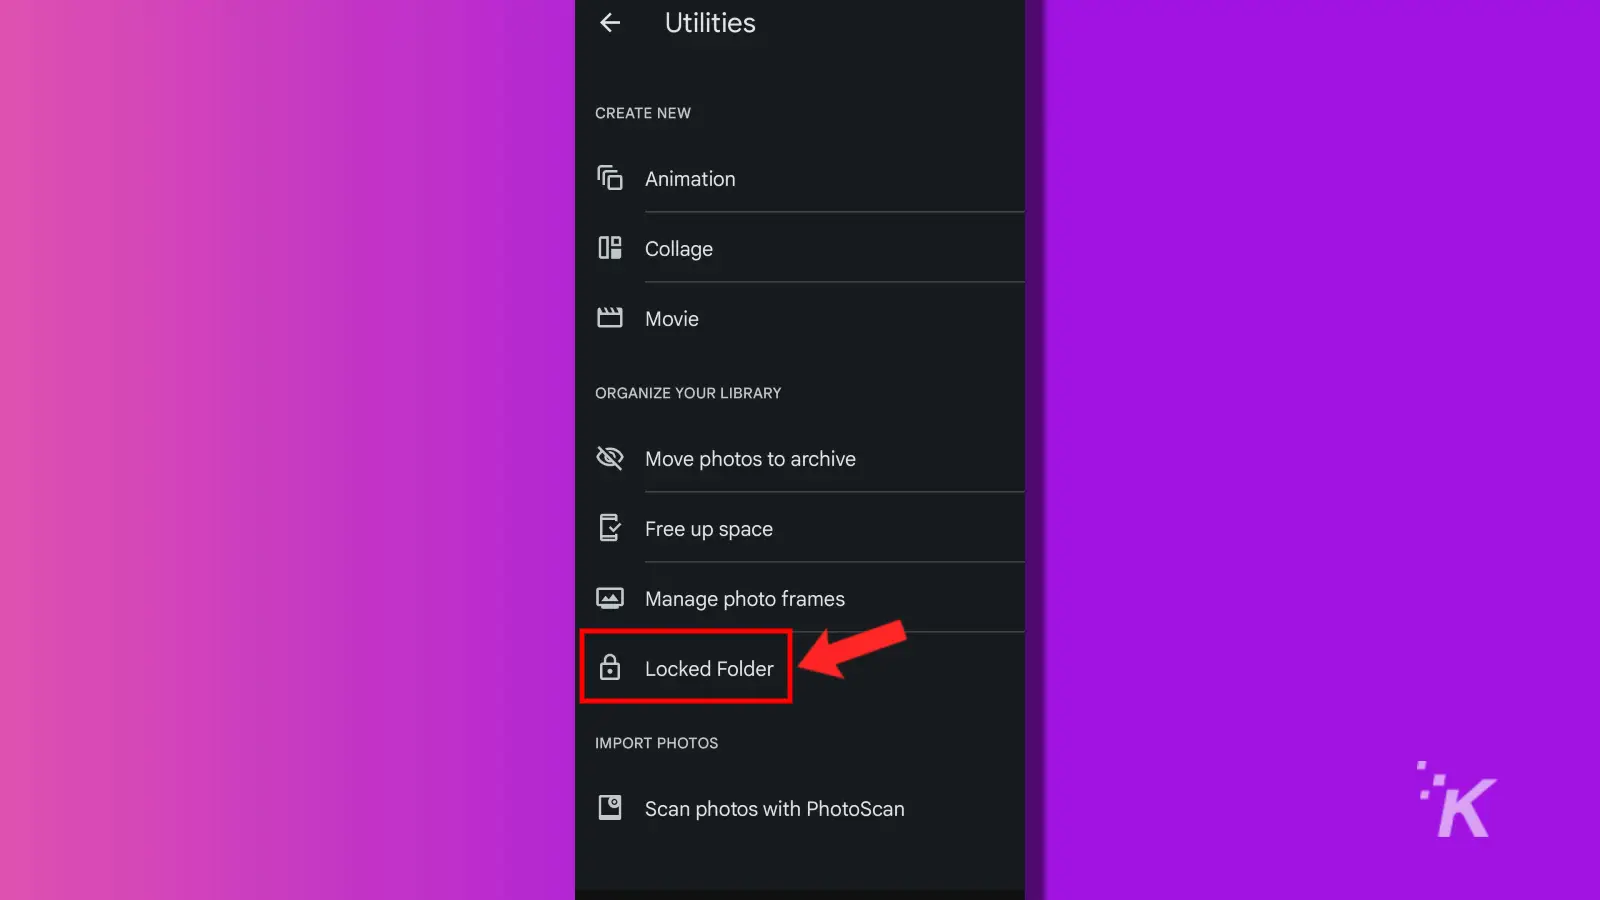
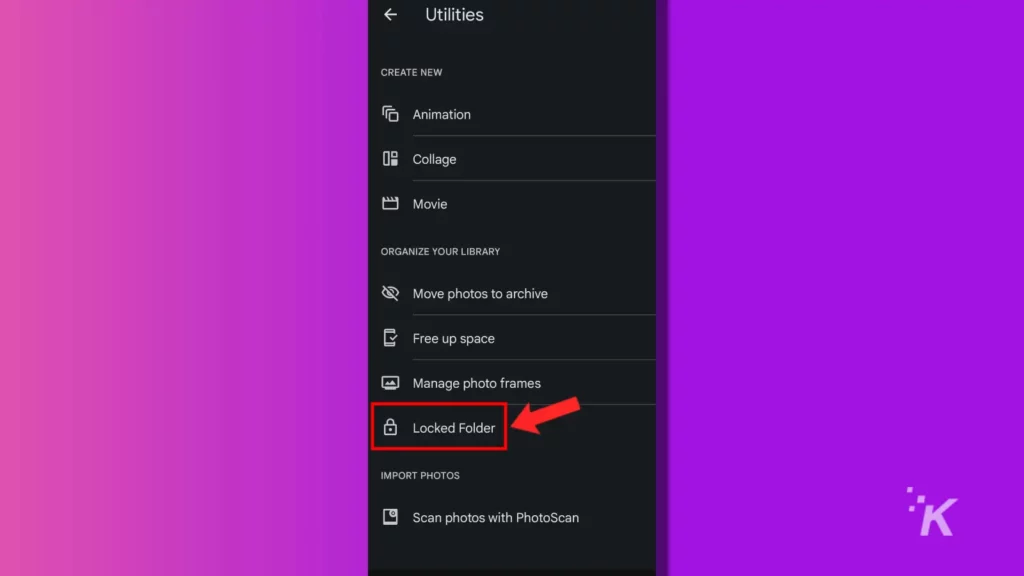
- Tap Utilities

- Select Locked Folder
- Enter your passcode (security won’t let you take screenshots of this step)
From here, you can access your Locked folder and manage the images here however you like.
How to move items to the Google Locked Folder
If you want to move existing items to a Locked Folder, that’s totally possible. Here’s how to move an image or video to the Google Photos Locked Folder:
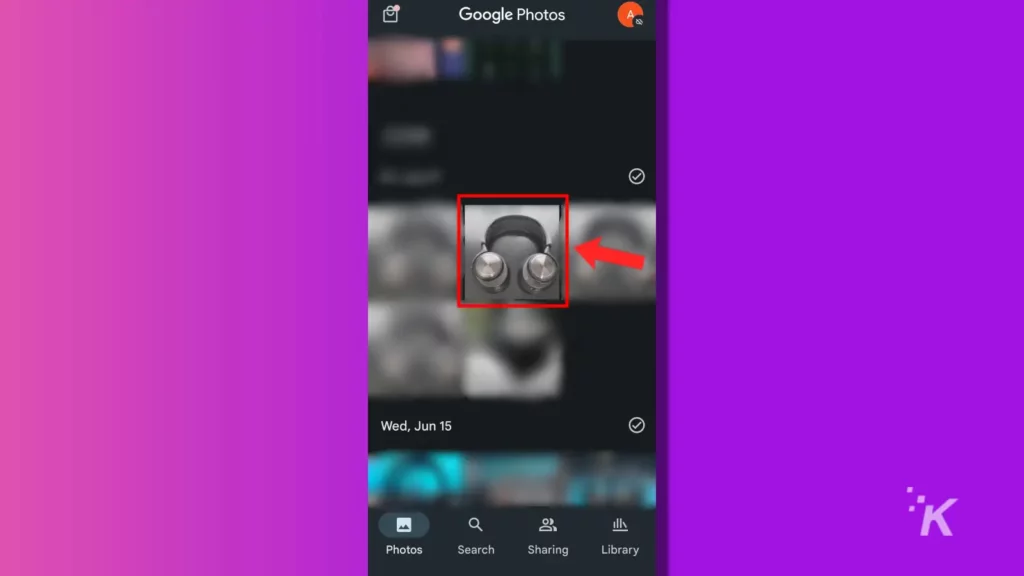
- Open the file you want to move
- Tap the More (three dots) button and select Move to Locked Folder
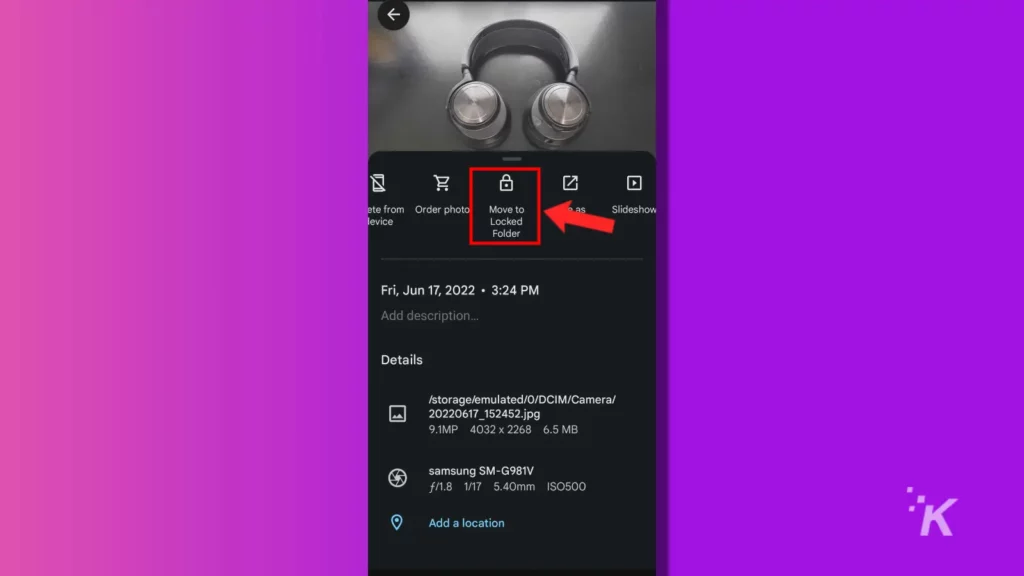
- Tap Move when prompted
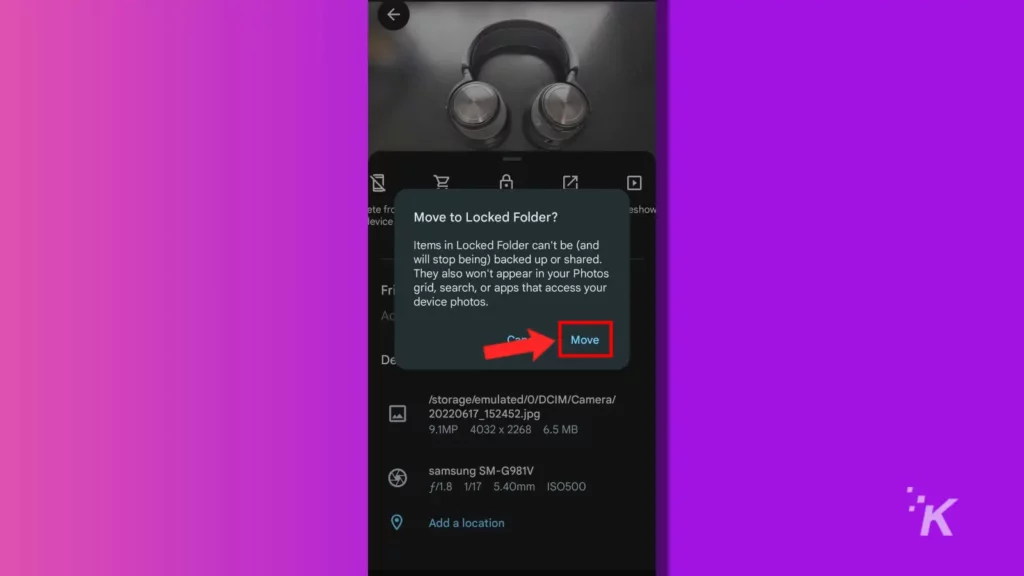
And that will move the selected photo or video to your locked folder. From there, you can use the above steps to access those images or videos again.
Google Photos Locked Folder is a digital media safe
The ability to hide questionable, embarrassing, and incriminating photos and videos is a welcome privacy tool in Google Photos.
It certainly beats the old-fashioned way: by burying the evidence—that would be your phone—in the backyard on a starless night.
Have any thoughts on this? Carry the discussion over to our Twitter or Facebook.
Editors’ Recommendations:
- How to use Google Docs without an internet connection
- Here’s how to delete learned words from your Android keyboard
- Where do Android apps store data?
- How to add a summary in Google Docs
Follow us on Flipboard, Google News, or Apple News


Review Roundups
Review roundup: Samsung Galaxy Z TriFold