How-To
How to uninstall Windows 11 updates
Has a Windows 11 update messed up your PC? You have options.
Just a heads up, if you buy something through our links, we may get a small share of the sale. It’s one of the ways we keep the lights on here. Click here for more.
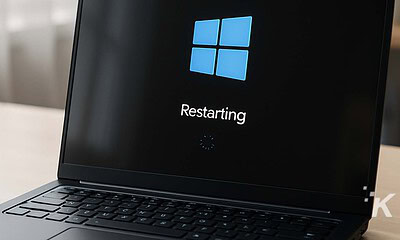
When Microsoft releases a Windows update, it usually aims to remedy an issue or upgrade the operating system. Solving glitches, patching security vulnerabilities, and adding new features are all good reasons to push an update.
However, sometimes an intended fix can cause unforeseen problems. If you’ve installed an update only to have your PC misbehave, you’ll understand the struggle.
Fortunately, Microsoft makes remedying any issues that may arise relatively easy. Let’s discuss several methods you can use to uninstall updates in Windows 11.
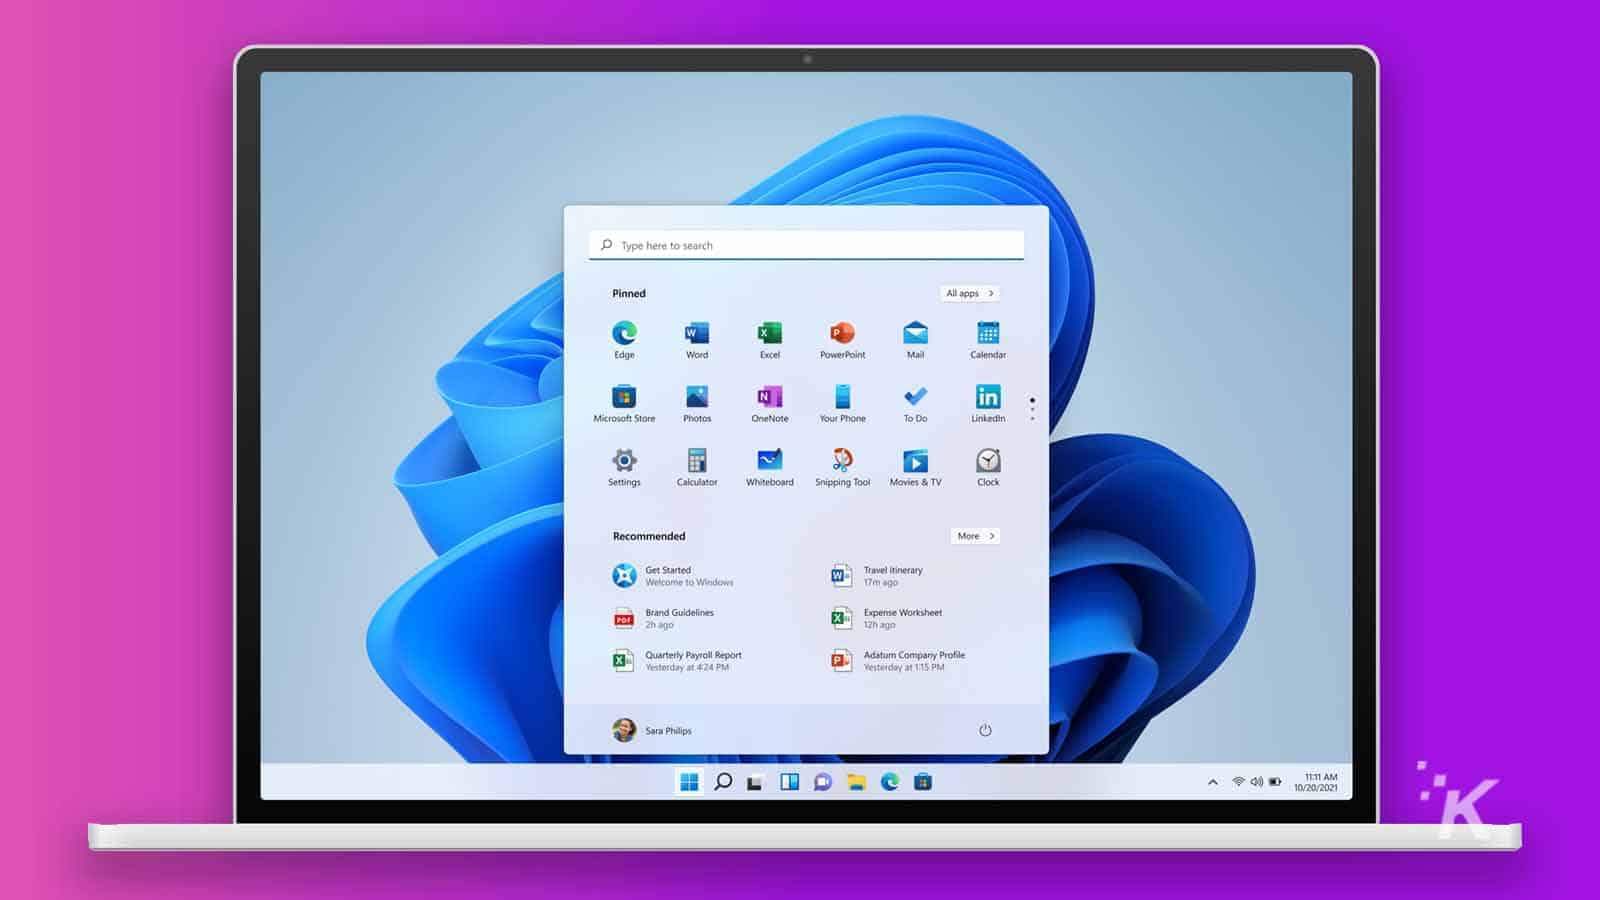
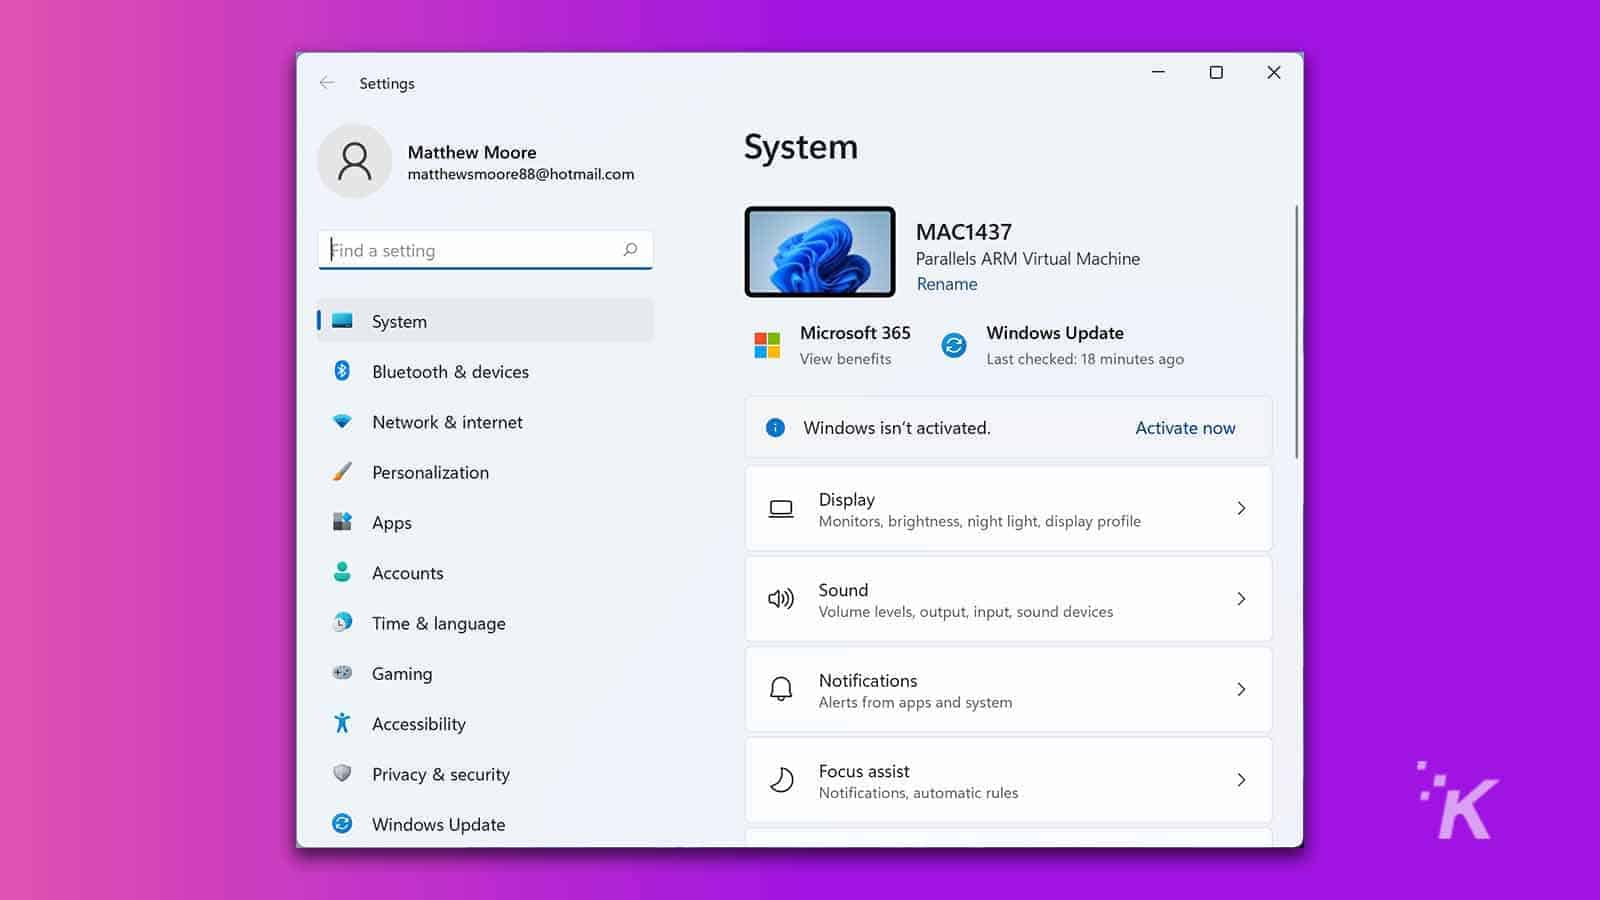
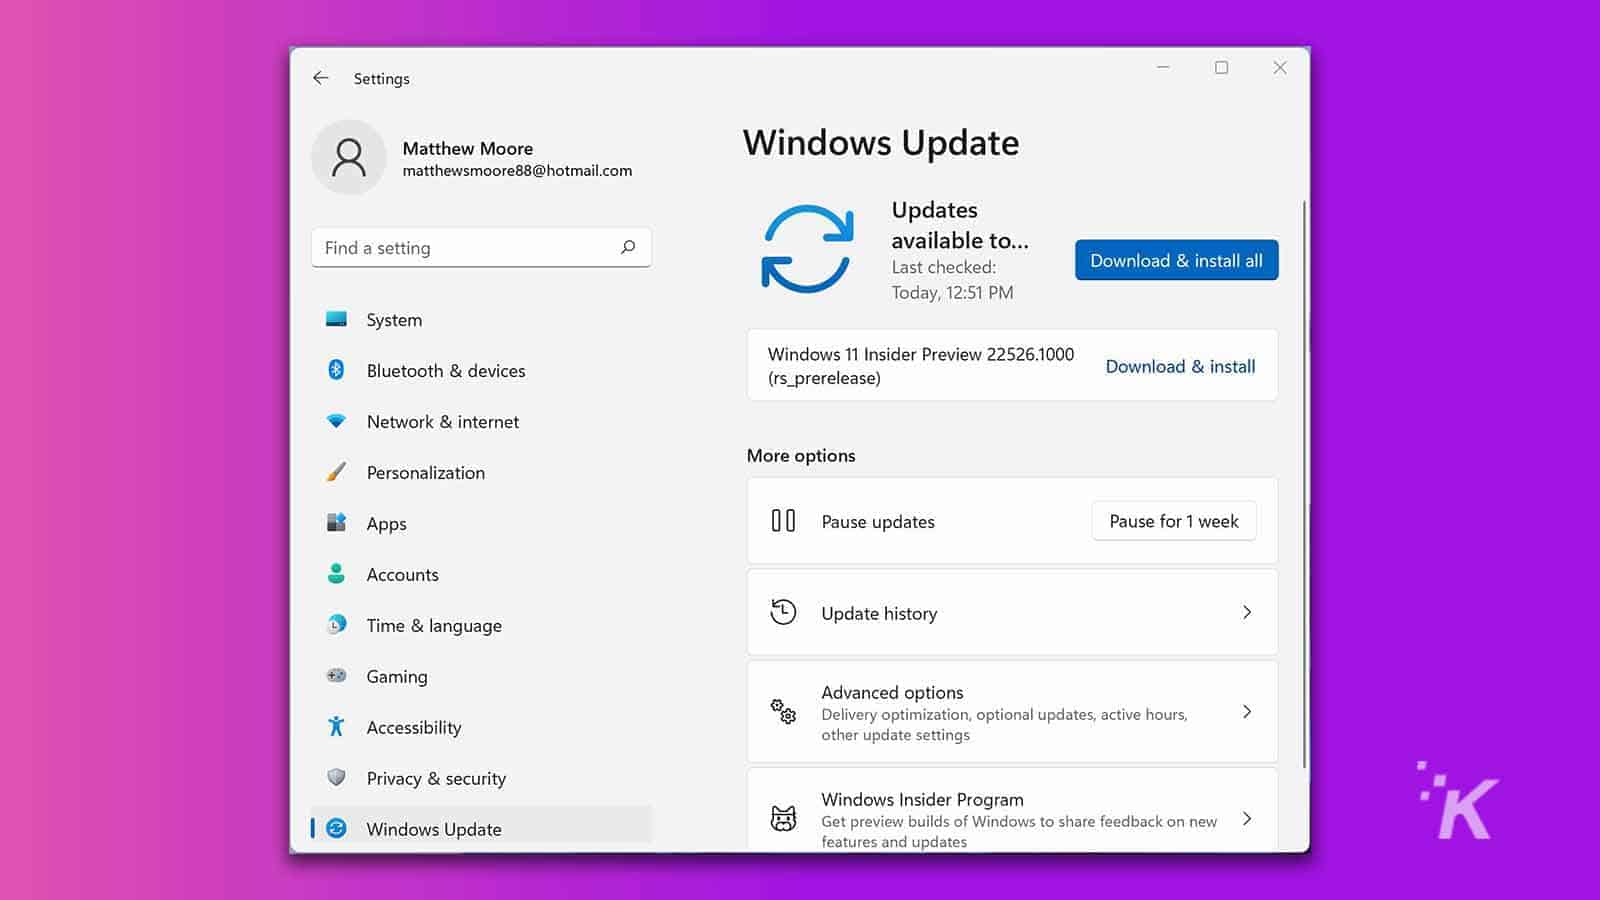
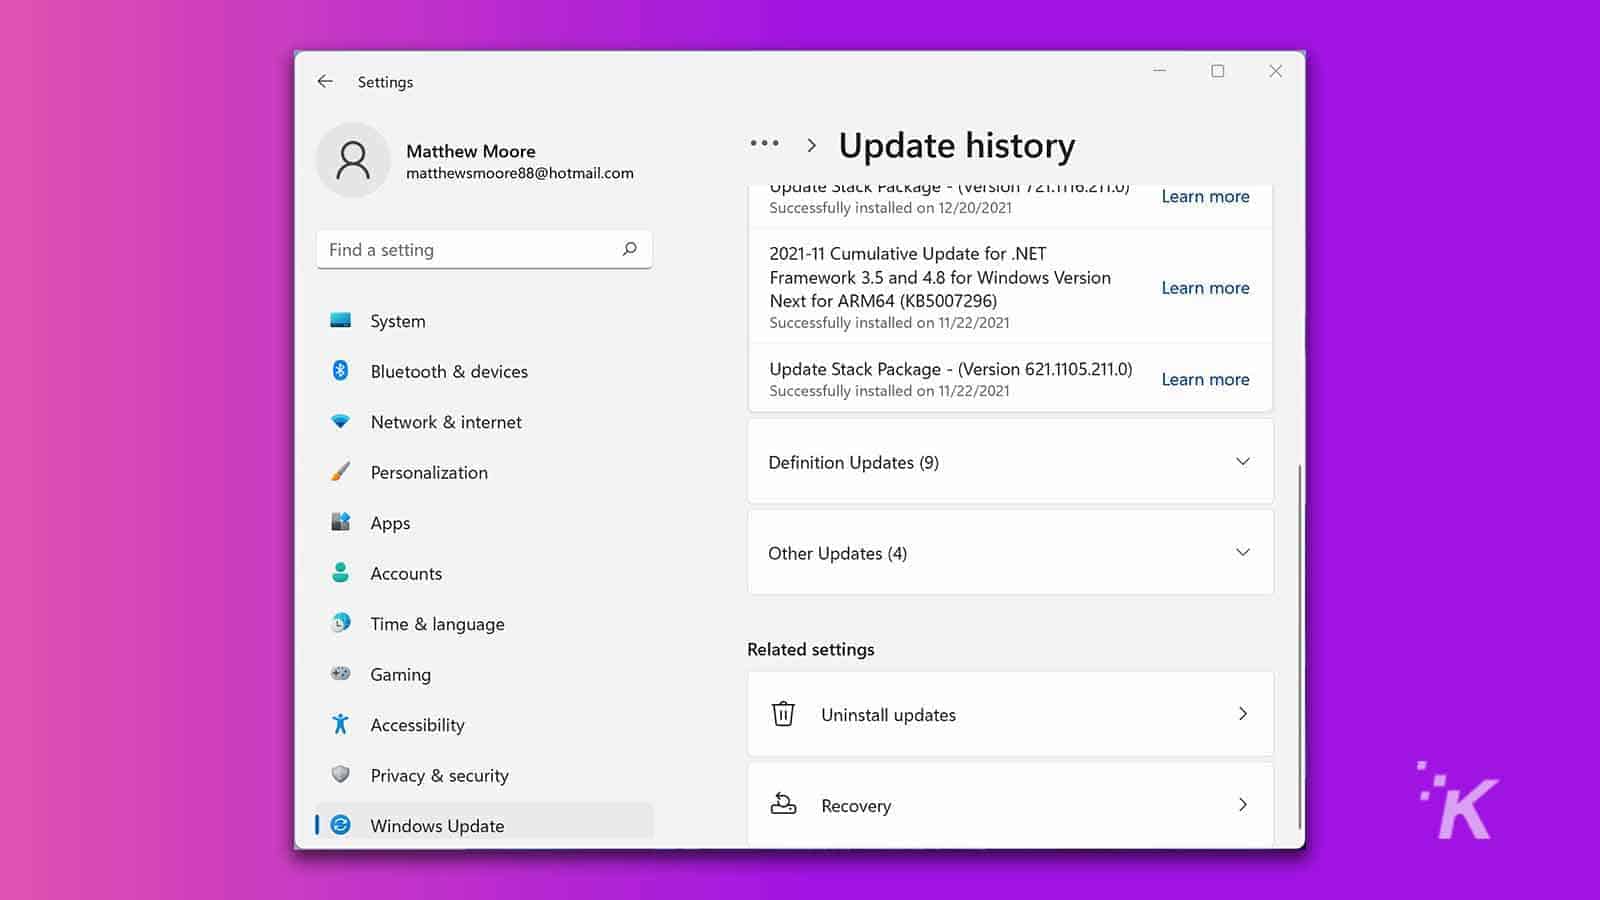
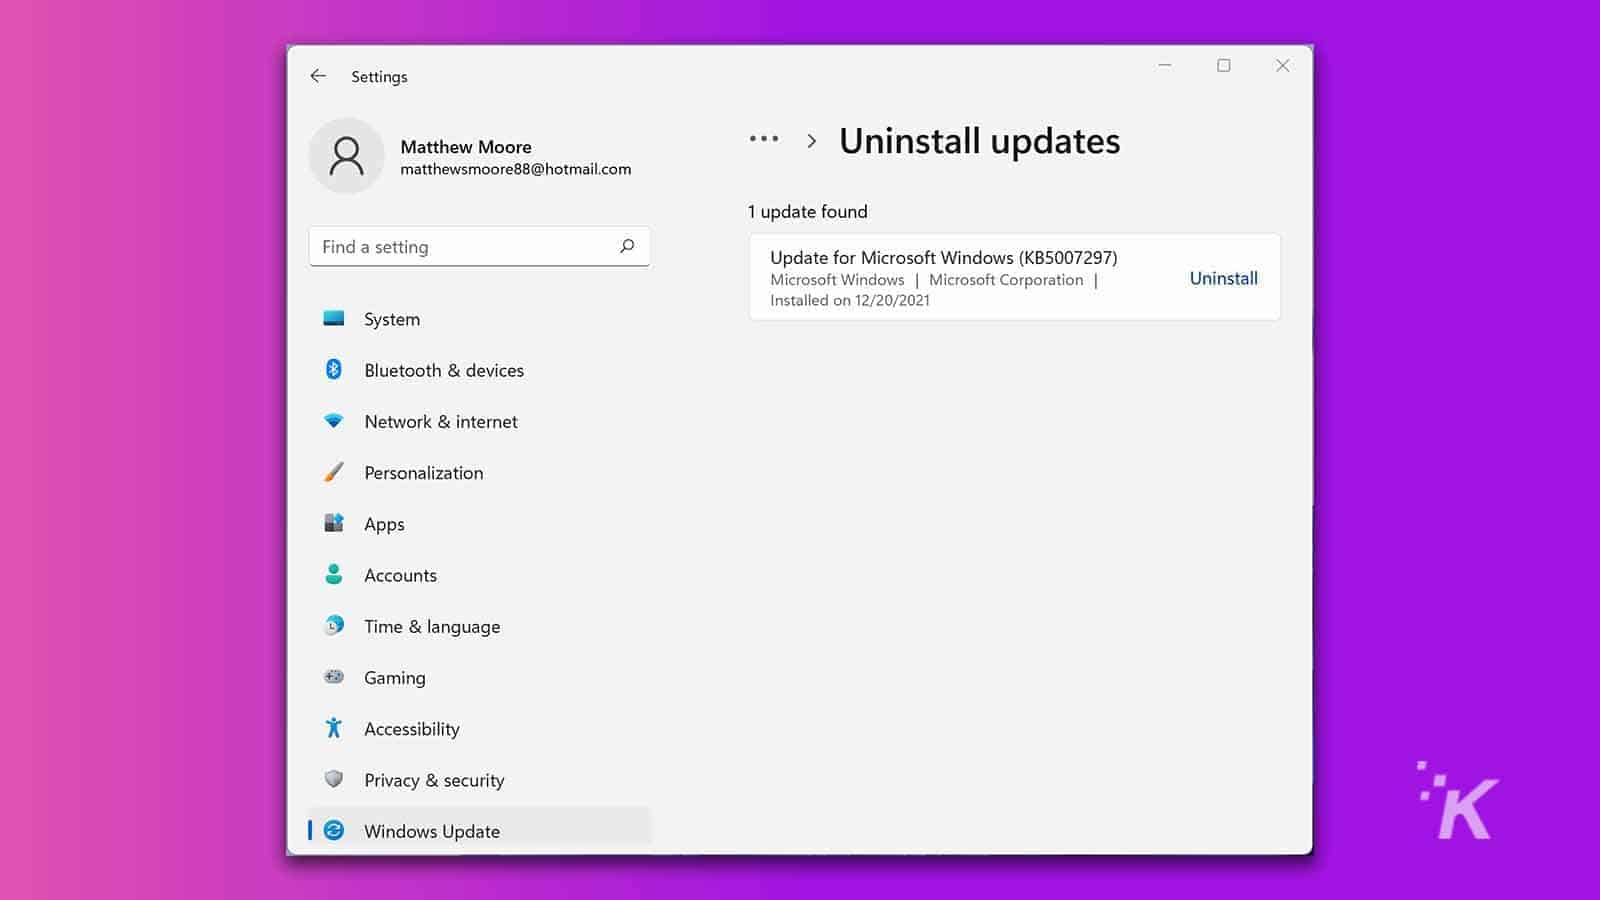
How to uninstall Windows 11 updates in Settings
Uninstalling an unwanted update in Windows 11 Settings is one of the simplest removal methods. You can see which updates you’ve downloaded, and when installations occurred, and remove any entries that have caused any problems.
Here’s how you uninstall an update in your Windows 11 Settings:
READ MORE: How to change your username in Windows 11
That covers removing updates through the Settings menu. Now, let’s move on to the Command Prompt.
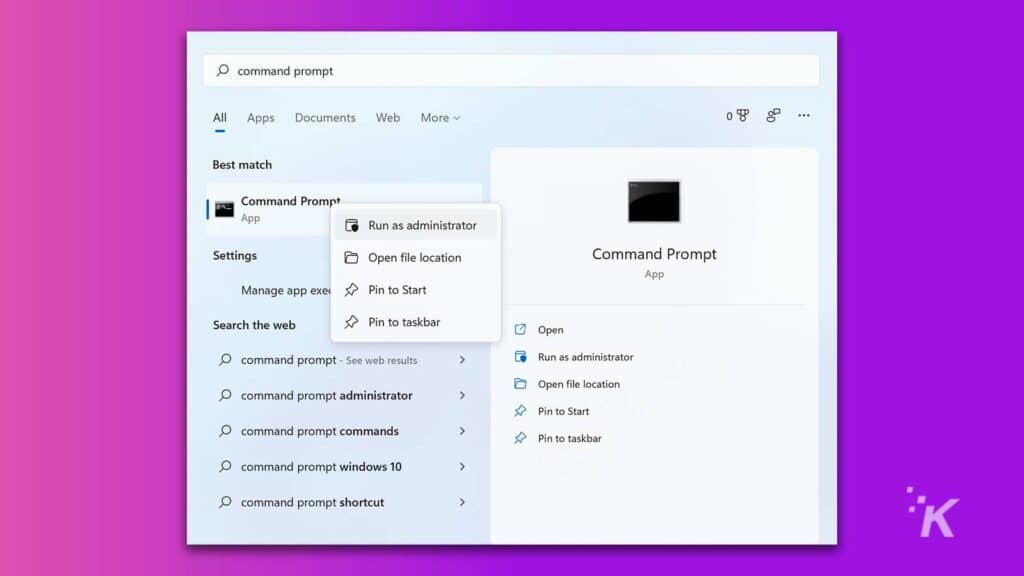
How to uninstall Windows 11 updates using Command Prompt
If you prefer to take care of business using command lines, you can use Command Prompt in Windows 11 to uninstall an unwanted update. Here’s how:
- Launch Command Prompt by searching Command Prompt, Right-clicking the application, and selecting Run as administrator
2. Type systeminfo.exe and press Enter

3. In the Hotfix(s) section, identify the update you want to remove and note the KB number
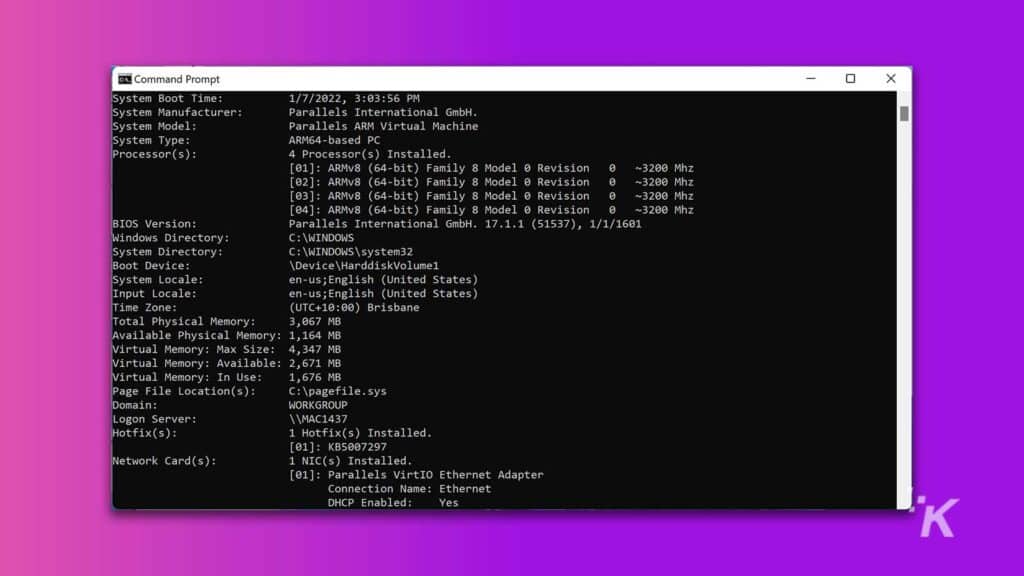
4. Type wusa /uninstall /kb:XXXXXXX, replacing the Xs with the appropriate digits, and press Enter. A complete command line should look like this: wusa /uninstall /kb:5007297

5. Click Yes to confirm and complete the removal
And there you go, you’ve now uninstalled the updates using the Command Prompt in Windows 11.
How to uninstall Windows 11 updates using Recovery Environment
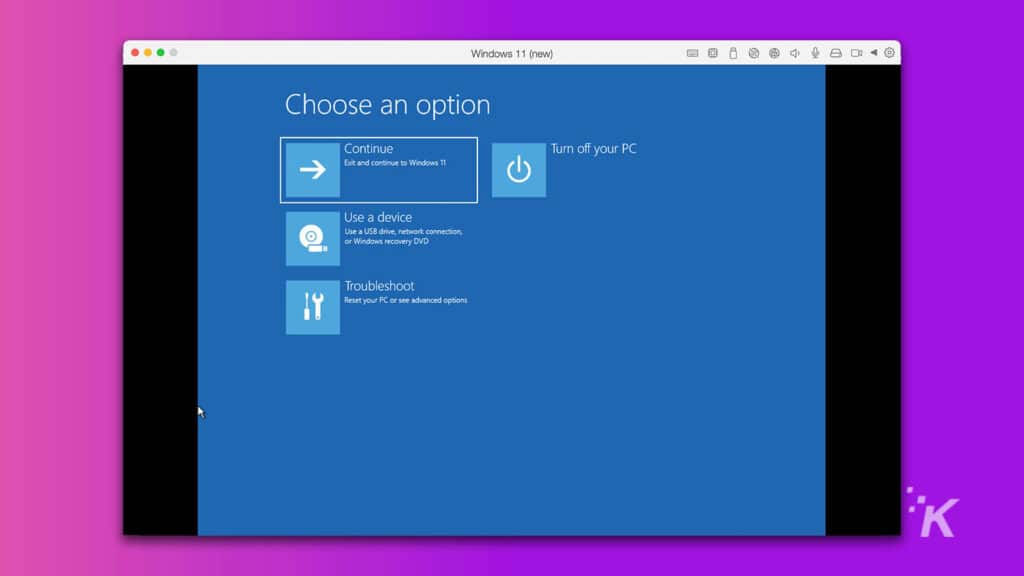
If an update has made a serious mess of your system and your PC won’t boot, you can use Windows Recovery Environment to roll back a bad installation. Here’s how:
1. Hold the Power button to switch off your PC, turn the device back on, and repeat the process several times to activate Windows Recovery Environment
2. Select Troubleshoot
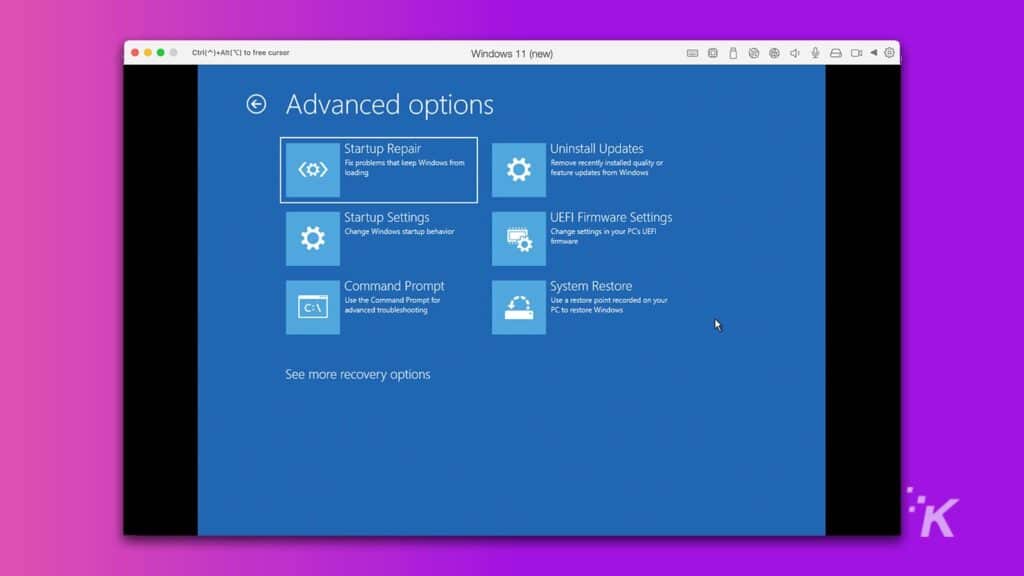
3. Select Advanced Options

4. Select Uninstall Updates
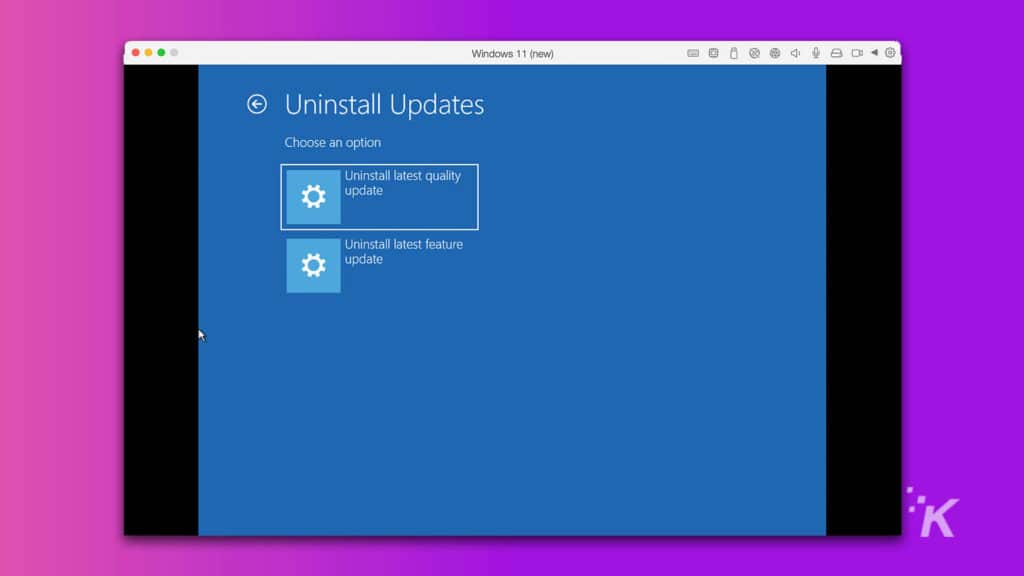
5. Choose the type of update you want to remove
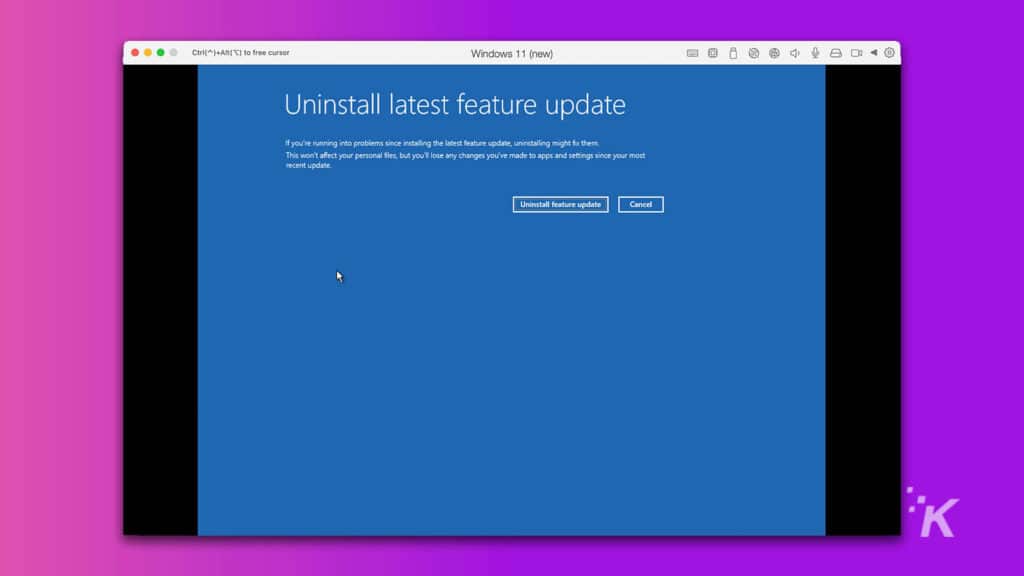
6. Click Uninstall update and wait for the restore process to complete
READ MORE: Watch out for fake Windows 11 installers – they’re riddled with malware
Once Windows removes the update, your computer should restart and hopefully boot up as normal. If uninstalling one update doesn’t resolve the issue, you may need to try removing another.
Windows updates are here to help
Windows updates aren’t meant to break things, but unforeseen issues sometimes arise. Frequently backing up your important files is a great way to avoid data loss if an installation goes wrong.
But, generally, uninstalling a tainted update should undo any damage. Good luck out there.
READ MORE: How to create a virtual desktop in Windows 11
Have any thoughts on this? Let us know down below in the comments or carry the discussion over to our Twitter or Facebook.
Editors’ Recommendations:
- How to use the clipboard manager in Windows 11
- Here’s how to install the Google Play Store on Windows 11
- How to schedule dark mode in Windows 11 automatically
- Here’s how to enable and disable Cortana in Windows 11