How to switch from a Facebook to Meta account on Quest
You can choose whether or not you want Facebook linked to your Meta account.
Just a heads up, if you buy something through our links, we may get a small share of the sale. It’s one of the ways we keep the lights on here. Click here for more.
For the last few years, Meta has required all its Quest users to link their Quest headsets to a Facebook account. Fortunately, that’s no longer the case and the company will now let you switch to a Meta account for your Quest headset.
After requiring a link to your Facebook account for years, the company finally changed its rules to allow you to use a new Meta account instead.
So if you’ve been wanting to use your Quest VR headset and its controllers without having to link your Facebook account, you finally can now. And we’re going to show you how it’s done.
What’s the difference between a Meta account and a Facebook account?
You might be thinking, “a Meta account isn’t that much different than using my Facebook account for my Quest.” And, essentially, you’re right.
You still have to give Meta certain information when you sign up for a Meta account. The account requires information like your name, birthday, and email.
But what this change really accomplishes is completely separating your Facebook account from your Quest activities. With Meta accounts, there’s nothing to tie your Quest activities with your Facebook account.
So if you want to use your Quest without it being associated with your Facebook account, you can do so now. Or even better, you can use a Quest headset without even having a Facebook account at all. Here’s how to set it up.
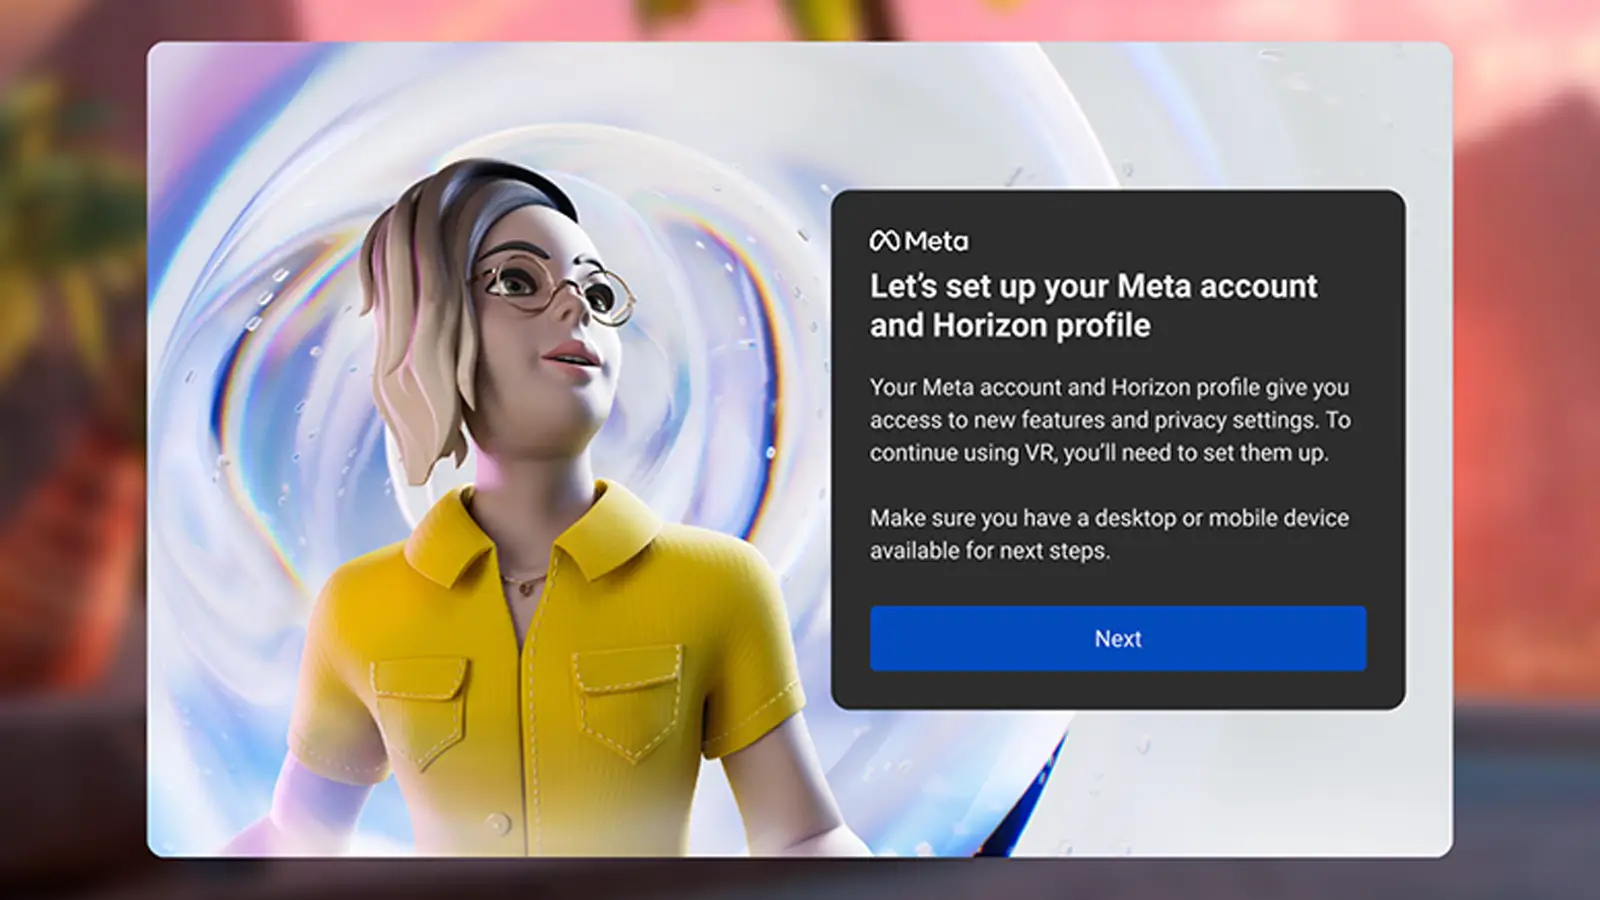
How to set up a Meta account
The first thing you need to do is set up a Meta account. You can start that process by heading to meta.com/websetup.
-
Once you are on the website linked above, log into your Facebook account

-
After logging in, choose whether or not you want to link your Facebook account. Choose Cancel if you don’t want your VR experience connected to Facebook

-
If you selected Cancel, choose the Set up account with email option

Then, just follow the steps to create your new Meta account using an email address and password.
You’ll also be prompted to set up your new Horizon profile. This will act as your social profile on your Quest headset.
You can also choose to link your Meta and Facebook accounts at a later date if you change your mind.
Link your Quest with your Meta account
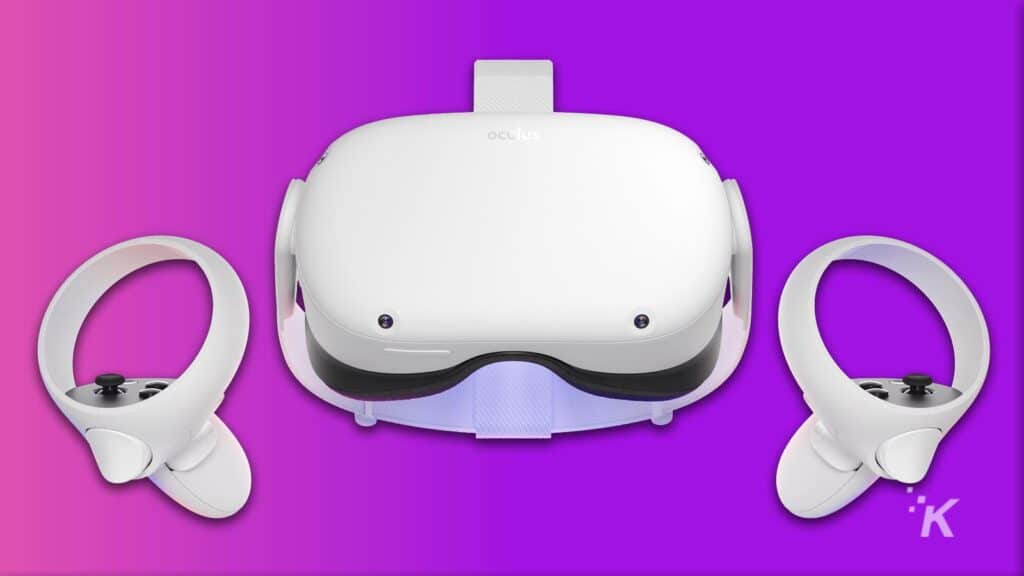
The next step in the process is to link your new Meta account to your Quest VR headset.
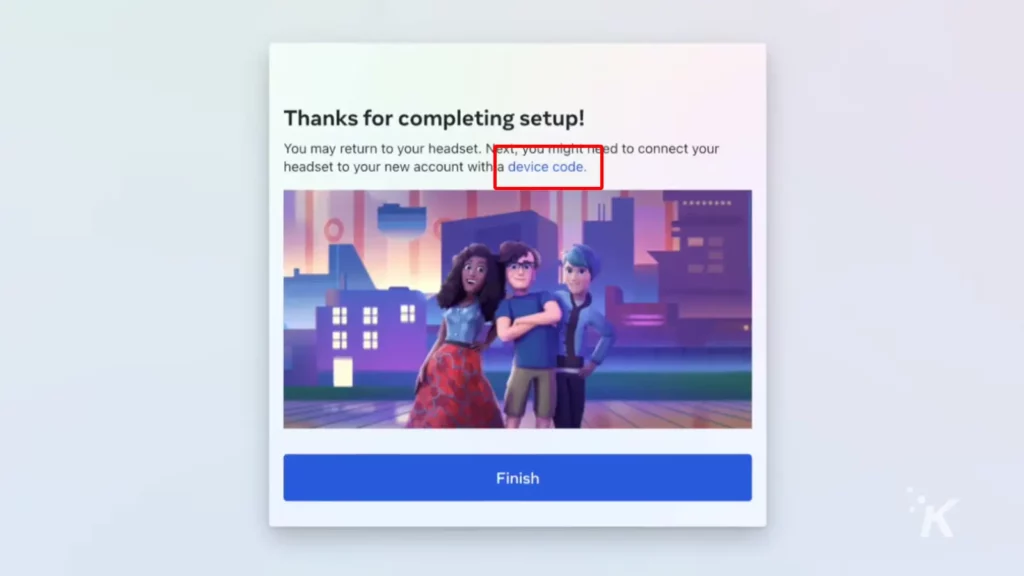
Once you finish setting up your Horizon profile, you need to click Device Code to give you the option to link your Quest to your new headset.
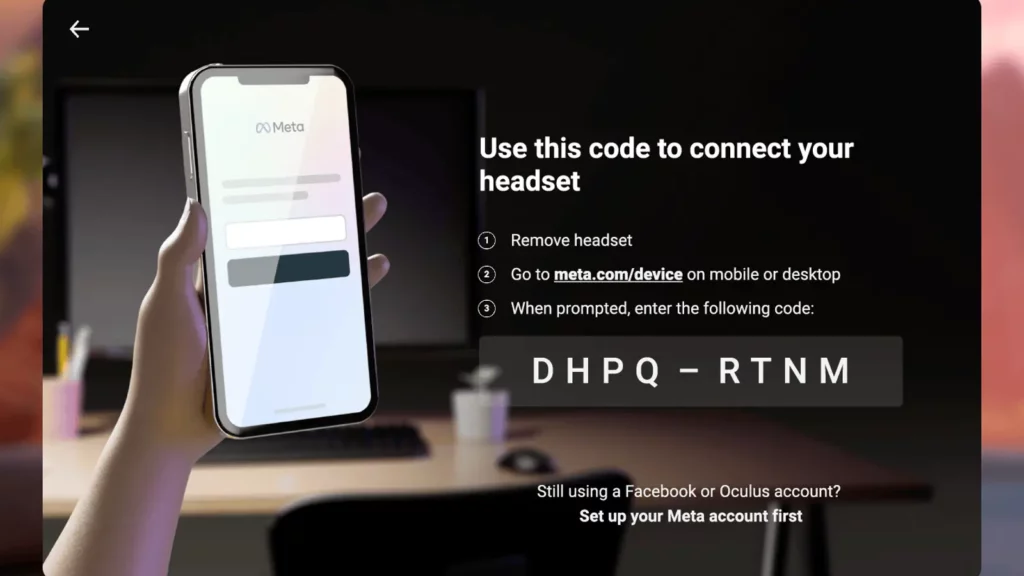
Now, put on your Quest headset, and you should see a webpage with a code on it. Type that code into the window on the Device Code page that pops up from the hyperlink.
That’s it. Now when you put your Quest headset back on, you will see a notification that the link is successful and your device will restart.
Finally break free of Facebook’s grasp on Quest
The new Meta account and associated Horizon profiles finally let users do what they’ve wanted to do for years: separate their VR experience from Facebook.
And in fact, all Quest users will be required to migrate to a Meta account sometime in the future. You’ll eventually be prompted to switch to a Meta account, and you likely won’t be able to use your Quest until you do so.
But for now, the Meta accounts are available only if you want to make the switch. And you always have the option to link your Facebook account if you want to maintain that connection between social media and your VR experience.
Have any thoughts on this? Carry the discussion over to our Twitter or Facebook.
Editors’ Recommendations:
- How to unlink Facebook and Instagram
- Here’s how to mute someone on Facebook
- Can I use my Oculus Quest 2 with my Xbox?
- Can you buy a replacement controller for the Oculus Quest 2?


